3 Adding a MikroTik Appliance in GNS3
Mathew J. Heath Van Horn, PhD
MikroTik is a Latvian manufacturer of enterprise network equipment. Their network hardware is utilized in enterprise networks worldwide. Their router operating system software is free to use for non-commercial purposes. We use the MikroTik Cloud Hosted Router (CHR) router operating system throughout this book because we have found that it has many of the same features as other commercial products, while also being very reliable when running in the GNS3 working environment.
Learning Objectives
- Successfully download, install, and run MikroTik Cloud Hosted Router appliance in a GNS3 environment.
Prerequisites
Deliverables
- None – this is a preparatory lab that supports other labs in this book
Resources
- GNS3 Documentation – https://docs.gns3.com/docs
- MikroTik Documentation – https://help.mikrotik.com/docs/display/ROS/Getting+started
Contributors and Testers
Testers:
- Enzo Gonzalaz
Phase I – Installing a MikroTik router
Many learners utilize MikroTik routers to learn fundamental principles of enterprise networking. You will find many instructional sites on the internet using MikroTik in GNS3.

- Visit the GNS3 Marketplace at https://www.gns3.com/marketplace/appliances
- In the search appliances field, type “MikroTik”
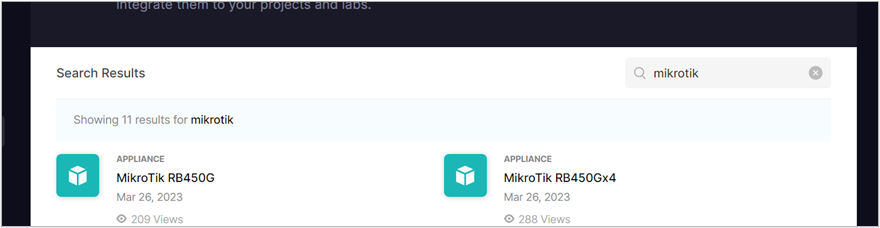
Figure 1 – Searching GNS3 marketplace for MikroTik appliances - Navigate to the MikroTik CHR appliance and click on it
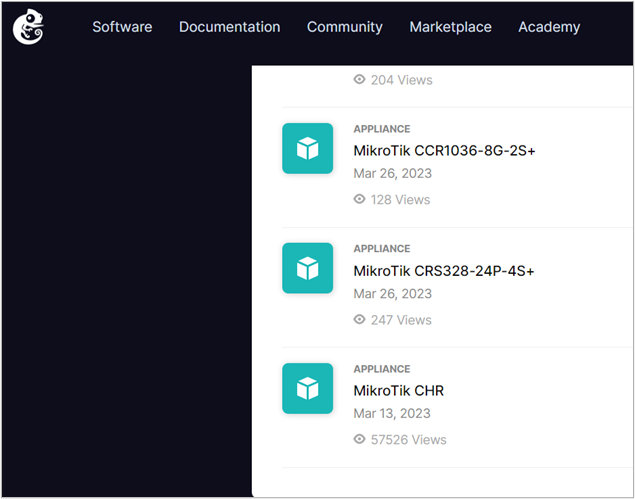
Figure 2 – Showing the MikroTik CHR appliance on the GNS3 marketplace - Download the appliance by hitting the Download button
- Scroll down to the most recent version of the image and click on the Download link. In this case, we are using the chr-7.7.img
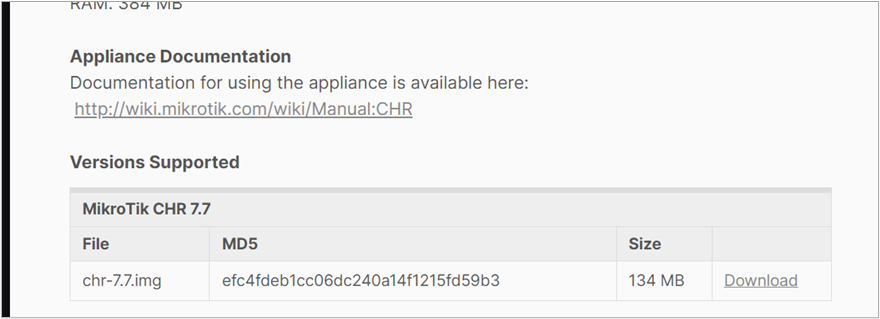
Figure 3 – Downloading the MikroTik router image from the GNS3 marketplace - Navigate to your downloads folder (or wherever you downloaded the files) and unzip the image file
- Start the GNS3 Workspace
- At the GNS3 Workspace top ribbon bar, go to File, and on the submenu, click on Import Appliance
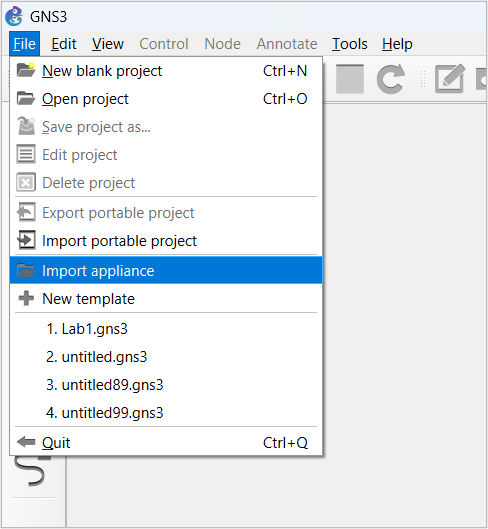
Figure 4 – Screenshot of GNS3 Workspace menu selection - Select the appliance file that you downloaded and unzipped
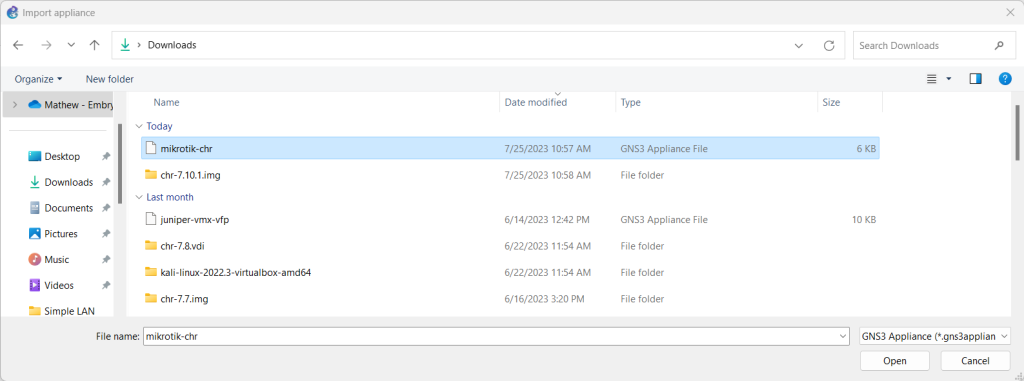
Figure 5 – Selecting the appliance to import into GNS3 Workspace - Press the Open button
- Select the server type: Install the appliance on the GNS3 VM (recommended) and press the Next button
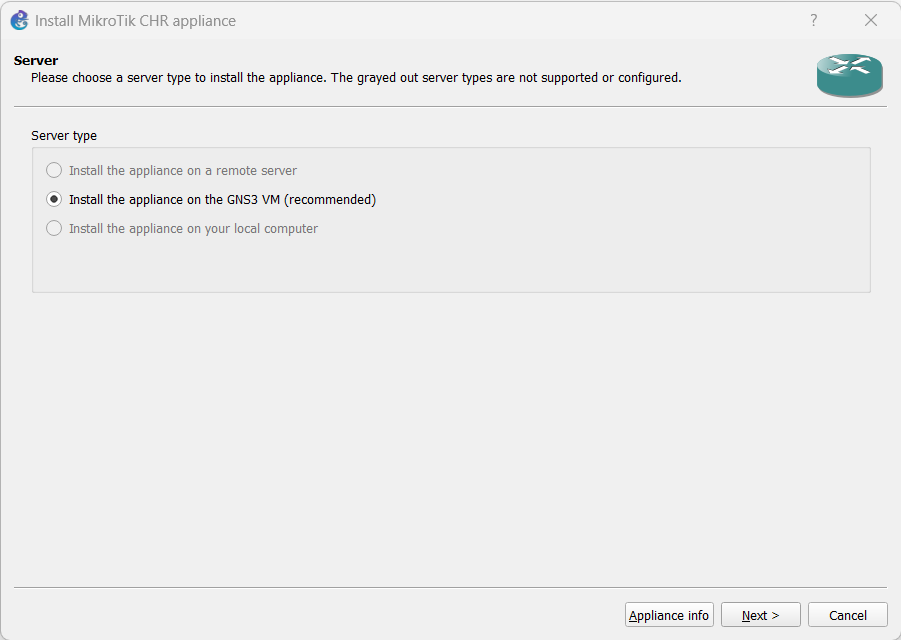
Figure 6 – Configuring the GNS3 Workspace with a MikroTik appliance - Accept the default QEMU settings and press the Next button

Figure 7 – Accept the QEMU settings - Highlight the Appliance Version (in this case, we are using version 7.10.1), and you will see the status Missing Files. To fix this, click on Import
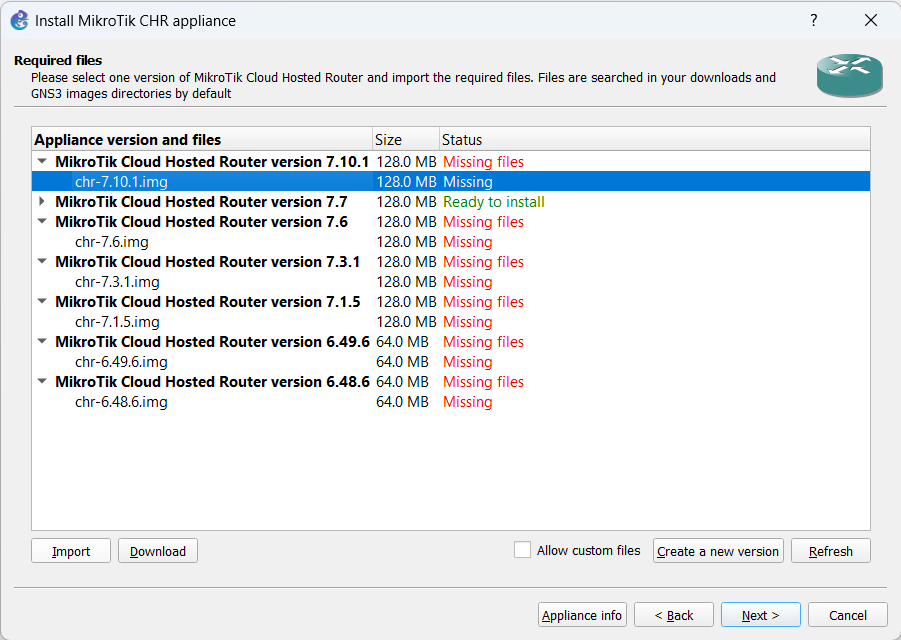
Figure 8 – Correct the missing files for the MikroTik router - Navigate to where you unzipped the image file from Step 6
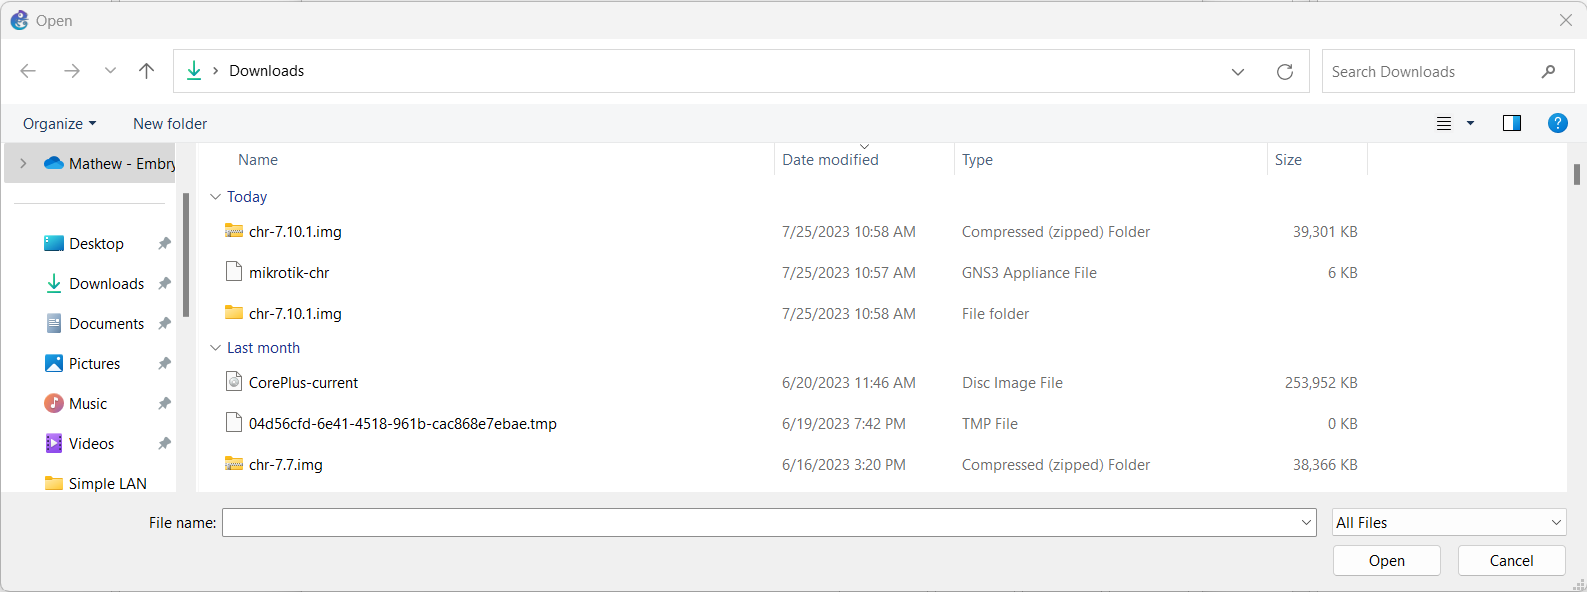
Figure 9 – Navigate to where the image file was saved after unziping - Now the status has changed to Ready to Install. Highlight the Ready to Install and click on Next
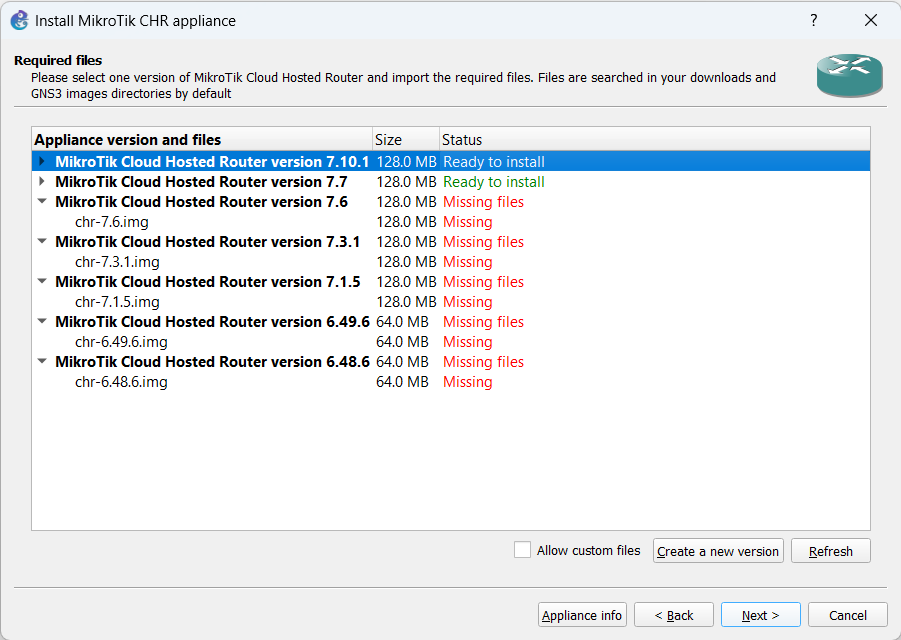
Figure 10 – Installing the MikroTik CHR router - Confirm the installation by pressing Yes
- Read the notes, and press Finish
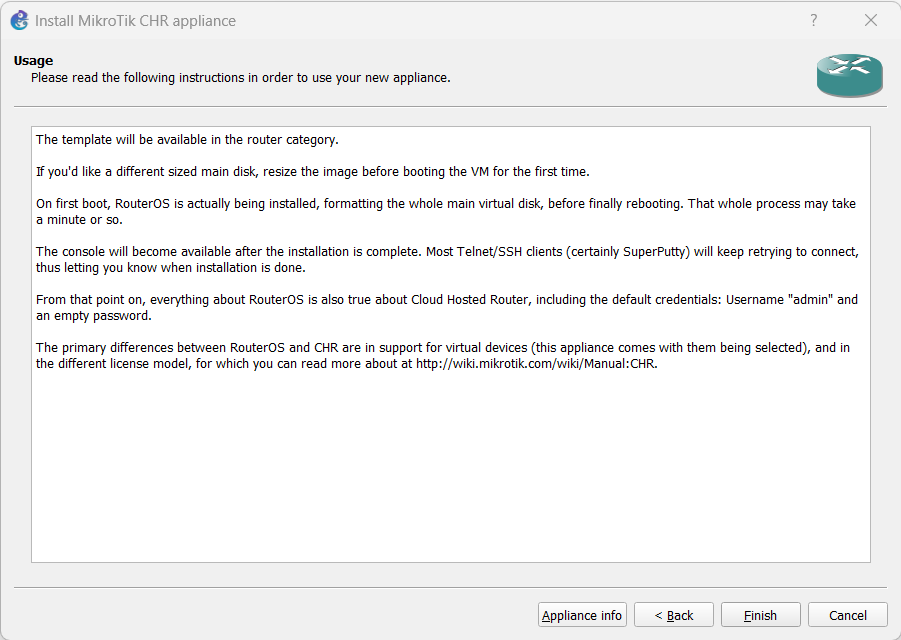
Figure 11 – Finish the addition of a MikroTik router to the GNS3 environment - You will now see the MikroTik router in the Routers Menu. You can drag it to the workspace and start it to make sure it runs
Figure 12 – MikroTik Router successfully installed in the GNS3 Working Environment
End of Lab

