2 Setting Up a GNS3 Environment
Mathew J. Heath Van Horn, PhD
I’ve been teaching networking principles for many years. In my experience, one of the biggest obstacles to learning networks and associated applications is the lack of a lab for learners to play. Graphical Network Simulator 3 (GNS3) solves many of those problems. GNS3 uses few hardware resources and can emulate complex networks using authentic images. Students no longer require access to a dedicated lab or to spend money on cloud architectures. GNS3 can be installed and used on most laptops on the market. A better processor and more RAM on the host machine will improve the GNS3 experience, which is valid with every application.
This installation is based on a Windows 11 environment, and you will need to install Oracle VirtualBox version 7.0.xx (we are using version 7.0.24) before following these steps. Oracle provides detailed instructions for VirtualBox installation and will not be repeated here.
Learning Objectives
- Create a working GNS3 Learning Environment on a PC or laptop
Prerequisites
- Read FAQ
- Read Introduction to Part 1
- Install Oracle VirtualBox version 7.0.24
Deliverables
- None – This is for student needs
Resources
contributors and testers
Testers:
- Enzo Gonzalez
Phase I – Install GNS3 Environment
There are two parts to GNS3: the GNS3 Working Environment and the GNS3 Virtual Machine (VM). This section covers the installation of the GNS3 environment.

- Navigate to GNS3 at https://www.gns3.com/
NOTE: There is an experimental version of GNS3 (version 3.x.x). At the time of this writing, it is unstable. Stay within GNS3 versions 2.x.x and VirtualBox 7.0.x and everything should work fine.
- Click on the Free Download button
- Select Windows and then Download
- Create your GNS3 Community Account as prompted, login, and then return to the download page
NOTE: As of 22 Jan 2025, No one has reported spam from this registration.
- Run the installer you downloaded and accept the default options. Not all systems reported these prompts, but if you are prompted:
-
-
- Permit uBridge to run as root to capture packets
- Do not accept the free offers
- Do NOT start GNS automatically! Doing so can distract new learners due to the errors that will pop up
-
Phase II – Install the GNS3 VM (Virtual Machine)
This is where you will install the GNS3 VM. Remember, the GNS3 Working Environment and the GNS3 VM must be the same version.
- Navigate to the GNS3 VM download page at https://www.gns3.com/software/download-vm
- Select the image for VirtualBox
- Extract (unzip) the .zip file
NOTE: You may get two errors while unzipping the file, and it will show 99% completion. This happens on occasion and does not affect the extracted file.
- Start Oracle VirtualBox Manager
- Select File → Import Appliance → Import
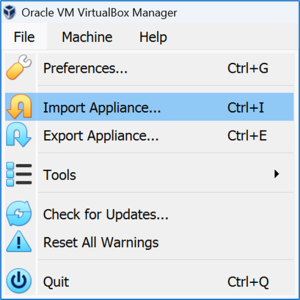
Figure 1 – Import appliance - Navigate to the .ova file (“GNS3 VM.ova”) you downloaded and unzipped. In this example, our .ova file is named “GNS3 VM.ova”
- Select the .ova file and click on “Open”
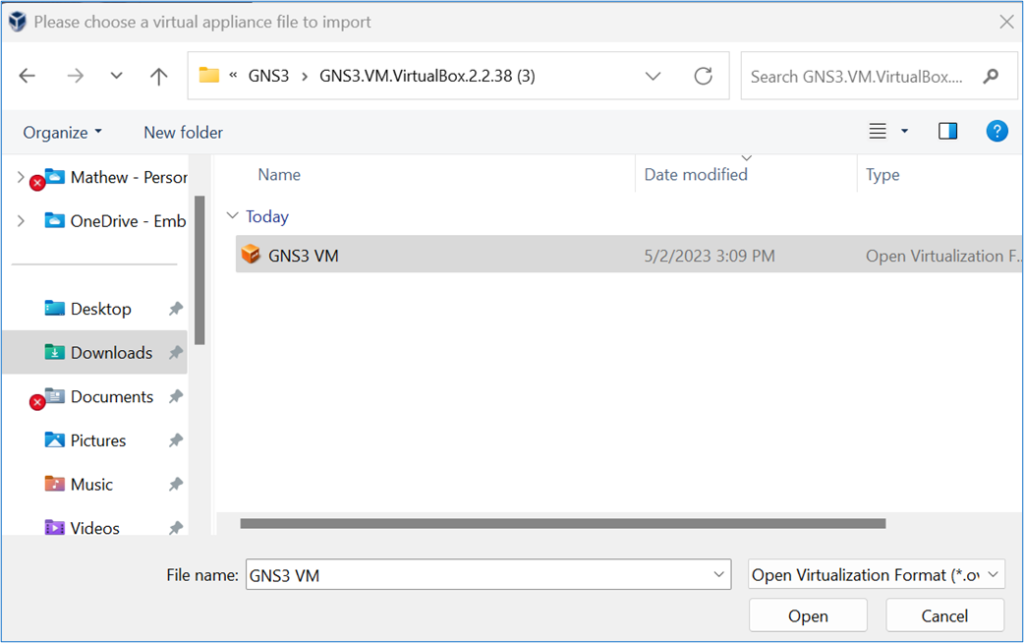
Figure 2 – Importing GNS3 VM - Click Next
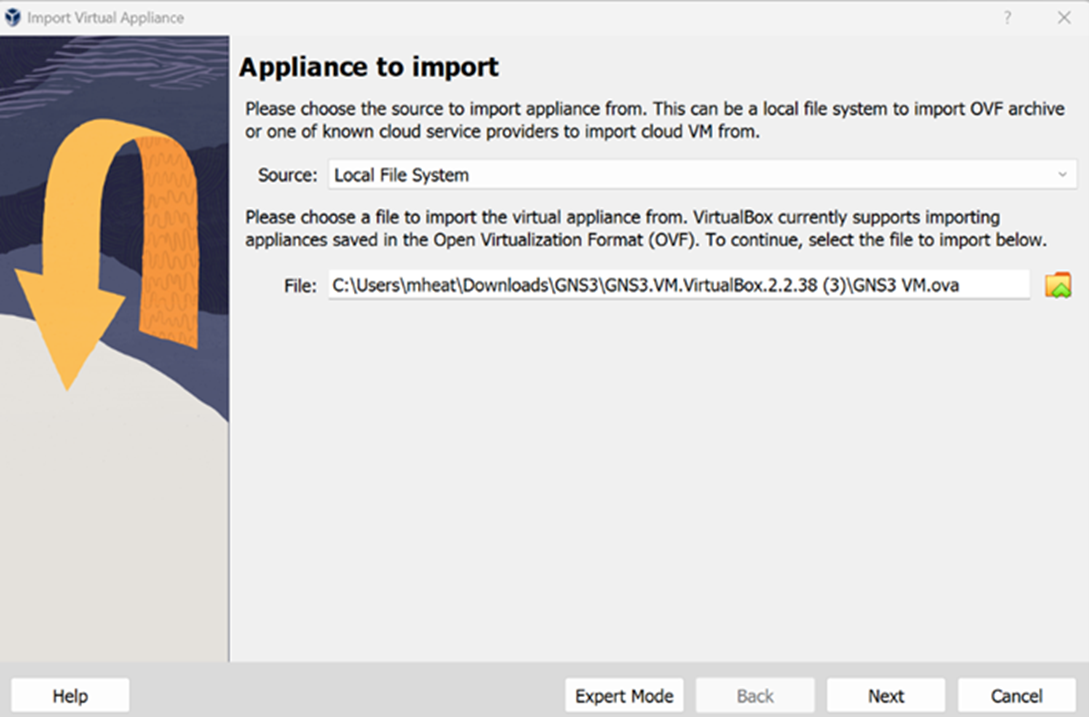
Figure 3 – Importing an appliance - Click Finish to accept the default appliance settings
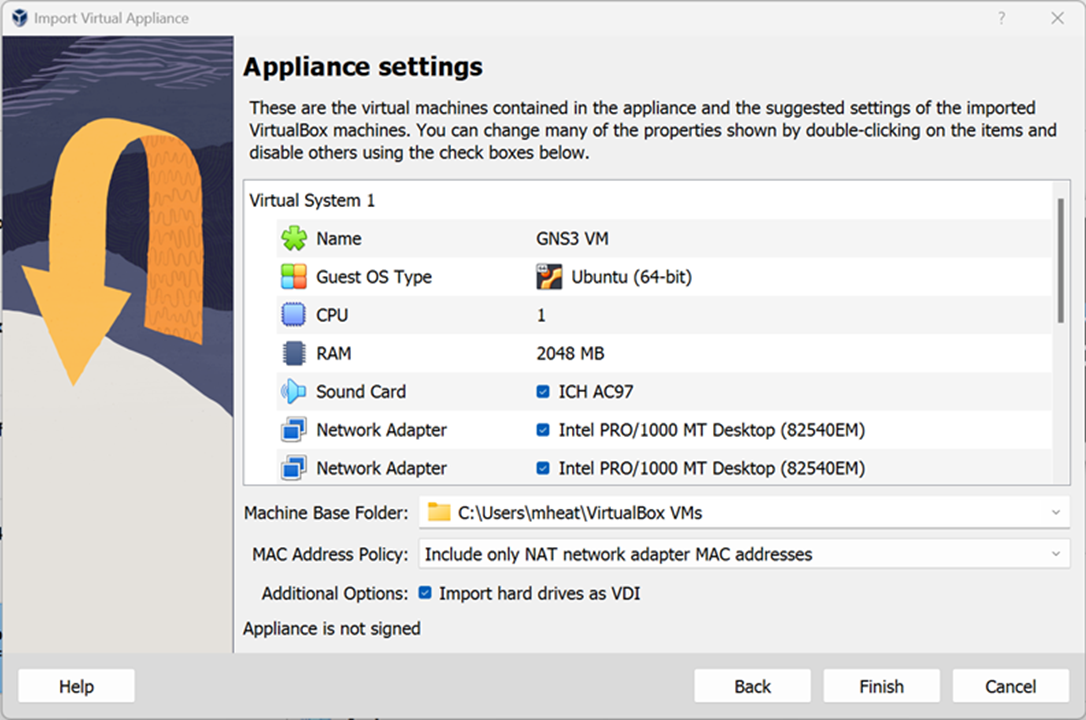
Figure 4 – Appliance settings in VirtualBox - Adjust the network settings of the GNS3 VM by selecting the VM and then selecting settings

Figure 5 – Clicking on settings in VirtualBox - In the network settings, under Network Adapter 1, select the name of the host-only adapter drop-down arrow. YES, even if the correct name is already in the box. Just do it, and click OK. If you don’t do this, you will get a network error when you start the virtual machine
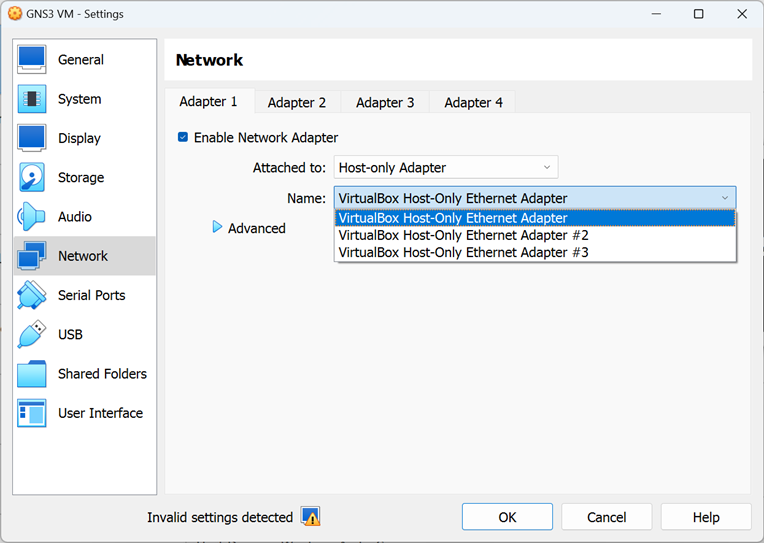
Figure 6 – Selecting the network adapter in VirtualBox NOTE: If no Host-only adapter is available, your VirtualBox version may need to be updated or reinstalled. If the VM still will not launch properly, then open Device Manager -> Network adapters -> Virtualbox Host-Only Ethernet Adapter -> Disable Device. Re-enable the device again and restart VirtualBox.
- Finally, start the GNS3 VM you installed to ensure it runs properly. This is a very lightweight version of Linux
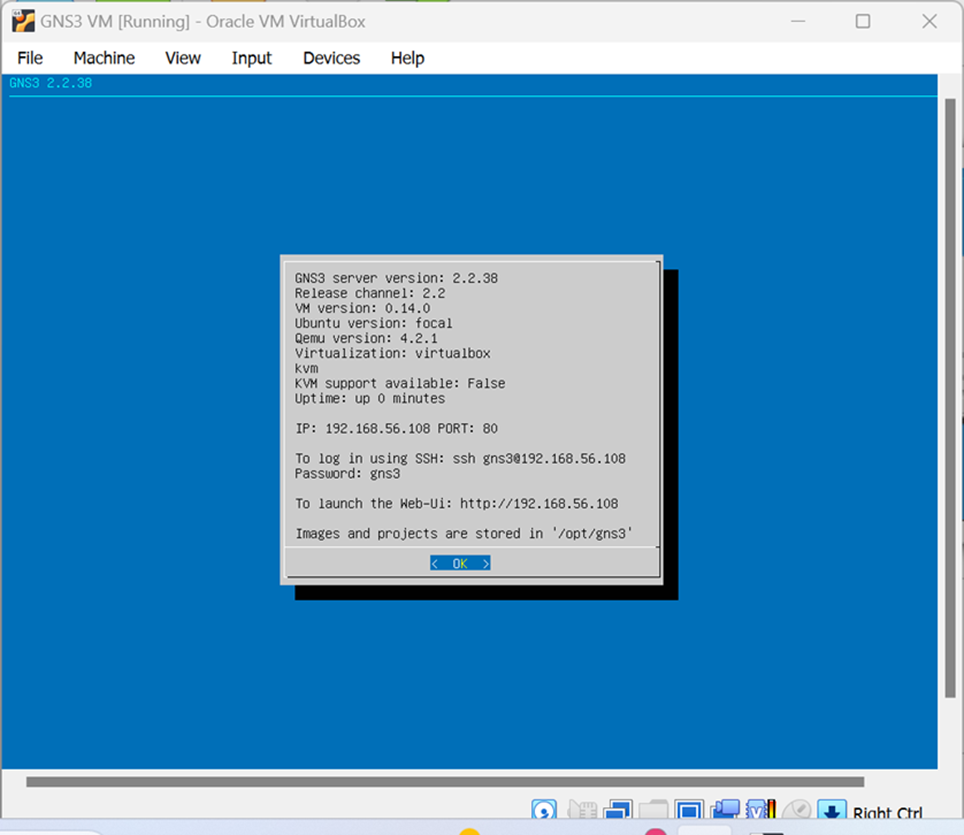
Figure 7 – GNS3 VM settings - Stop the GNS3 VM
Phase III – Configure GNS3
Now, we will configure the GNS3 working environment for first-time use. You may encounter many errors when it first starts. This is normal because the GNS3 default settings use VMWare, and we are using VirtualBox. If you mess up the configuration, you can always re-run the setup wizard by navigating to the GNS3 toolbar and clicking on Help –> Setup Wizard.
- Launch GNS3
NOTE: Sometimes, VPNs will interfere with GNS3’s correct functioning. It is recommended that they be disabled before launching GNS3.
NOTE: You may see the prompt “uBridge requires root permissions to interact with network interfaces.” Say YES. This allows you to connect GNS3 with the actual network if desired.
NOTE: Sometimes, GNS3 asks you to name a new project. If so, pick any name and click OK.
- Next, choose how to run your GNS3 network simulations by selecting Run appliances in a virtual machine
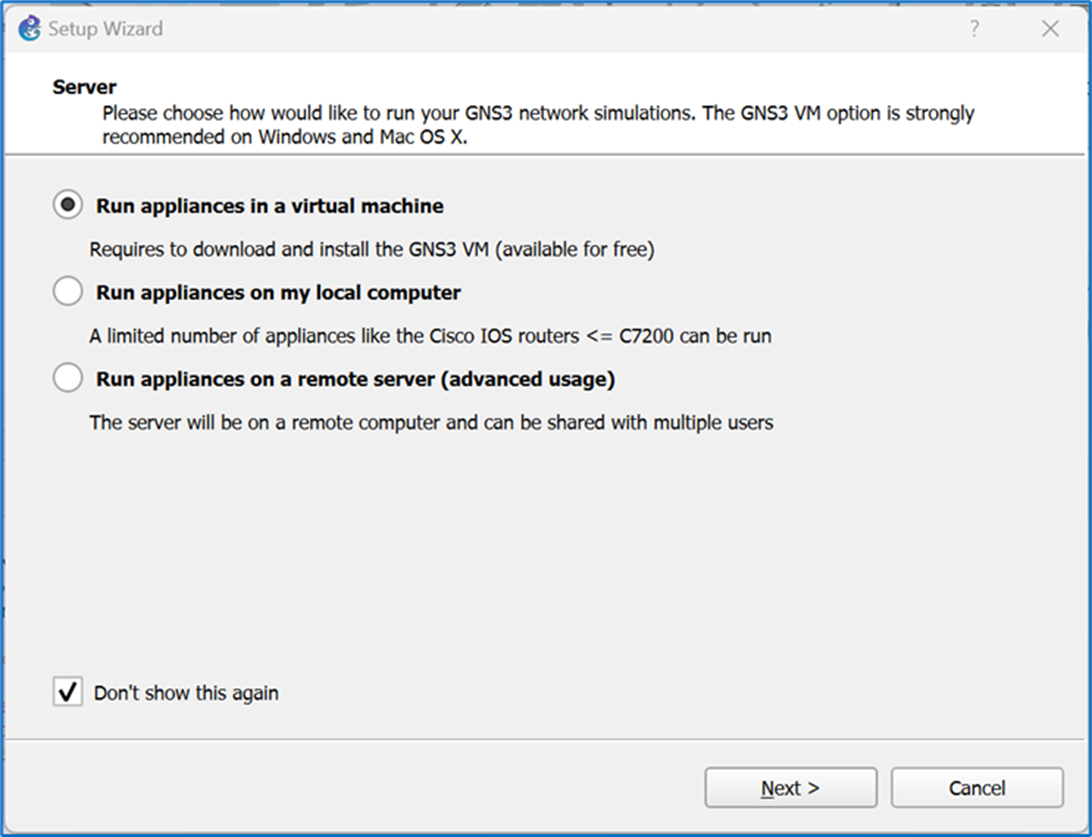
Figure 8 – GNS3 working environment setup wizard - Accept the defaults for the Local Server Configuration and click Next
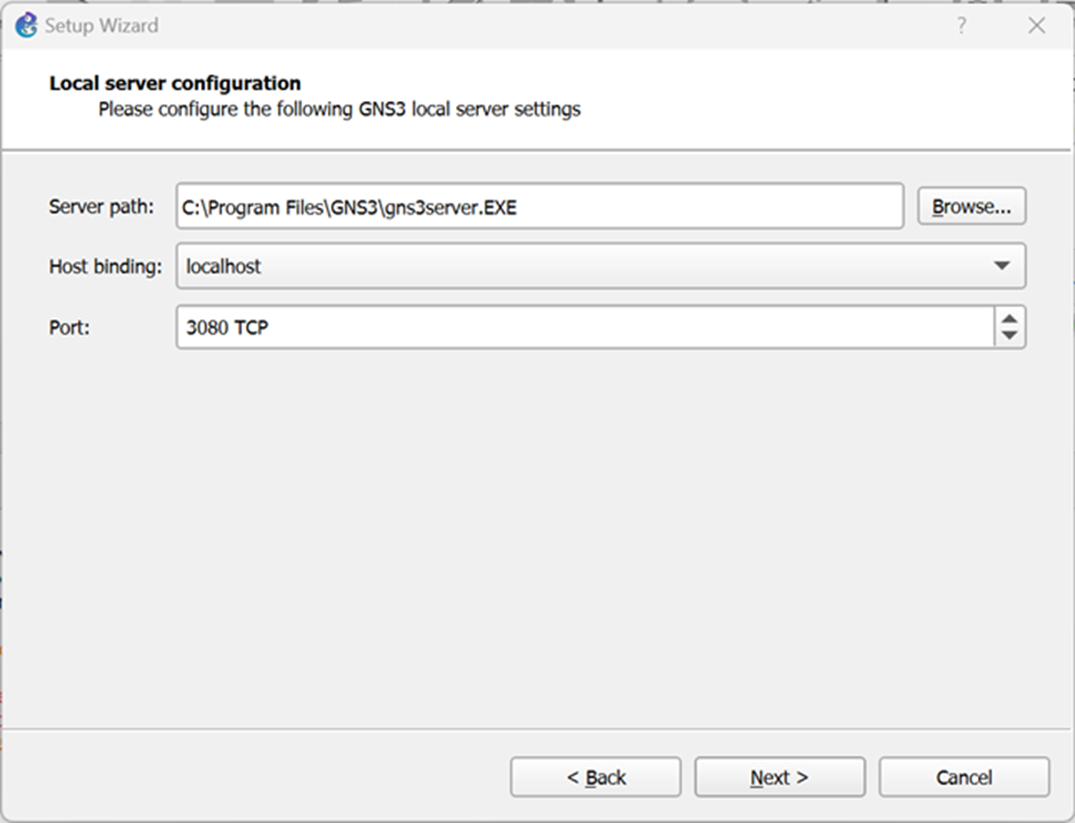
Figure 9 – GNS3 Setup Wizard – Local Server Configuration - You should get a successful message. Click Next
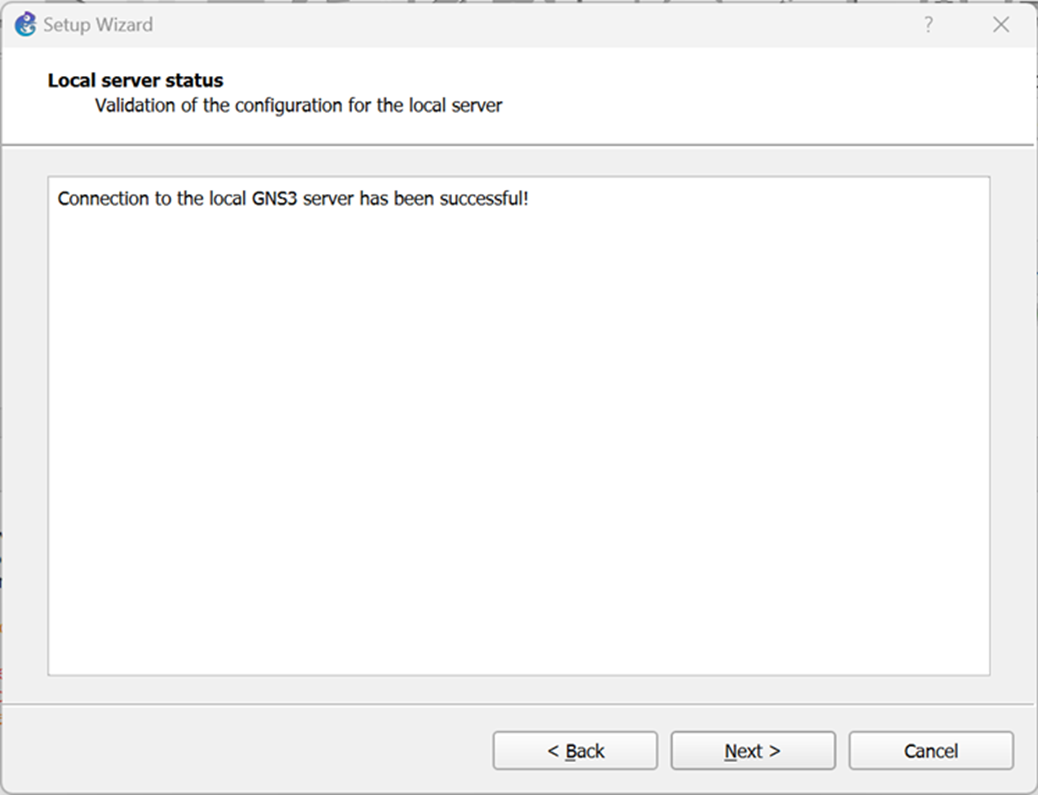
Figure 10 – GNS3 Setup Wizard – Local Server Status - The GNS3 default setting is to use VMWare by default so you will get an error. Select OK and choose VirtualBox
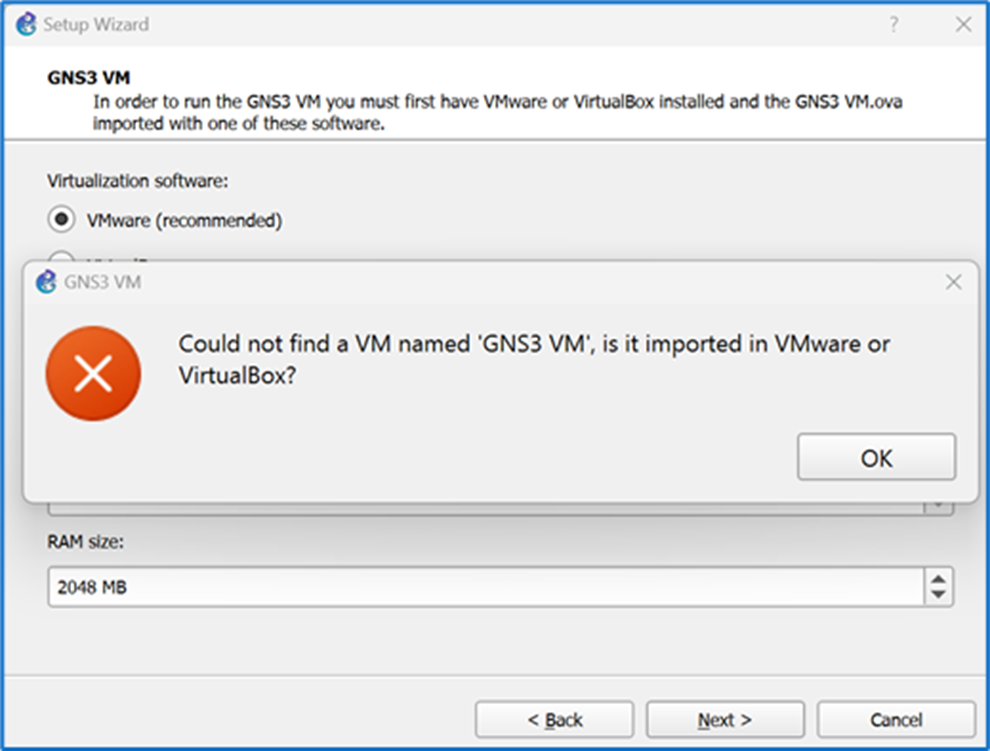
Figure 11 – GNS3 Error, cannot find GNS3 VM in VMware - When you change the radio button, the GNS3 VM you imported and started in VirtualBox earlier should auto-populate. Use the default settings and click Next
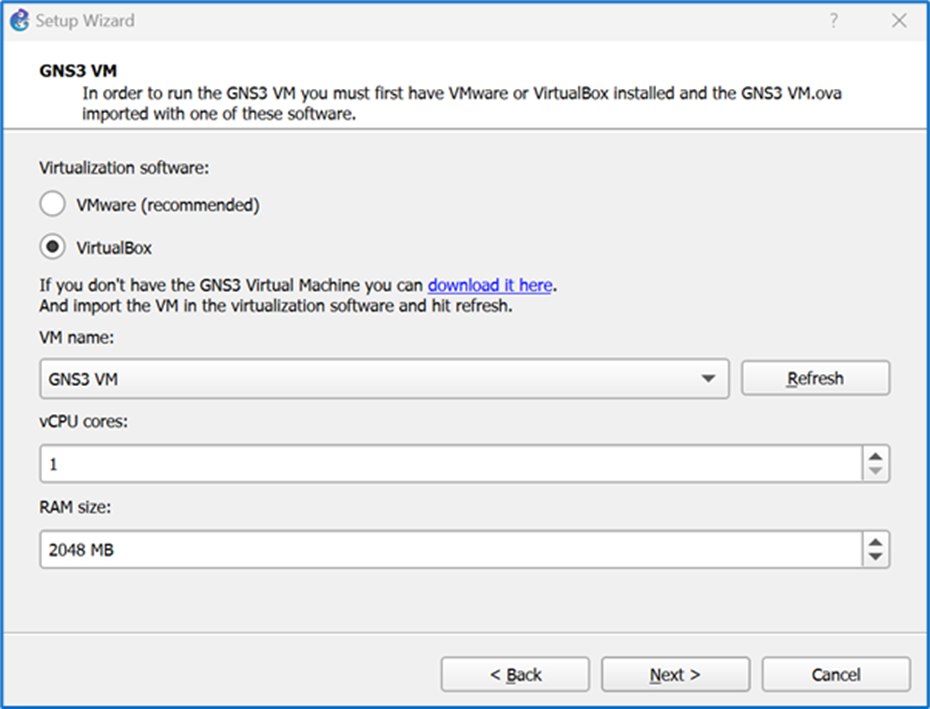
Figure 12 – GNS3 VM Setup Wizard Changing to VirtualBox - Then select Finish
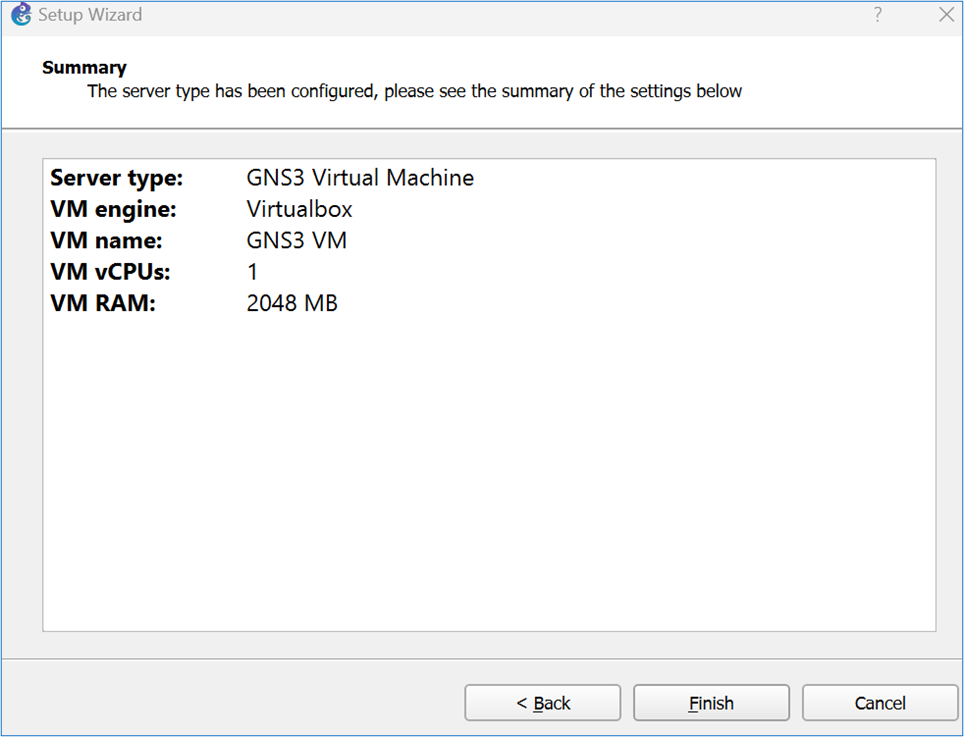
Figure 13 – Finish Setup Wizard - You should have a screen like the one in Figure 14. The windows are adjustable, but the window to take note of is the “Servers Summary.” You should see your bare metal machine (In Figure 14, it is Dr. HVH) and the GNS3 VM, which show green lights and details of how many resources are being used. If the server indicator light is still grey, power off the GNS3 VM and restart the GNS3 Working Environment
Figure 14 – this is what your screen should look like after finishing the Setup Wizard - When you start GNS3, it can take a minute or two while the GNS3 VM launches. The indicator will remain grey until it is fully running
Depending on the hardware of your bare-metal machine, you may get an error stating that KVM acceleration cannot be used. Turn off KVM support in the gns3_server.conf by adding enable_kvm = false to the [Qemu] section. Follow the steps below.
NOTE: if your routers and switches never seem to boot up (called throttling and looks like lines of code streaming upwards), you must do these steps to disable KVM.
- Start the GNS3 VM in VirtualBox
- Use the cursor keys to navigate to configure
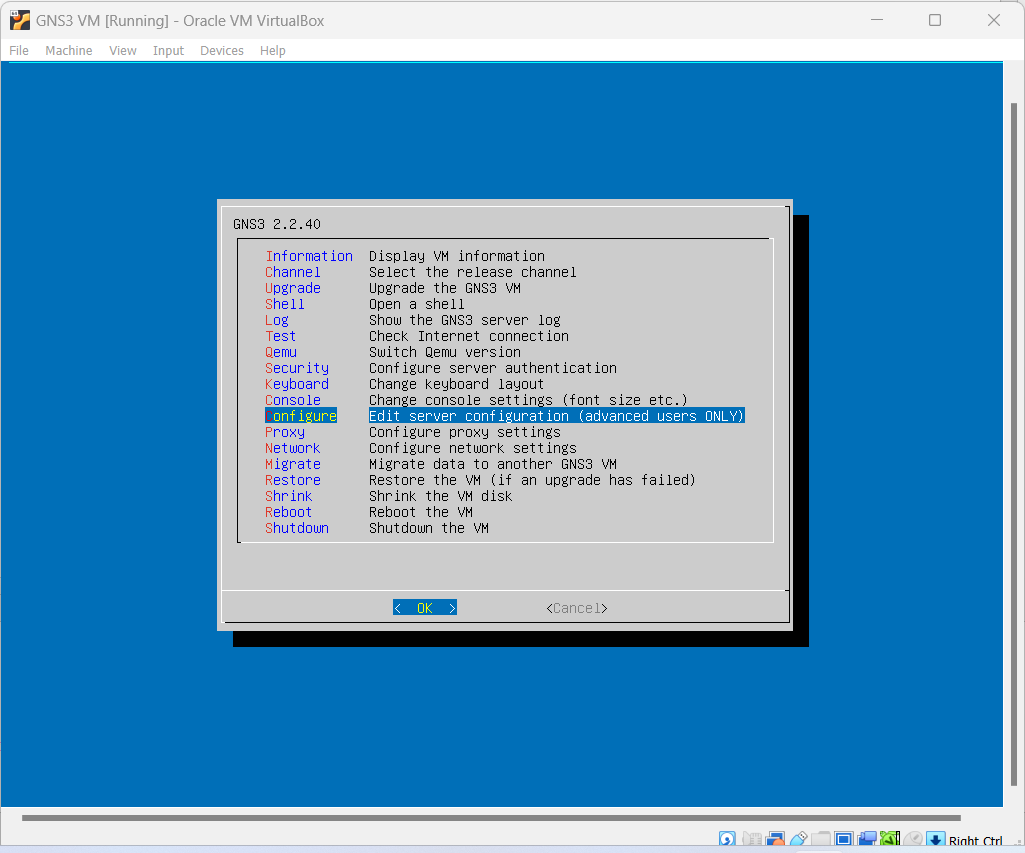
Figure 15 – Disabling Qemu settings in the GNS VM - Add the following lines to the bottom: [Qemu] enable_kvm = false
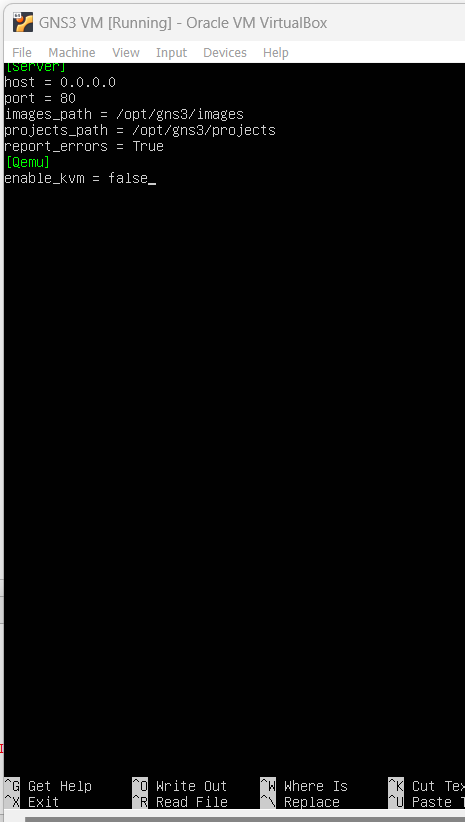
Figure 16 – Disabling Qemu for the GNS3 VM - Press <ctrl> O to write out the file (e.g. save the file)
- Accept the path by pressing <enter>
- Press <ctrl> X to exit
- Restart the GNS3 VM
NOTE: The GNS3 VM controls all non-VM devices. As you complete labs, you will add many routers and switches. If your routers and switches start lagging, you may want to increase the cores and RAM.
End of Lab

