5 Installing Tiny Core Linux
Mathew J. Heath Van Horn, PhD
Tiny Core Linux is a very lightweight operating system (OS) that is easily configurable to meet a wide variety of needs. Unlike other OSs that require gigabytes (GB) of hard drive space and RAM, Tiny Core Linux requires less than 250 megabytes (MB) of hard drive space and only 23 MB of RAM. This makes it uniquely suited for us to use in this textbook to emulate an enterprise network architecture.
Tiny Core Linux uses a lot of command line interface (CLI) commands, so please pay attention to detail when following these instructions.
Learning Objectives
- Install Tiny Core Linux in VirtualBox
- Add Tiny Core Linux to the GNS3 appliance repository
Prerequisites
Deliverables
- None – this is a preparatory lab for other labs
Resources
- Tiny Core Linux Main Website – http://tinycorelinux.net/
Contributors and Testers
- Enzo Gonzalez
Tiny Core Linux is very lightweight. It primarily runs in RAM to increase its operating speed.

- Download the Tiny Core Linux iso file named “CorePlus” from http://tinycorelinux.net/downloads.html
Note: iso is used as a nickname for an optical disk image adhering to the ISO 9660 file system.
- The file is so small it isn’t zipped
- Open the Oracle VirtualBox Manager and click on New
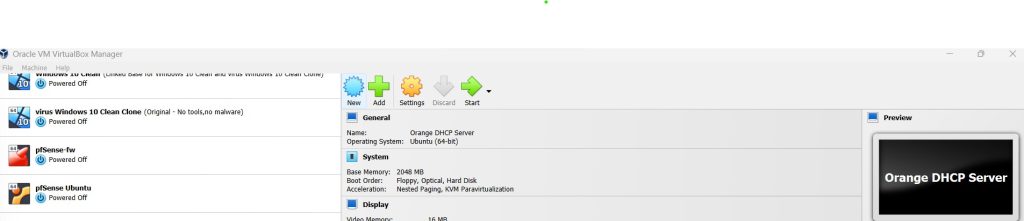
Figure 1 – Create a new VM - Complete the VM form
- Choose a name – In this lab, we called it “TinyCoreLinux”
- Use the ISO dropdown menu to select the CorePlus-current.iso you downloaded in Step 1
- Use the Type drop-down menu to choose Linux
- Use the Version drop-down menu to choose Other Linux (64-bit)
- Press Next
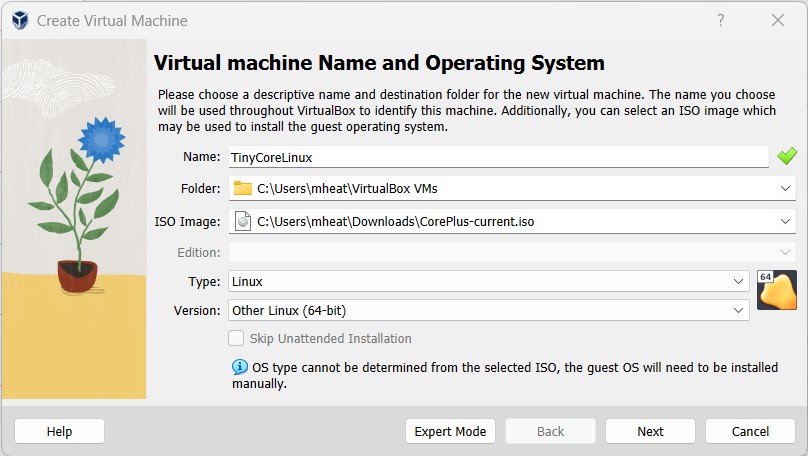
Figure 2 – Completing the VirtualBox VM form
- Decrease the Base Memory to 256 MB and press Next
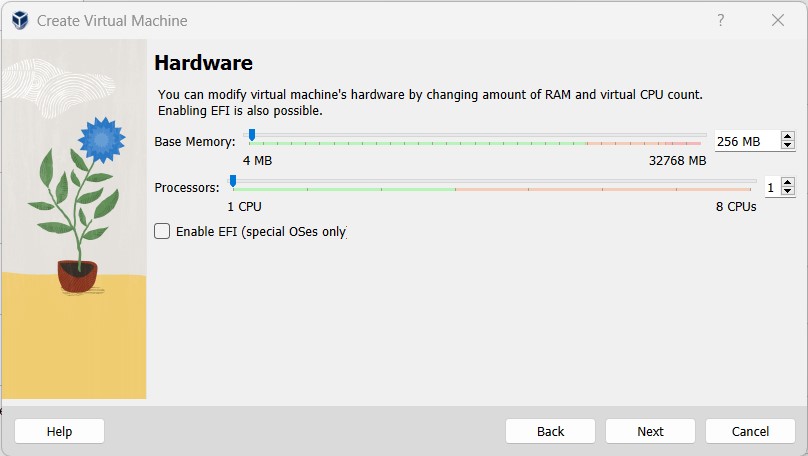
Figure 3 – decrease the memory to 256MB - Decrease the Virtual Hard Disk to 500 MB and press Next
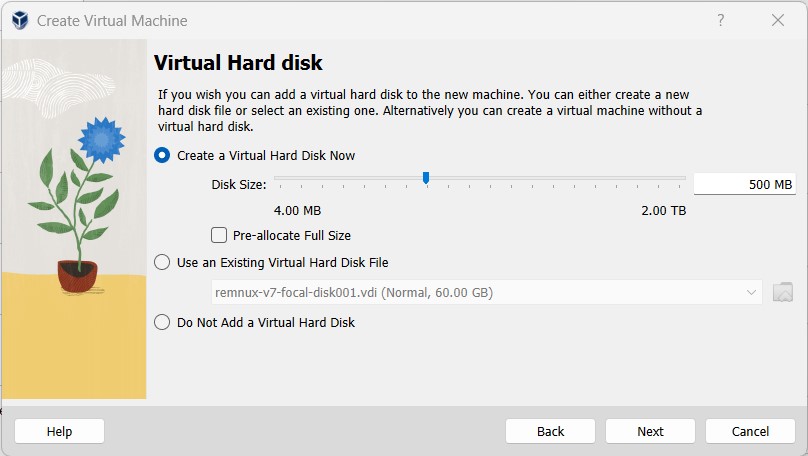
Figure 4 – Decrease the Virtual Hard Disk to 500 MB - At the summary screen, press Finish
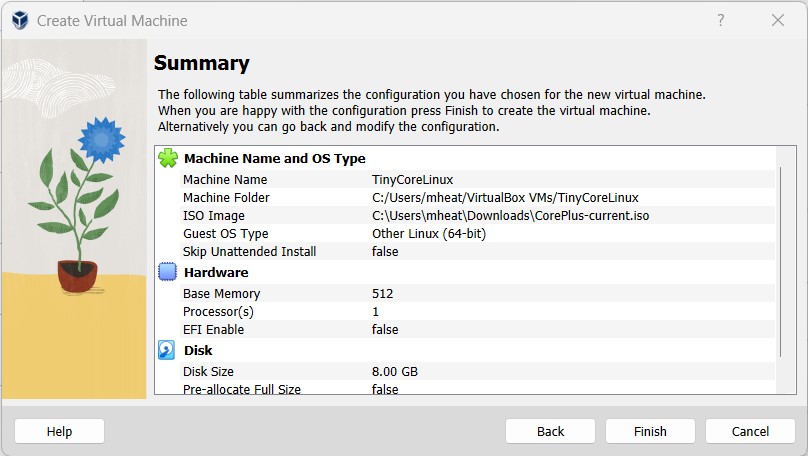
Figure 5 – Finish the VM changes - Start the TinyCoreLinux VM
NOTE: Some testers had to explicitly tell the VM to capture their mouse commands. To do this, navigate to the VM menu at the top of the VM window and under Input open the drop-down menu and select Mouse Integration
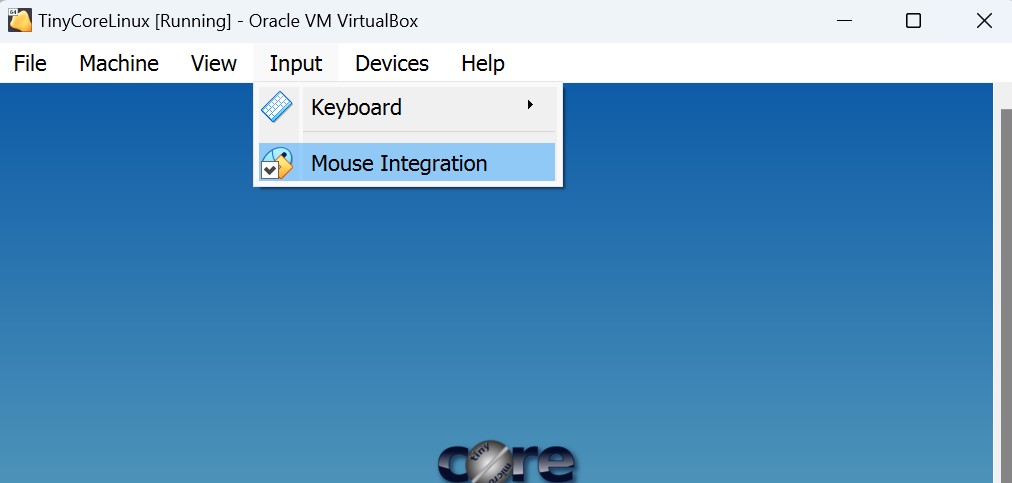
Figure 6 – Mouse integration in VirtualBox VMs NOTE: Remember – to release the mouse from a VirtualBox VM – press the right-side ctrl key
- Use the arrow keys to select Boot Core with X/GUI (TinyCore) + Installation Extension
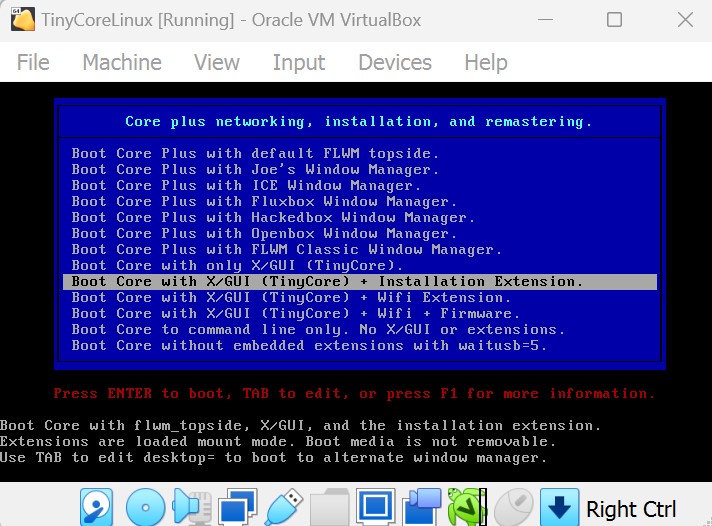
Figure 7 – First time boot instructions for TinyCore Linux - Press enter to start the boot process in this mode
- Once it starts (takes a few seconds), you will see the main screen. At the bottom of the screen, you can hover your mouse over the icons and right-click the Install icon
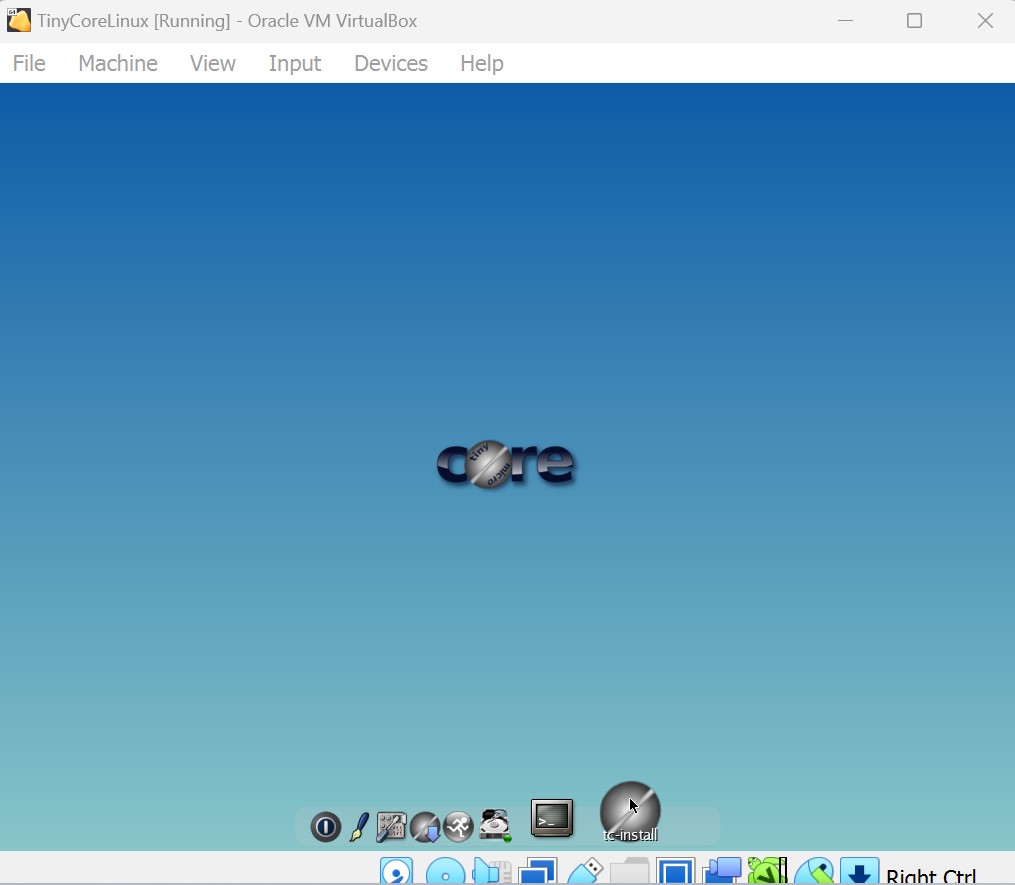
Figure 8 – Install TinyCore Linux - Manage the settings in the Tiny Core Installation menu
- Select Whole Disk
- Highlight sda as the disk
- Select Install boot loader
- Press the right arrow at the bottom of the settings to go to the next menu
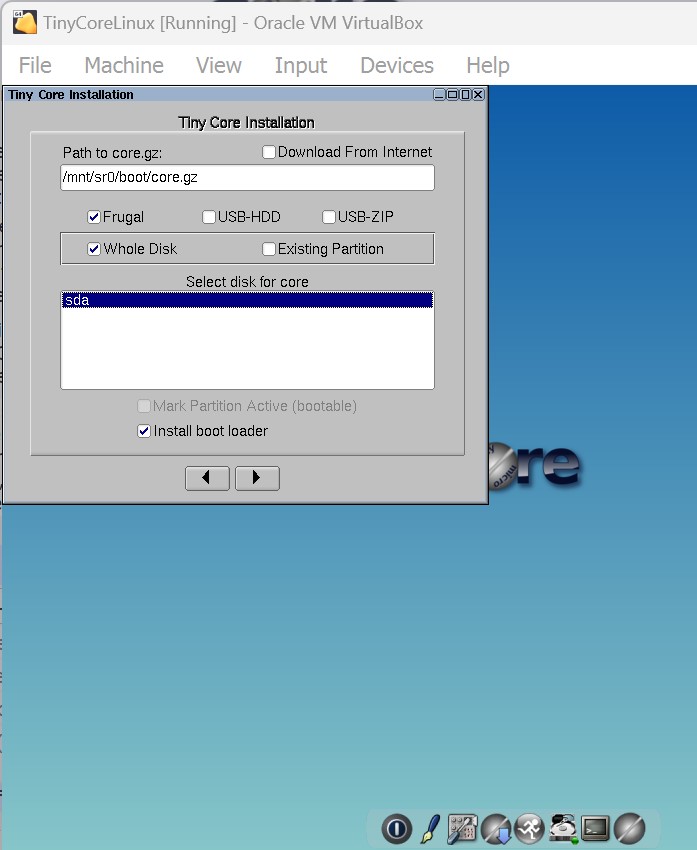
Figure 9 – Managing the settings in TinyCore installation menu
- Leave the formatting options at their default and press the right arrow

Figure 10 – Leave the formatting options alone - In the boot options reference list, type the following in the blank field at the bottom
home=sda1 opt=sda1
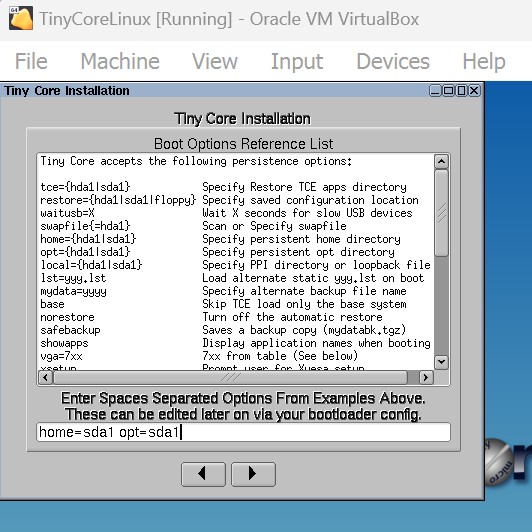
Figure 11 – Set the home and optional drives to use by default - Press the right arrow
- On the Install Type menu, leave the defaults and press the right arrow

Figure 12 – Leave the install type defaults - Review the installation information and press Proceed
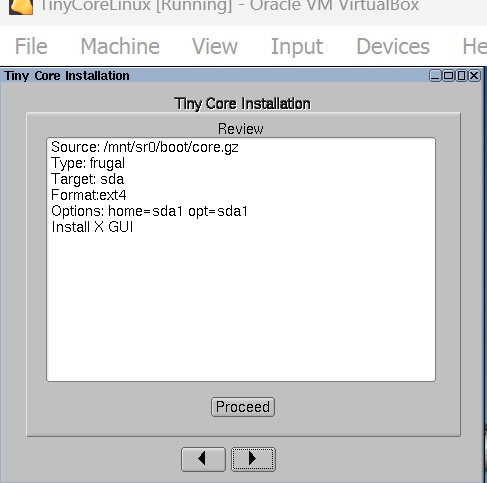
Figure 13 – Review the installation information before proceeding - When the installation has finished
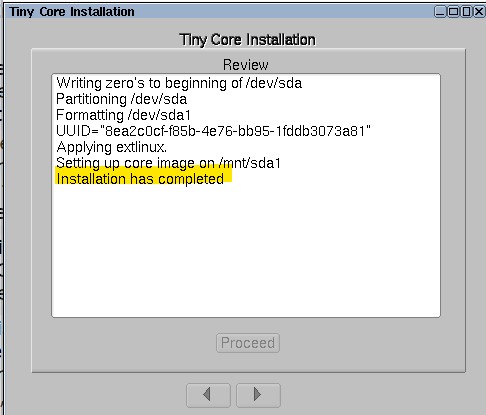
Figure 14 – Installation indicates finished , shut down the VM
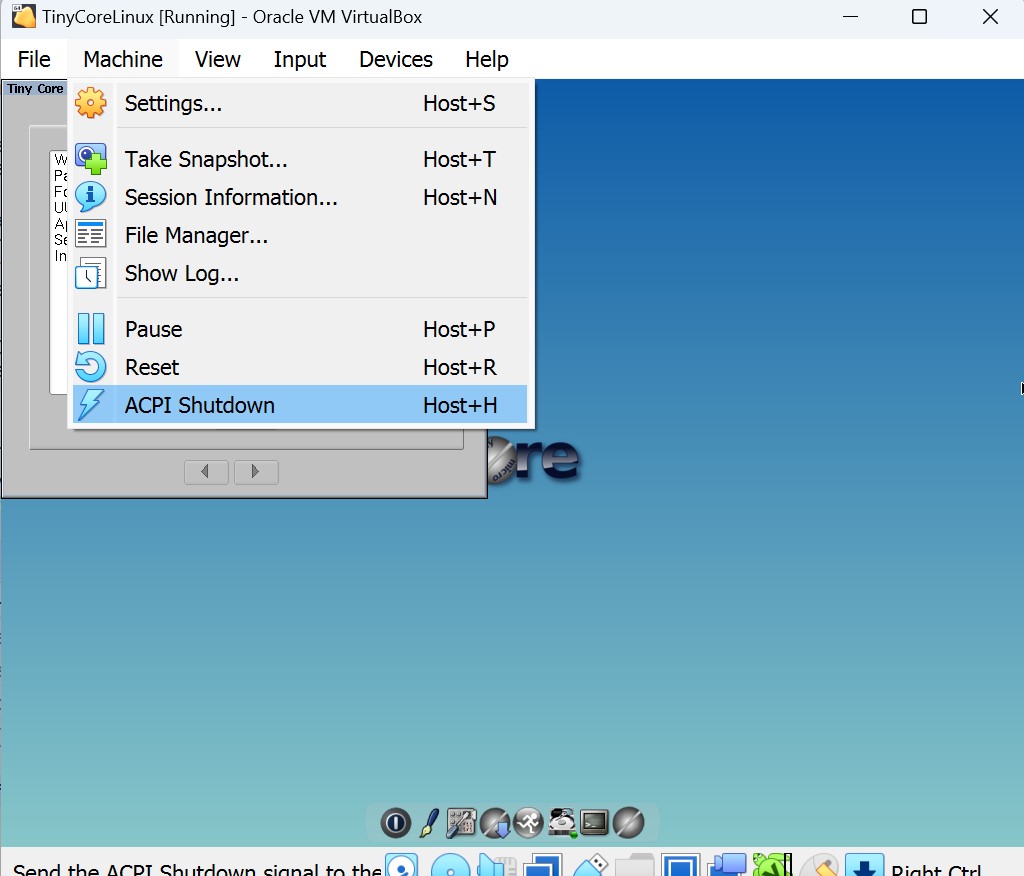
Figure 15 – Shut down the VM from within the VM - Return to the VM VirtualBox manager and adjust the settings for the TinyCoreLinux VM by clicking on settings
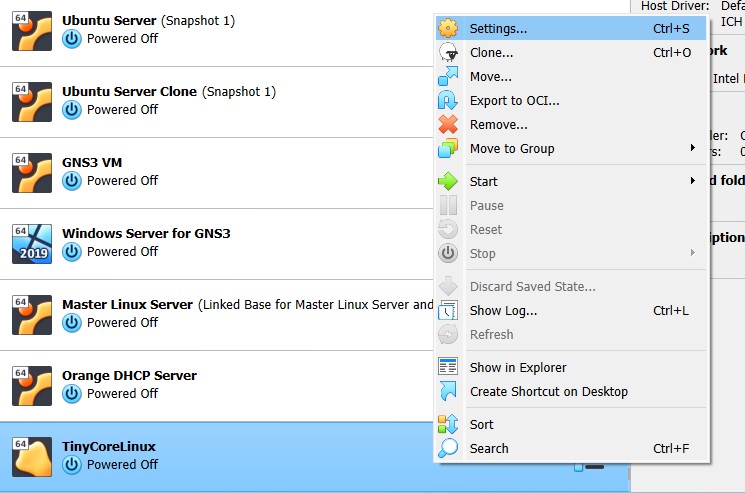
Figure 16 – Configuring the VM again - In settings, navigate to Storage, right-click the iso, and click Remove Attachment
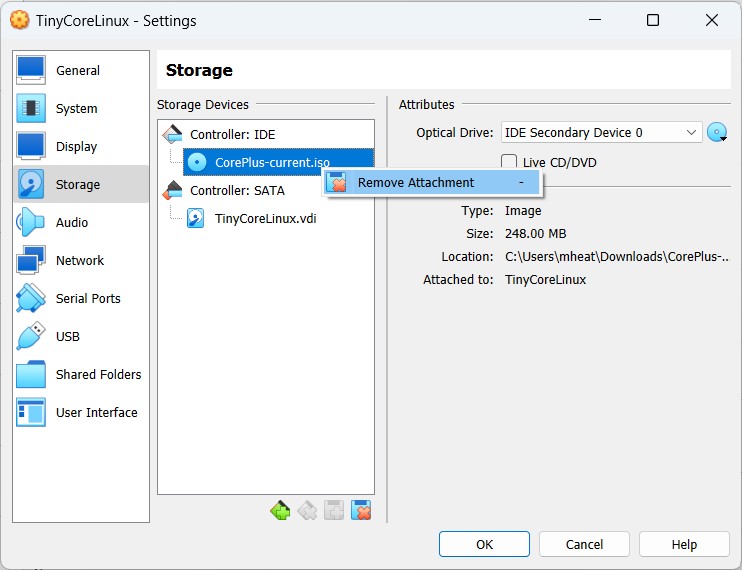
Figure 17 – Remove the booting iso image This forces the VM to boot from the virtual hard disk instead of the iso
- Click OK
- Start the TinyCoreLinux VM to ensure it boots from the virtual hard drive. Notice that the Install icon no longer appears
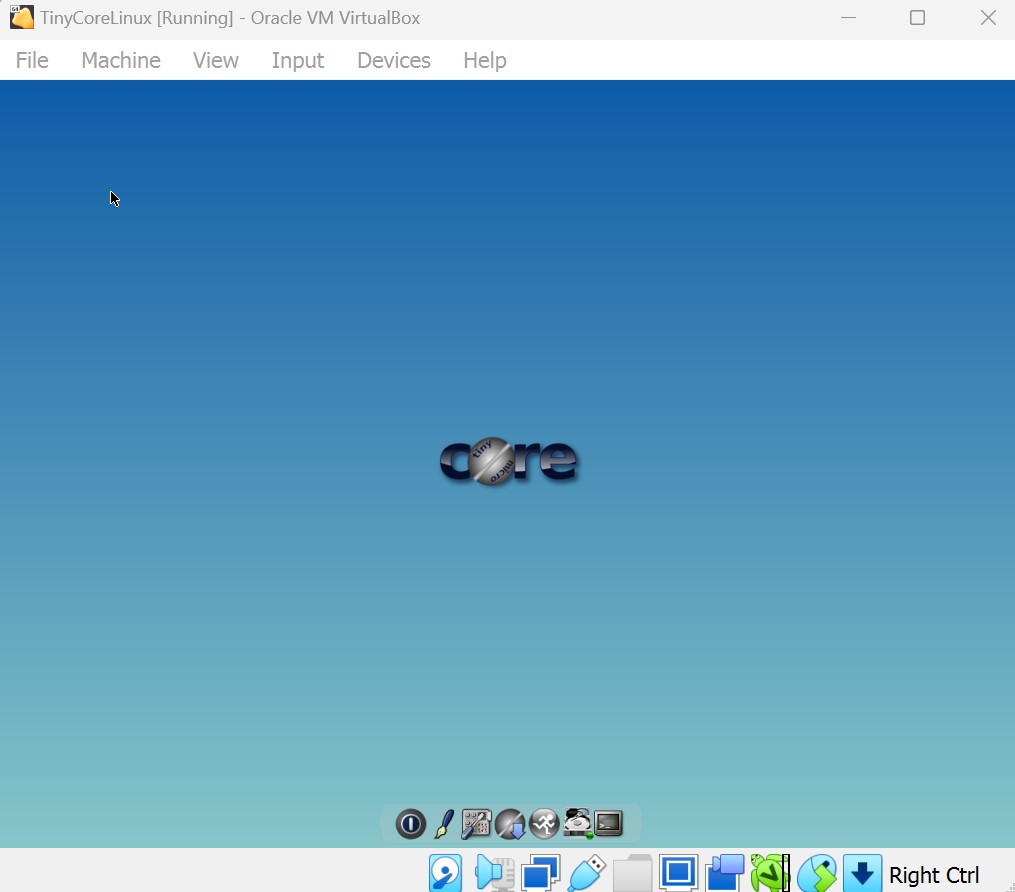
Figure 18 – The install icon no longer appears which means it is booting from the virtual drive instead of the iso
Phase II – Creating persistance in Tiny Core Linux
Tiny Core Linux discards all changes made when it shuts down. This is great for getting a fresh start, but can be a pain when we want to keep something. To persistently save material when the VM shuts down, we need to use the backup feature. In this section, we will create a test file and use the backup feature to keep the information.
- Start the TinyCore Linux or resume from the install
- On the main page, click on the third icon Control Panel
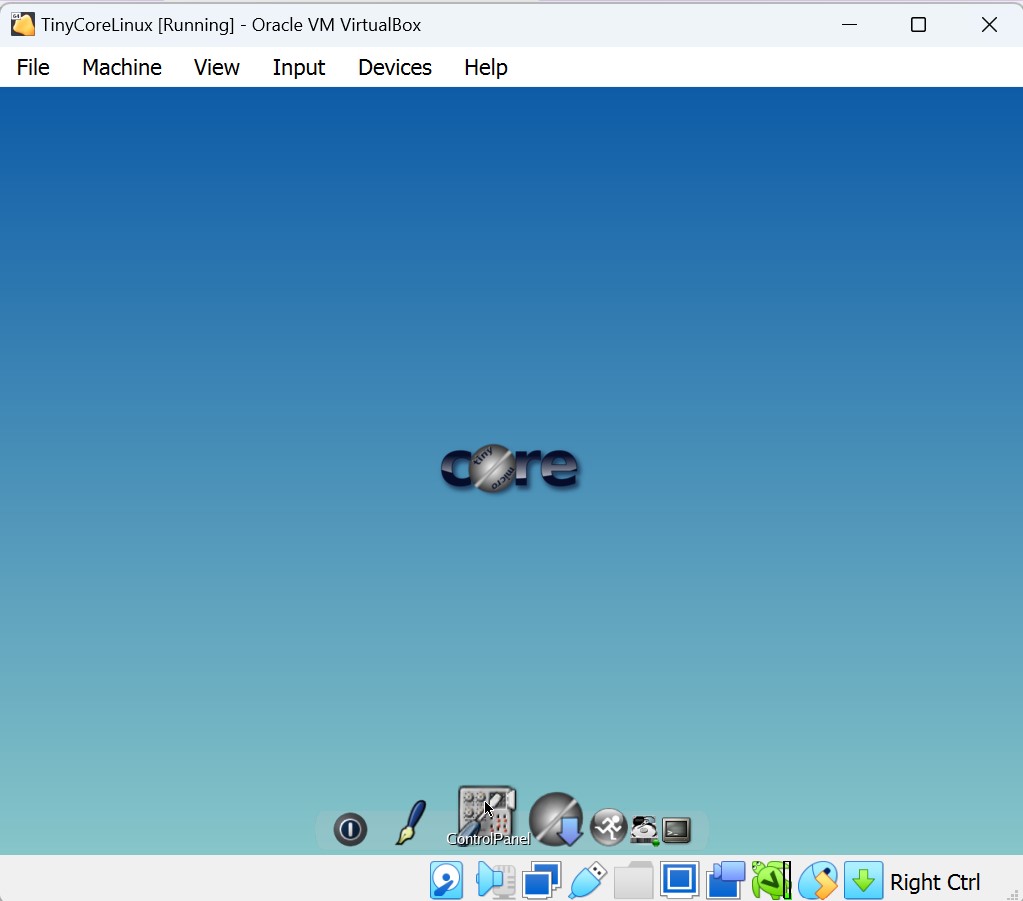
Figure 19 – Configure the TinyCore VM for persistence - Under the maintenance section, click Backup/Restore and another window will open. Click on Included for Backup (.filetool.lst) and you can see which directories and files are saved automatically on shutdown with backup
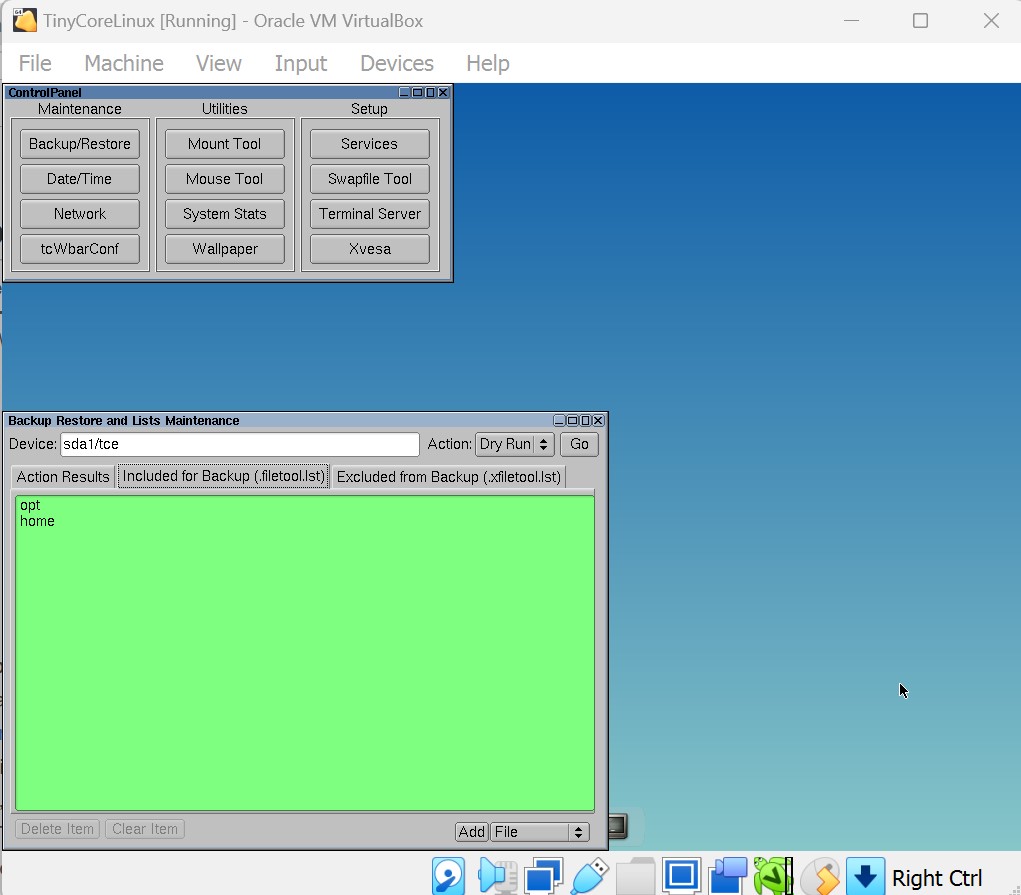
Figure 20 – Changing the backup/restore settings - According to this information, files saved in the opt and home directories will be backed up
- Close the windows
- Open a blank text file by clicking on the editor icon

Figure 21 – Open a blank text file - Type in anything in the textbox and then use the mouse to select File –> Save File As…
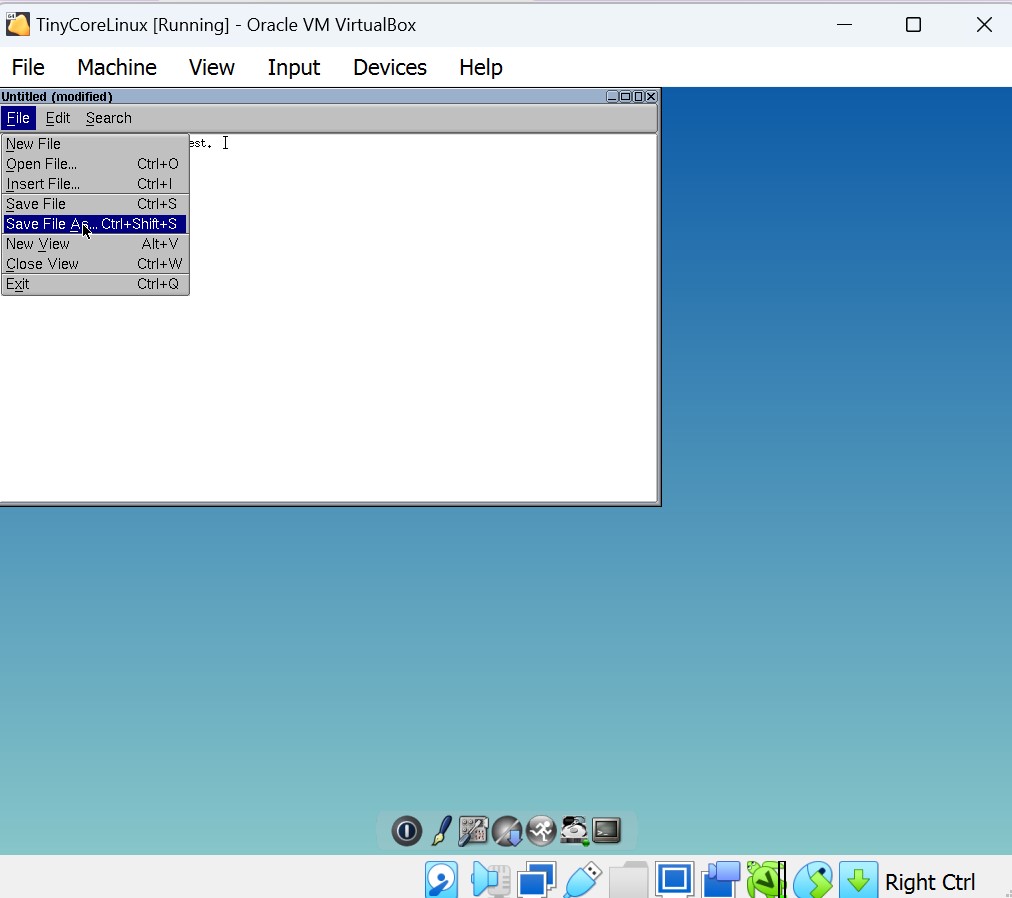
Figure 22 – Type anything and save the document - In the File Save As window, leave the default settings and add the file name test.txt, and click ok
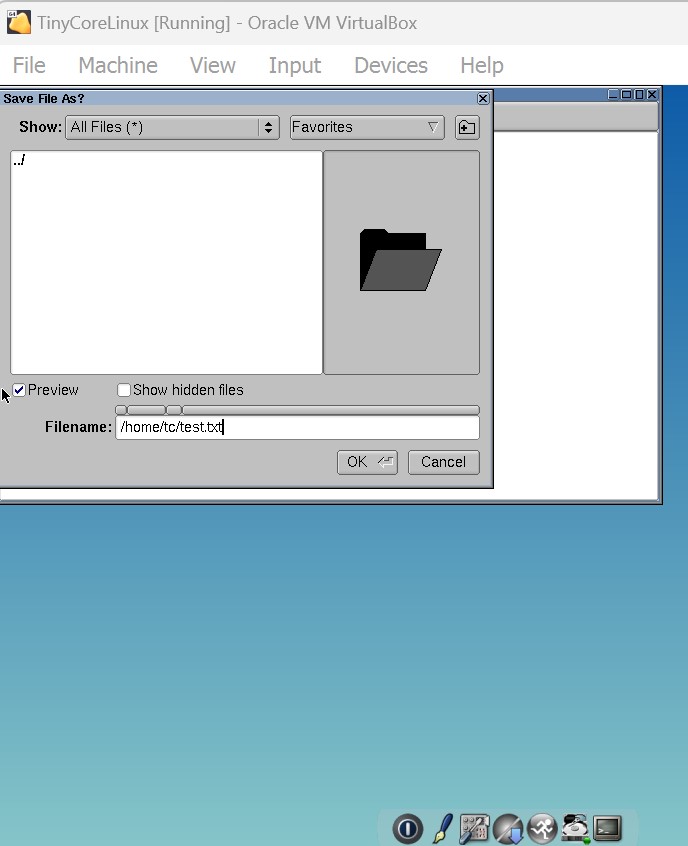
Figure 23 – Save the text file - Now click on the Exit icon at the bottom, and on the exit options, select Reboot and backup options Backup and then press ok
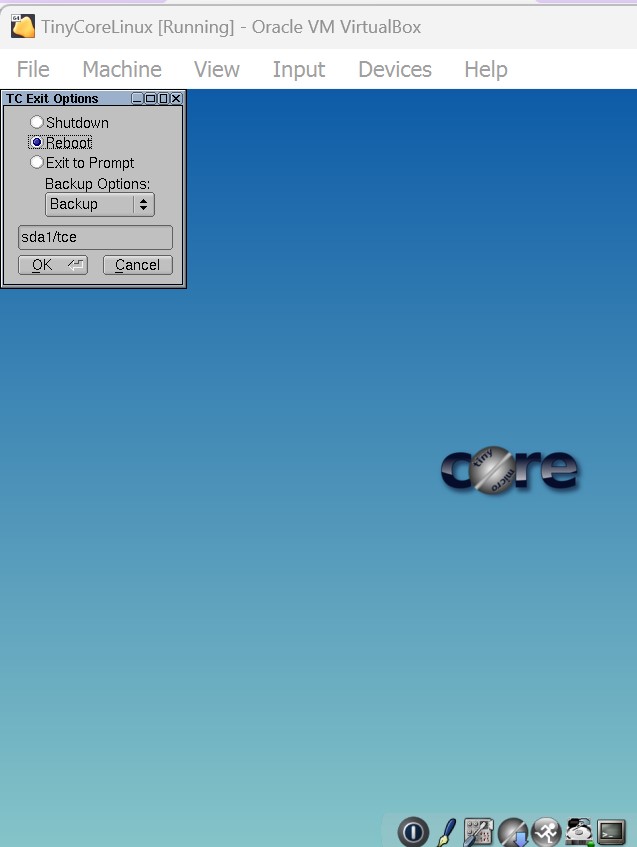
Figure 24 – Reboot and Backup - After the VM restarts, open the editor again, and this time click File –> Open File. In the new window, you should see the file you saved earlier
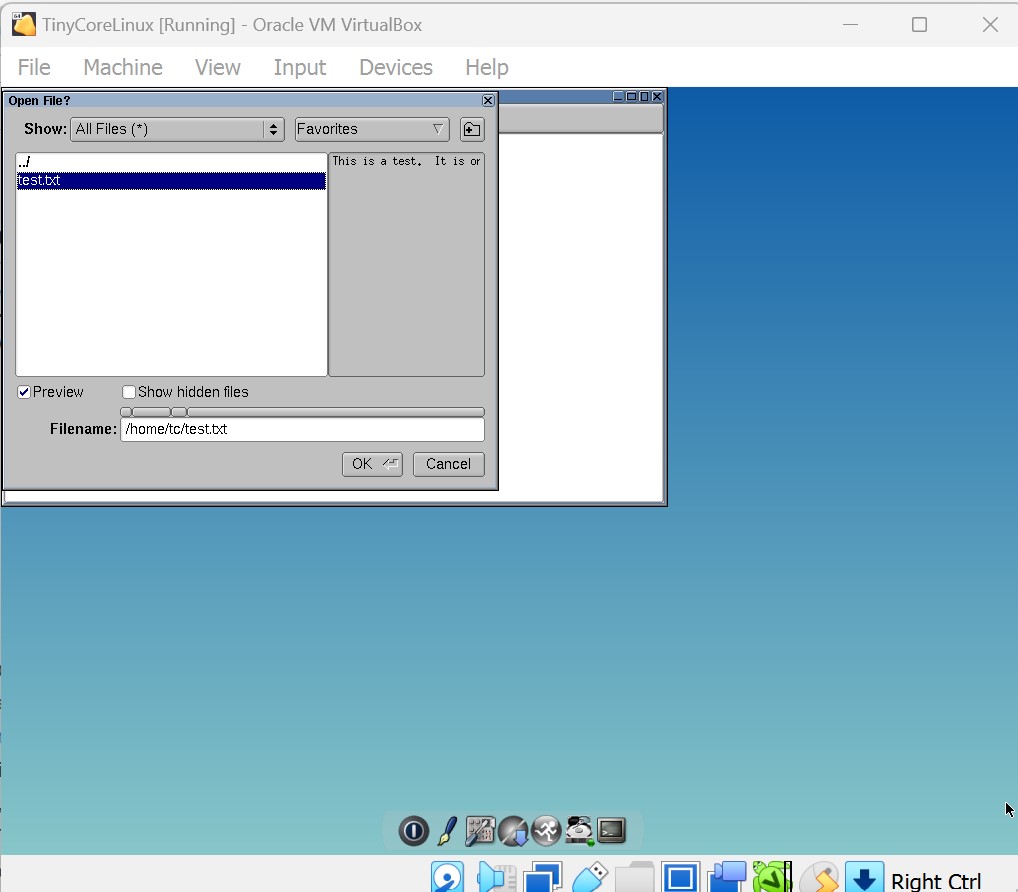
Figure 25 – Checking to see if the file was retained after reboot - You can open it again if you want, but seeing it listed is good enough to know that data persistence via backup is working
Phase III – Adding the TC VM to GNS3
You will want to add this lightweight VM to your GNS3. It is a little more robust than the VPCS that comes with GNS3.
- Follow the directions in Chapter 6 for adding any virtual machine to GNS3.
End of Lab

