57 Create a Windows 11 Desktop
Mathew J. Heath Van Horn, PhD
Editor’s Note: This lab will be moved to Section 1 in the 3rd Edition.
Microsoft’s Windows 11 Desktop is one of the most popular operating systems for home, school, and work. Most people have installed the desktop software at some point. However, installing Windows as a VM has a few unique challenges, minor, but worthy of addressing. In this chapter, we explain how to create an official Windows 11 Desktop VM as well as an unofficial version of Windows 11 that is stripped down to use much fewer resources.
Learning Objectives
- Create a Windows 11 VM
- Create a Tiny 11 VM
Prerequisites
- VirtualBox installed. For this book, make sure you install Version 7.0.x
- GNS3 Workspace Installed. For this book, make sure you install version 2.xx.xx
Deliverables
- None – this is a preparatory lab that supports other labs in this book
Resources
- Most students at colleges and high schools can download Windows (with a license key) through Azure for Education. Ask your instructor for details or a copy of the Windows Server iso file.
- Windows 11 (without product key) is available from https://www.microsoft.com/en-gb/software-download/windows11
- Tiny 11 is available from https://archive.org/details/tiny-11-24h2
Contributors and testers
- TBD
Phase I – Creating a Windows 11 VM
The Windows 11 installation requirements are quite substantial and can be found at https://www.microsoft.com/en-us/windows/windows-11-specifications?r=1. However, these requirements barely allow Windows 11 to run. Our experience suggests that 8GB of RAM and 100GB of storage are necessary to utilize Windows 11 in a meaningful way. When we build the VM we are going to go for the bare minimum.
- Download the iso image from https://www.microsoft.com/en-gb/software-download/windows11
- Select the download

Figure 1 – Download Windows 11 - Select the language
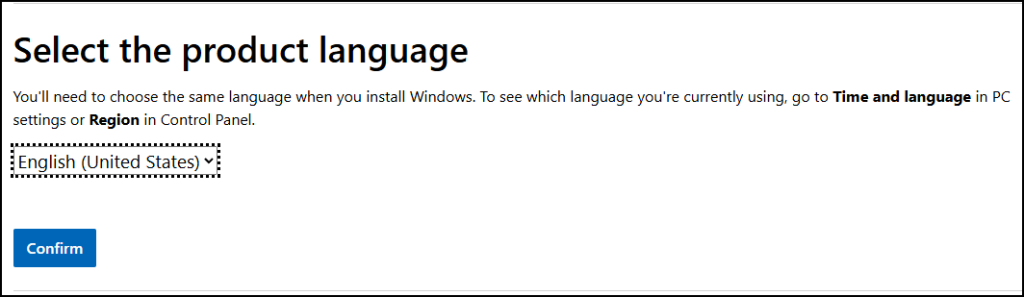
Figure 2 – Select Language - Select the 64-bit Download
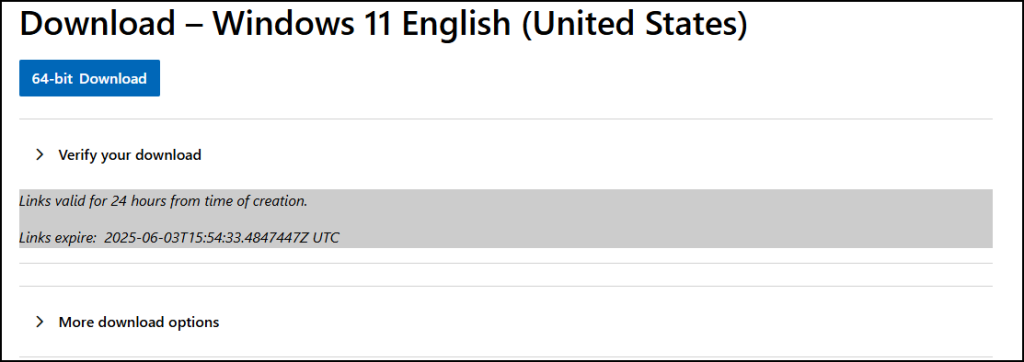
Figure 3 – Confirm 64-Bit Download
- Select the download
- Create a new VM using the Windows 11 iso file
- Start Oracle VirtualBox Manager
- Select ‘New’
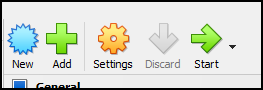
Figure 4 – Select New - Name the VM “Windows 11”
- Select the folder you want to save the VM
- Use ISO image you just downloaded
- Select “Skip Unattended Installation.”
- Press “Next”
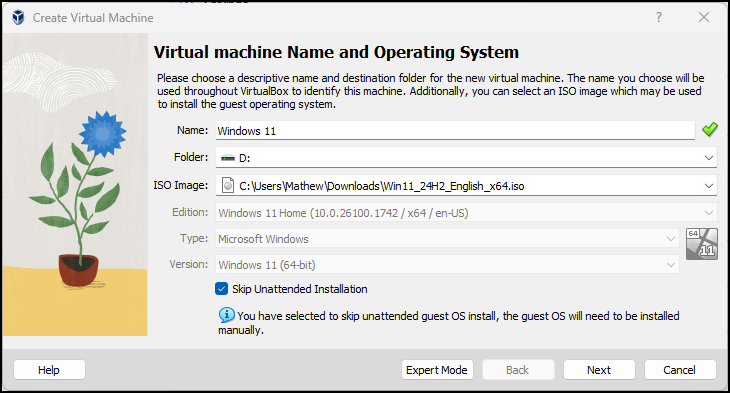
Figure 5 – Complete the information for the VM
- Hardware – Use defaults – Press “Next”
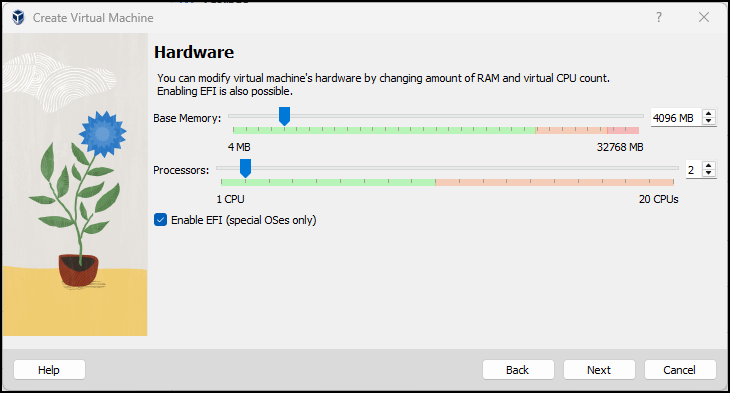
Figure 6 – Select hardware - Virtual Hard Disk – Use defaults – Press “Next”
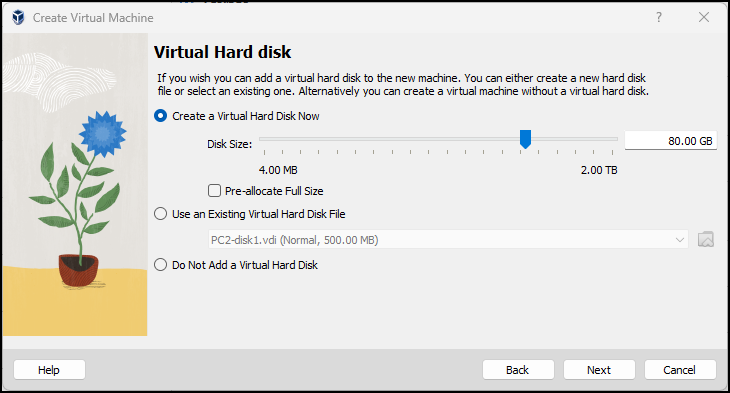
Figure 7 – Virtual Hard Disk - Confirm settings – Press “Finish”
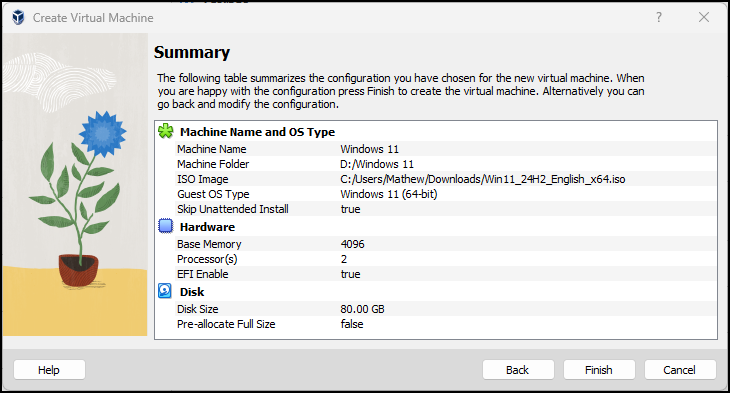
Figure 7 – Confirm settings
- Start the VM
- Press any key to boot from CD or DVD. If you miss this, it will give you a menu to reselect the ISO you downloaded earlier
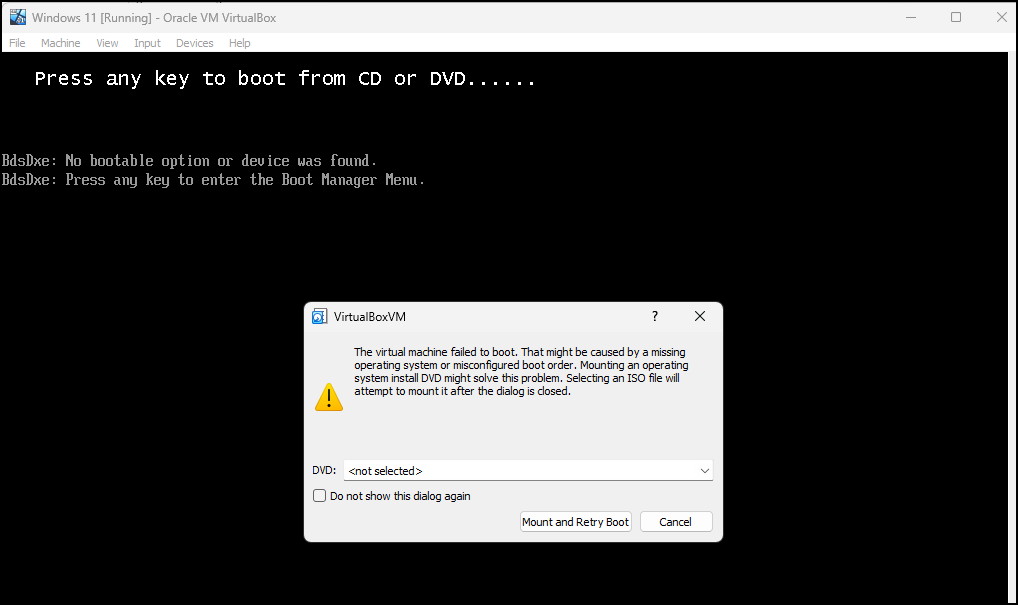
Figure 8 – Press any key to boot - Select language settings
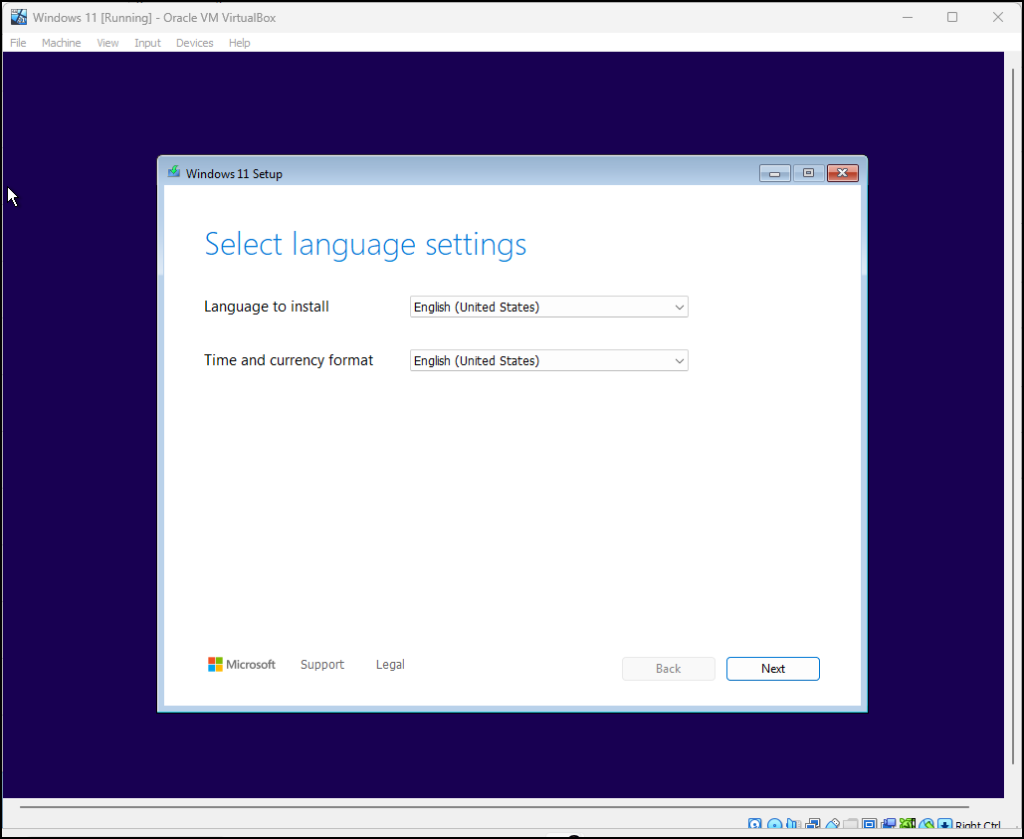
Figure 9 – Select language settings - Select keyboard settings
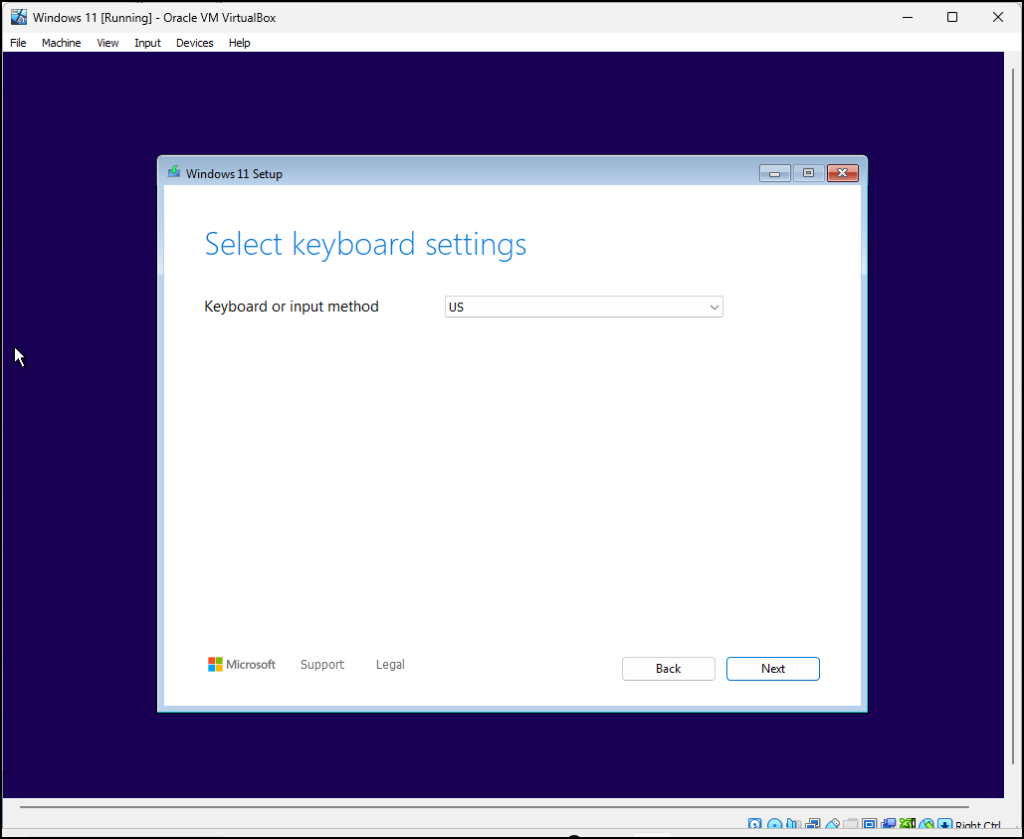
Figure 10 – Select keyboard settings - Install Windows 11 and agree that everything will be deleted
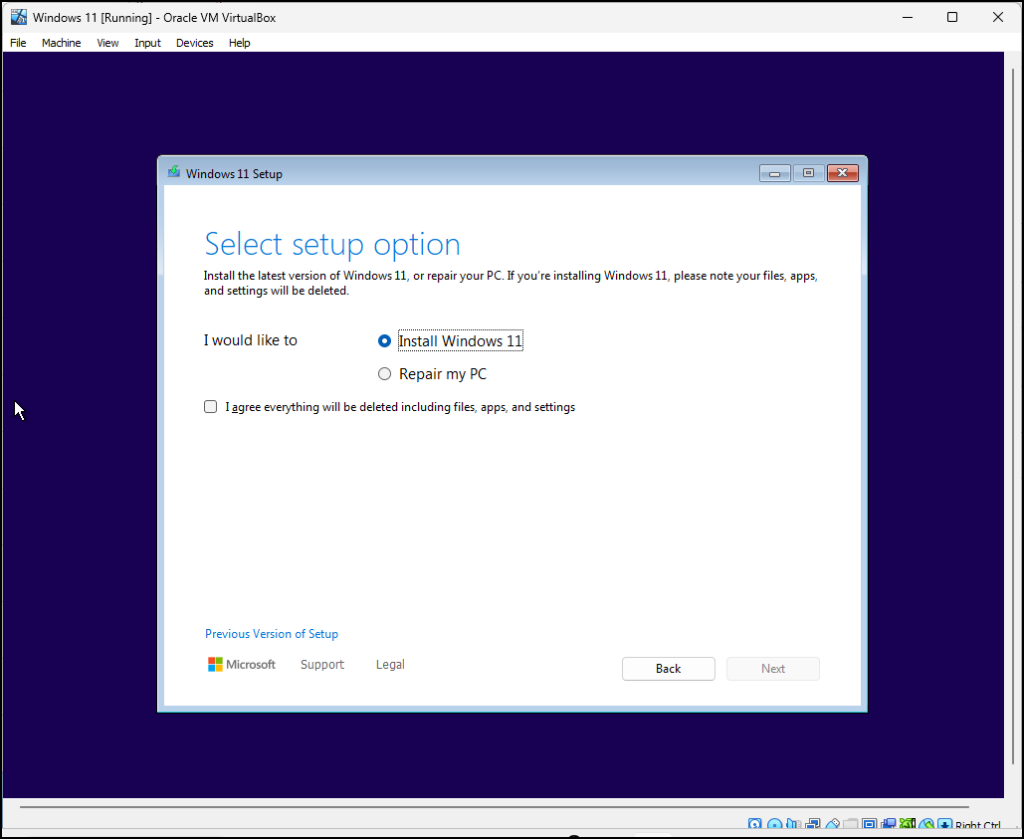
Figure 11 – Install Windows 11 and agree to the deletion notification - Select “I don’t have a product key”

Figure 12 – I don’t have a product key - Select Windows 11 Education and press “Next”
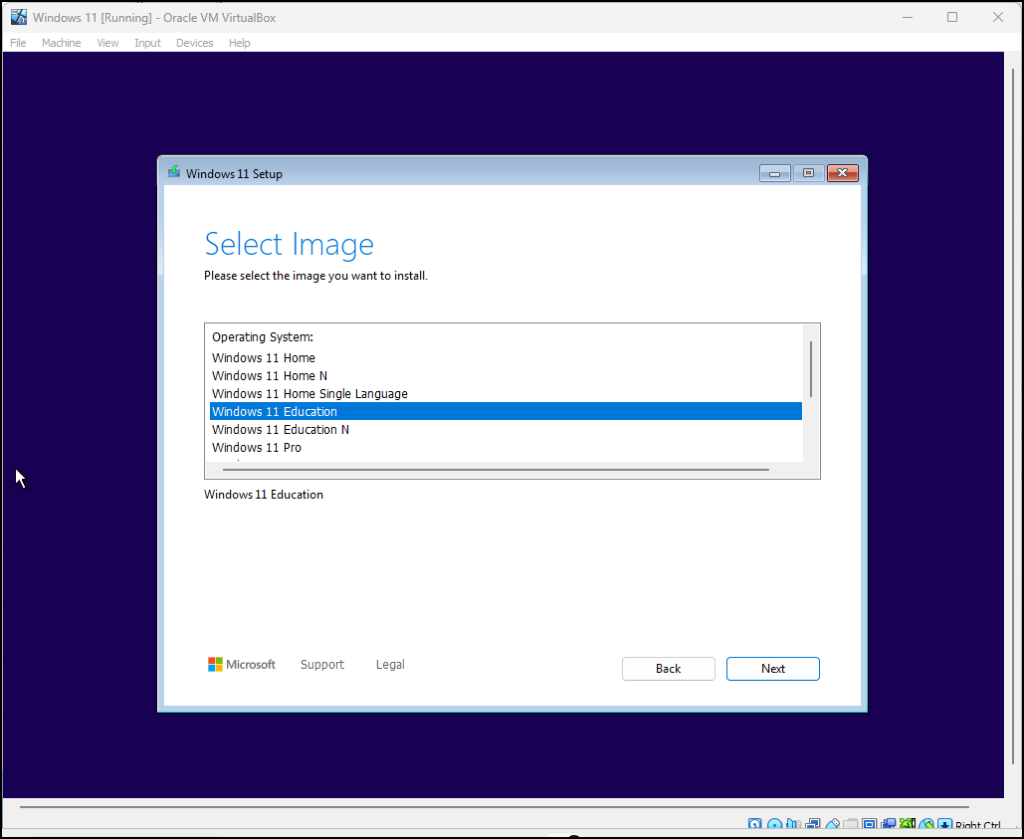
Figure 13 – Windows 11 for Education - Accept the notice and license terms

Figure 14 – Accept license terms - Select the default location and press “Next”

Figure 15 – Select installation location - Select “install”
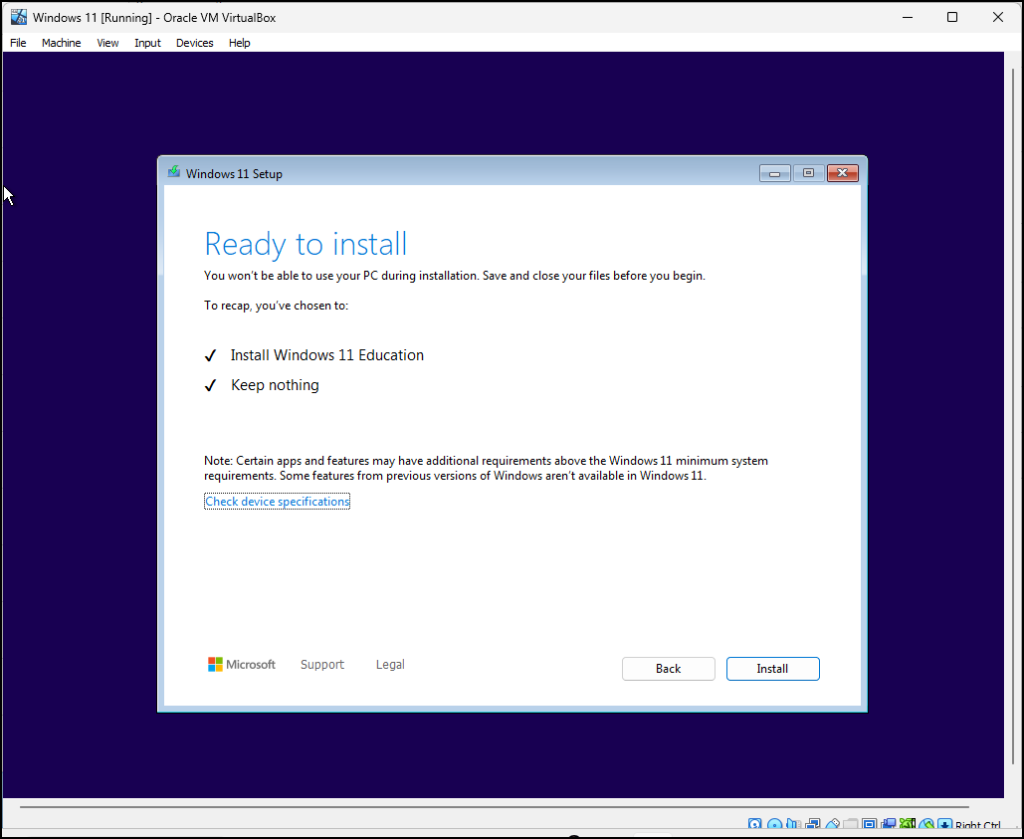
Figure 16 – Select install - Select the country and press “Yes”
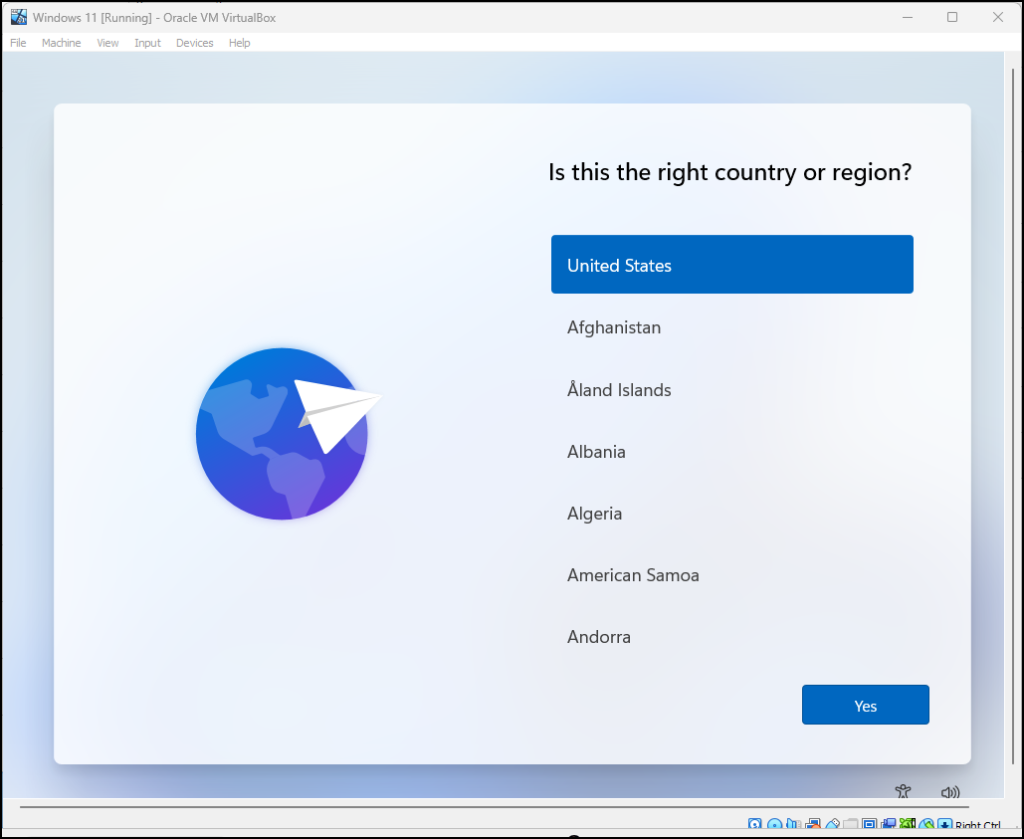
Figure 17 – Select country - Select keyboard
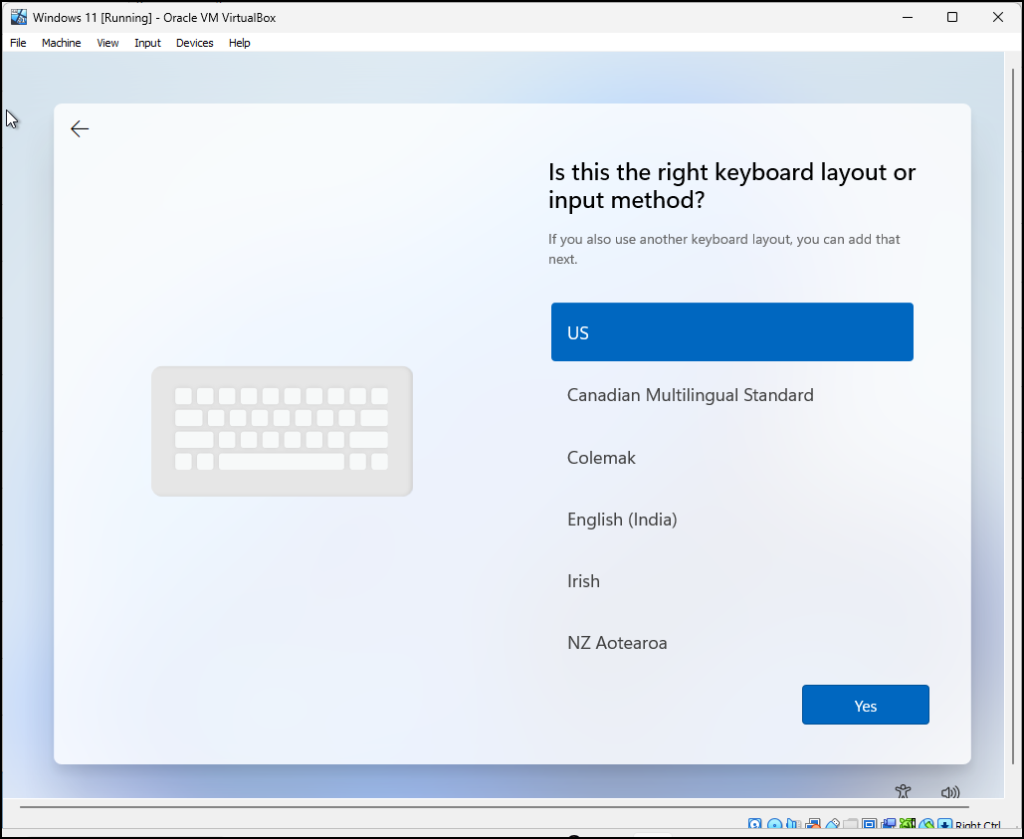
Figure 18 – Select keyboard and press “Yes”
- Skip the “add a second keyboard layout”
- Press any key to boot from CD or DVD. If you miss this, it will give you a menu to reselect the ISO you downloaded earlier
- When you get to the “Let’s set things up for our work or school,” you need to modify Windows 11
- Navigate to the soft keyboard from the VM top menu bar
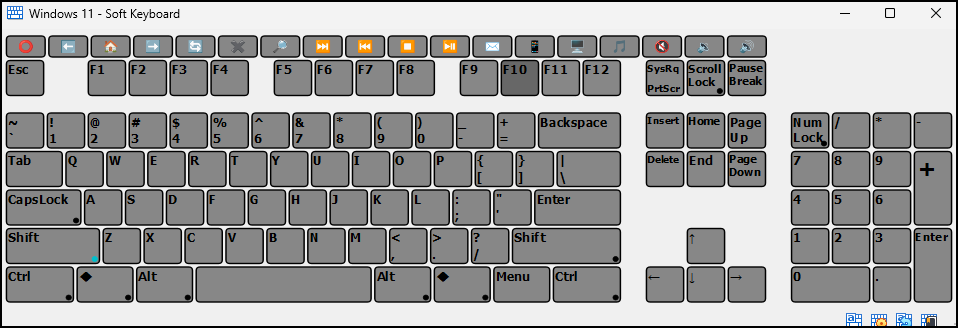
Figure 21 – Shift + F10 - Press the Shift button and the F10 button
- Once the black CLI screen opens, you can close the soft keyboard
- Disable Windows 11 internet requirement by typing
OOBE\BYPASSNRO
The VM will reboot and return you back to the screen
- Use the soft keyboard to press Shift-F10 again
- Type
ipconfig/release
- Close the CLI and continue clicking through the screens
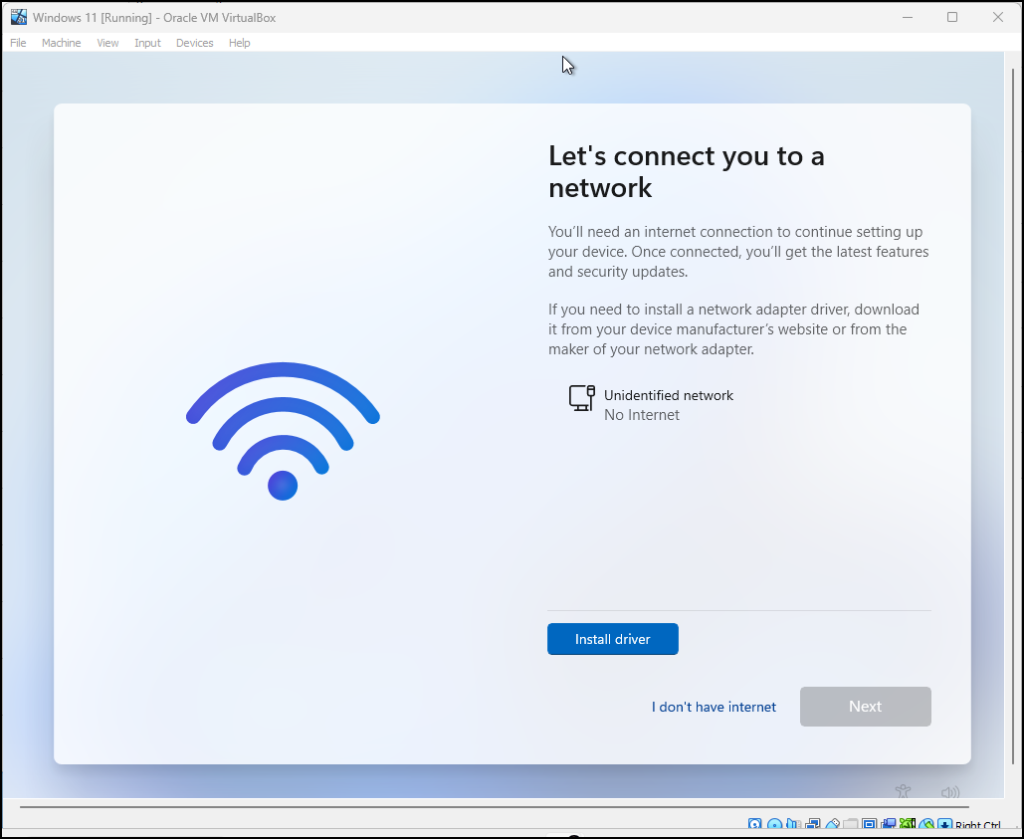
- When you get to “Let’s connect you to a network,” select “I don’t have internet”
- At the “Who’s going to use this device?” enter “Student” and press “Next”

Figure 23 – Who is going to use this device - Enter a password (we use Security1) and press “Next”
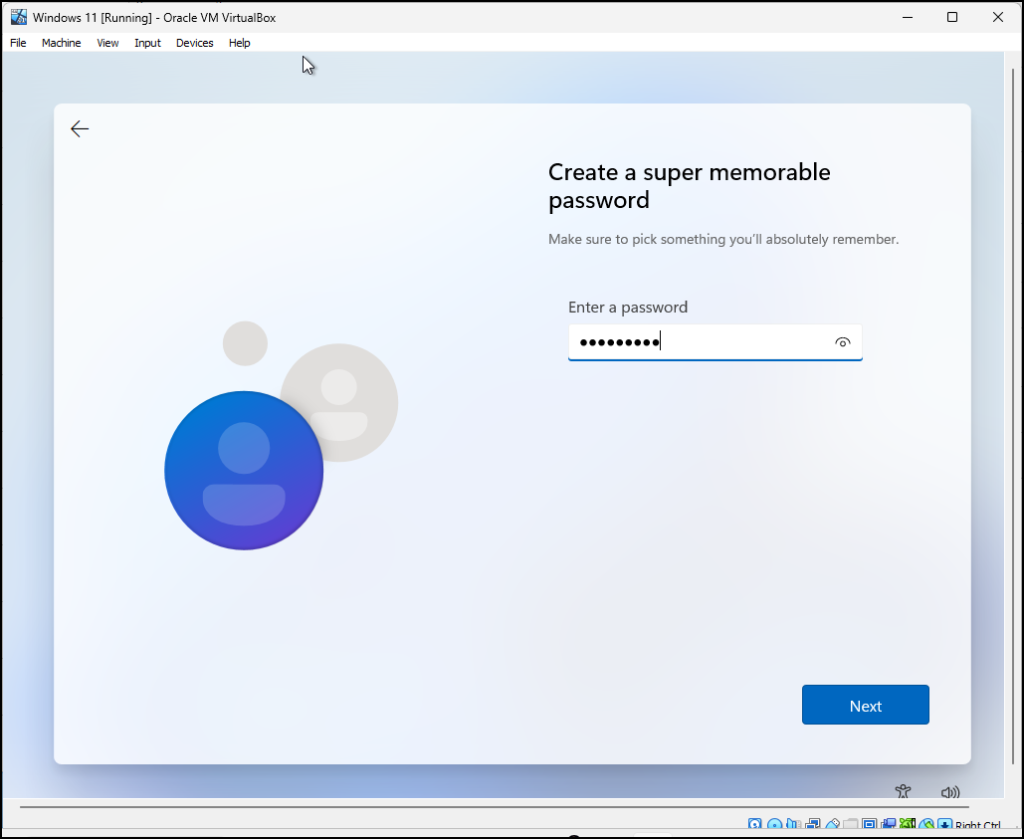
Figure 24 – Enter a password - Confirm the password
- For the security questions, we answer “student” for each of the three questions – this is a test VM, not a production VM, and shouldn’t be used as such
- Turn off all the privacy settings and press “Accept”
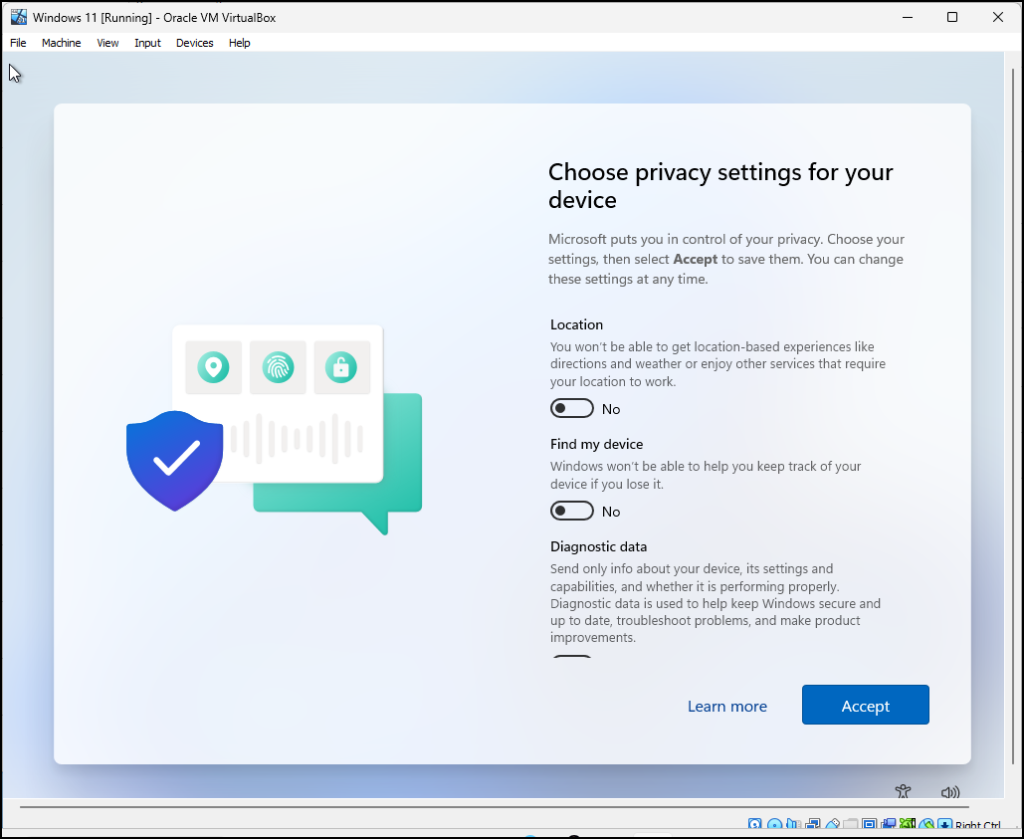
Figure 25 – privacy settings
- Disable Windows 11 internet requirement by typing
- Navigate to the soft keyboard from the VM top menu bar
- Now wait while Windows finishes setting up.
Phase II – Install Tiny 11
Tiny 11 is an unauthorized version of Windows 11 and is not supported by Microsoft. It has been stripped down to work with fewer resources than the full version of Windows.
- Download https://archive.org/details/tiny-11-24h2 (scroll down to the download options)
- Select the download
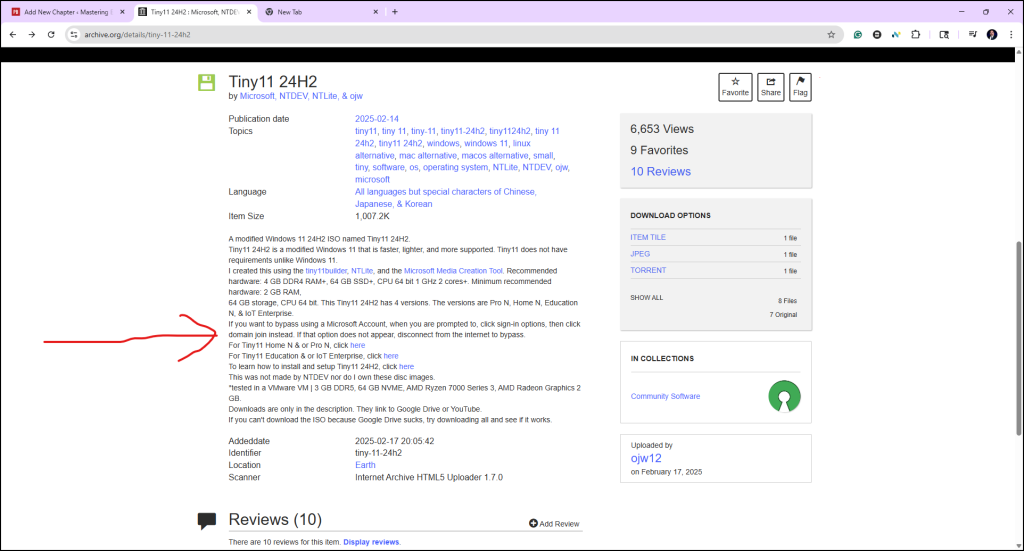
Figure 26 – Download Tiny 11 24H2 - Select the education version
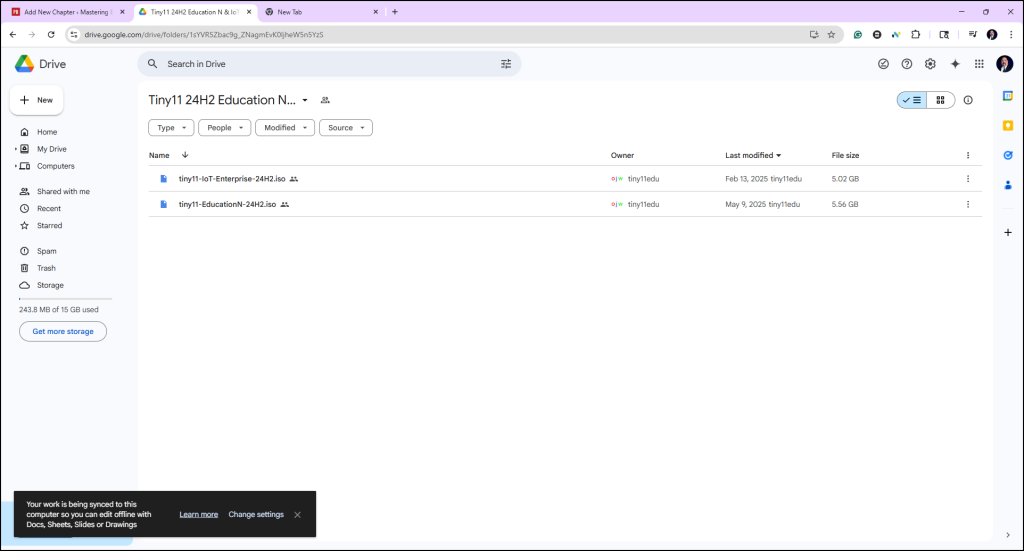
Figure 27 – Download Tiny 11 Education
- Select the download
- Create a new VM as we did in Phase I. Remember to click “Skip Unattended Installation” and use the default settings.
- Start the VM
- Everything is similar to the installation of a full version of Windows Desktop, including the Shift+F10 commands
- Once installation is complete, you can power off the machine and adjust the RAM to 2GB and 1-core processor. It will run ok
End of Lab

