12 Create a Kali Linux VM
Dante Rocca
Kali Linux is the distribution of choice for attacking a network thanks to the many attack tools it comes bundled with. This lab provides instructions for making a Kali Linux VM.
Learning Objectives
- Successfully download, install, and run Kali Linux in a GNS3 environment
Prerequisites
Deliverables
- None – this is a preparatory lab that supports other labs in this book
Resources
- Download Kali Linux
- Download Nessus Essentials for Education
Contributors and Testers
- Mathew J. Heath Van Horn, PhD, ERAU-Prescott
Phase I – Download and Installation
We will download and install the Kali Linux virtual machine (VM). We will use the .iso image instead of the prebuilt VM. Generally, the pre-made VM works fine; however, a few testers experienced issues. When we used the .iso the configuration and compatibility problems resolved themselves.
- Start by downloading the recommended image file here
IMPORTANT: Ensure you download the Installer Image, not the Virtual Machine image.
- Select the 64-bit installer image and click the download method you prefer
- Once the image file has been downloaded, open VirtualBox
- Click on the new button
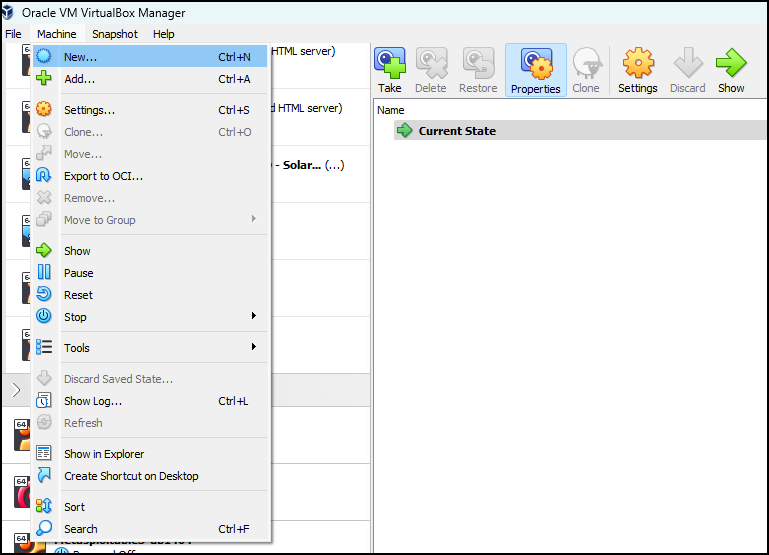
Figure 1 – Create a new VM - Give the new VM a name
- Select the folder you want to save the VM
- Select the ISO image you downloaded earlier
- Select next
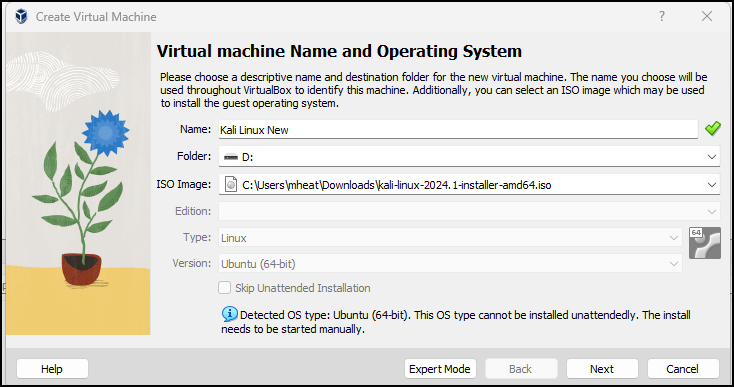
Figure 2 – Create a new Kali VM
- Leave the defaults for the hardware
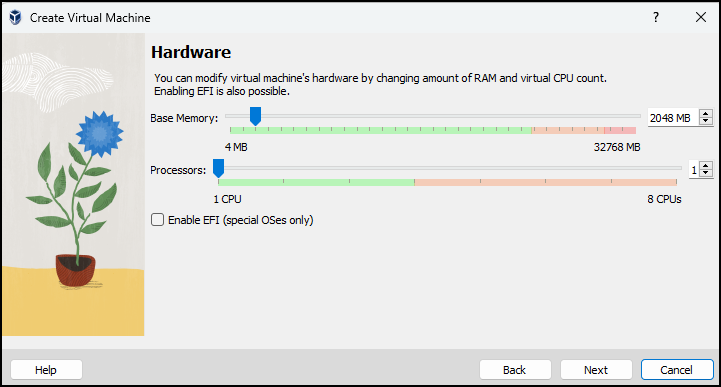
Figure 3 – Set resources for Kali VM - Use the defaults for the virtual disk space*
NOTE: If you are using this Kali VM for the attack labs, you will want to expand the disk size to at least 50.00GB
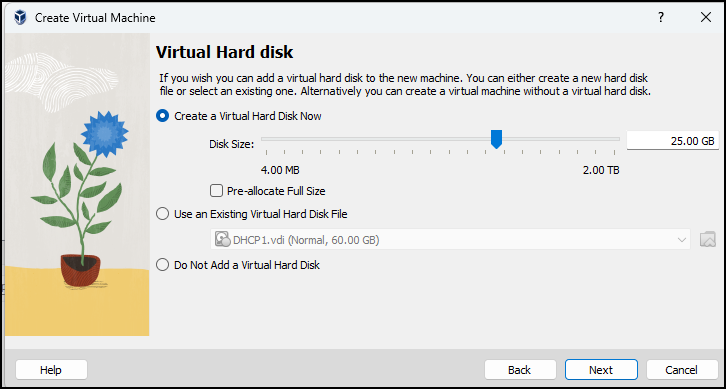
Figure 4 – Set disk space for Kali VM - Verify the settings and click on finish
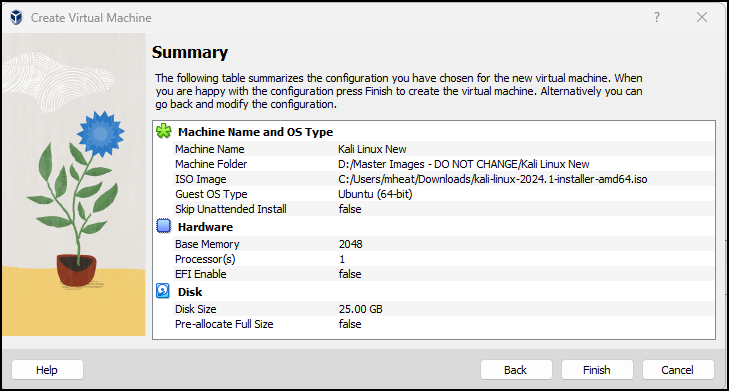
Figure 5 – Verify settings for new Kali VM - Start the Kali VM
- Hit enter over the graphical install
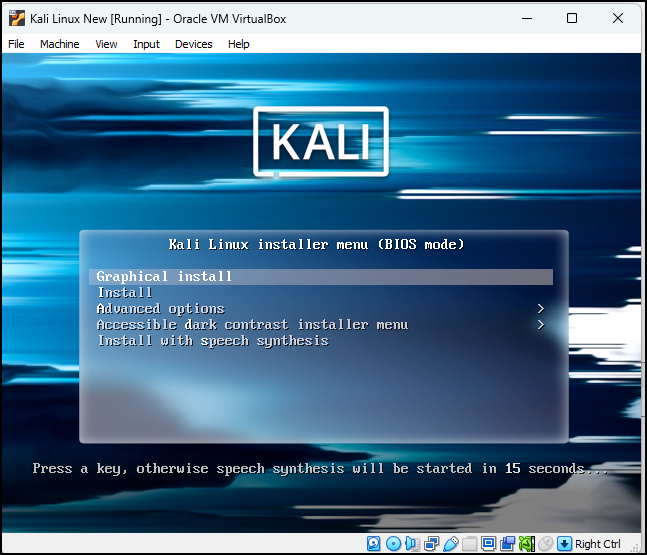
Figure 6 – Start Kali VM - Select your language and hit continue
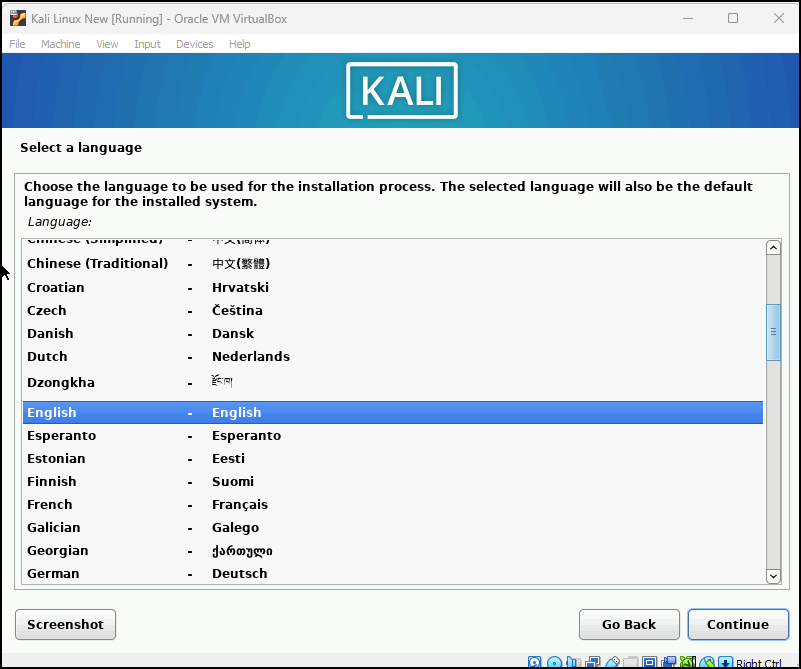
Figure 7 – Set language - Select your region and hit continue
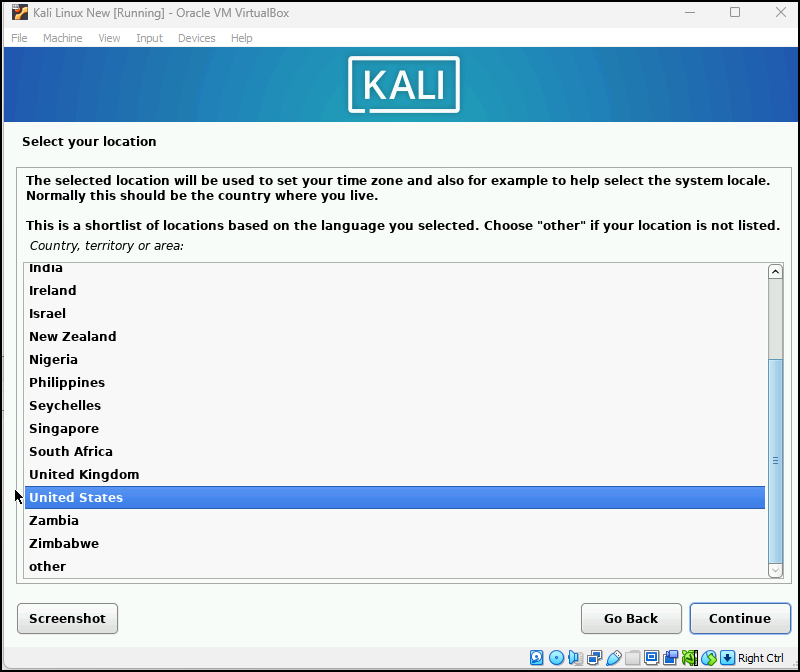
Figure 8 – Set region - Select your keyboard layout and click continue
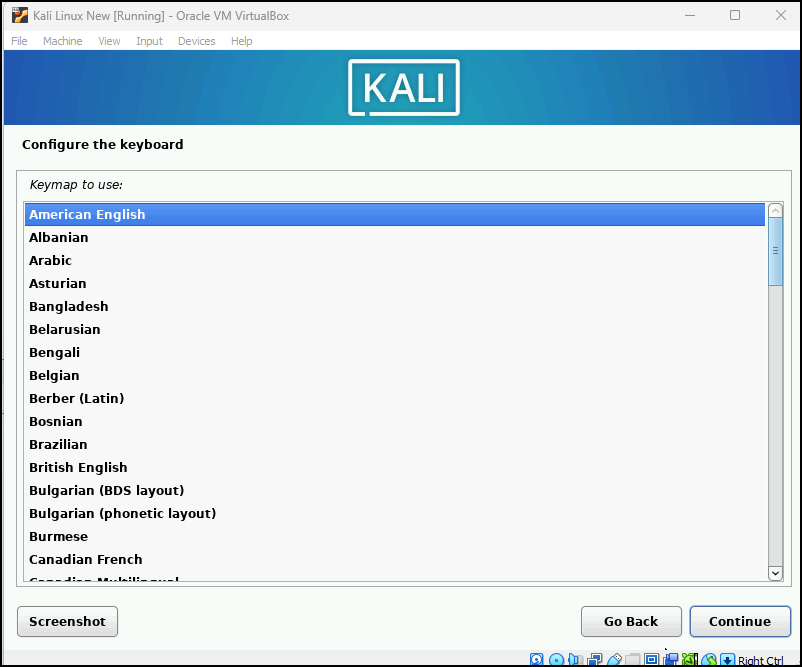
Figure 9 – Set keyboard layout - Leave the hostname as default and click continue
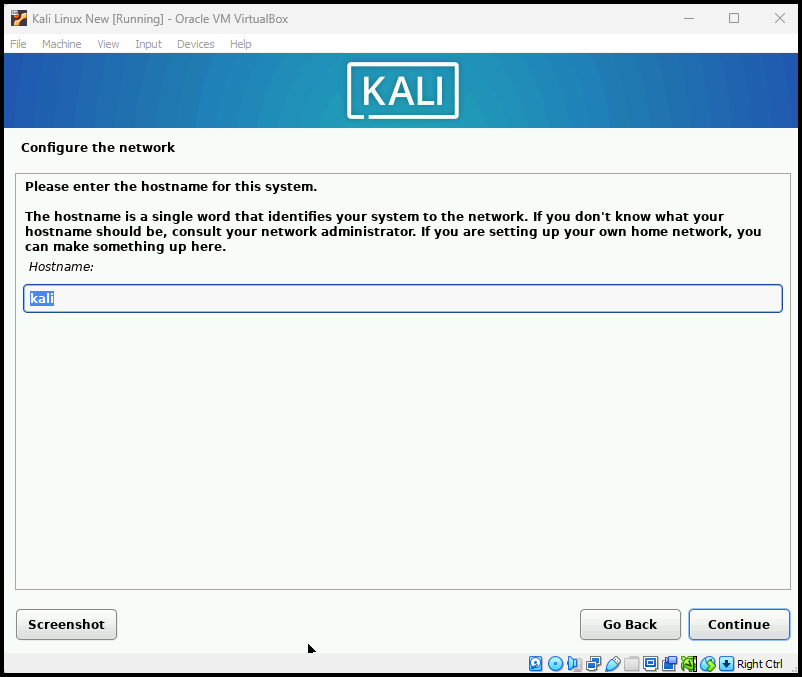
Figure 10 – Set the host name as default - Then leave the domain blank and click continue
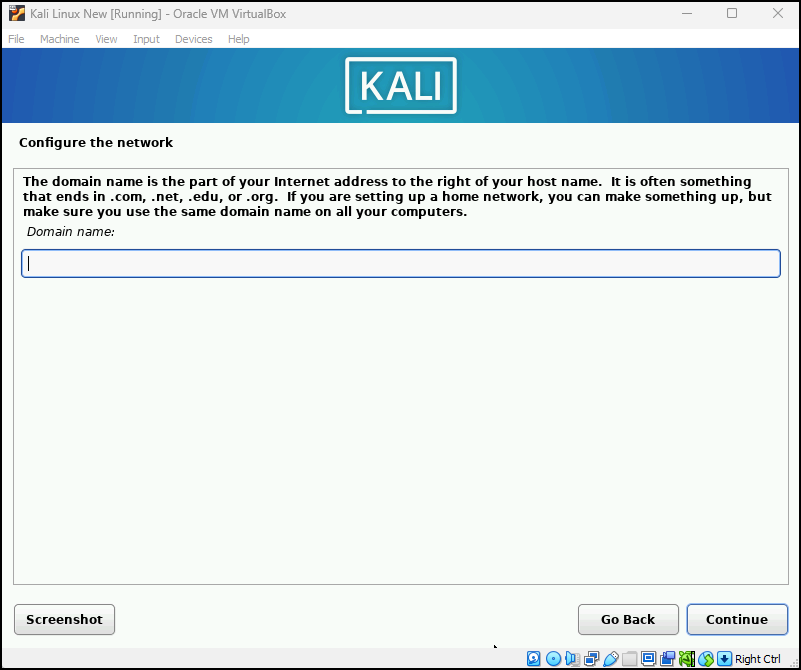
Figure 11 – Leave domain blank - Give the full name as “student” and click continue
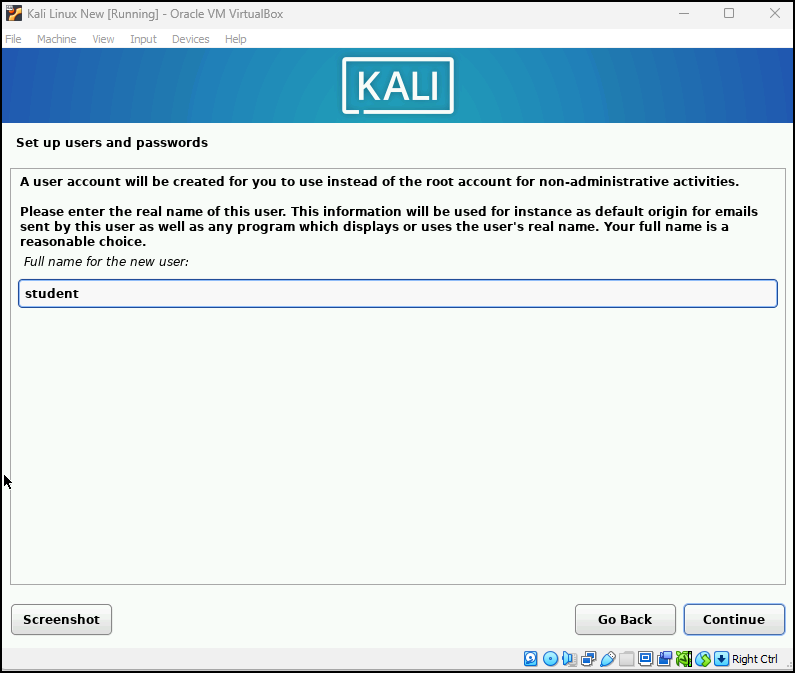
Figure 12 – Set the username to student - Then leave the account name as “student” and click continue
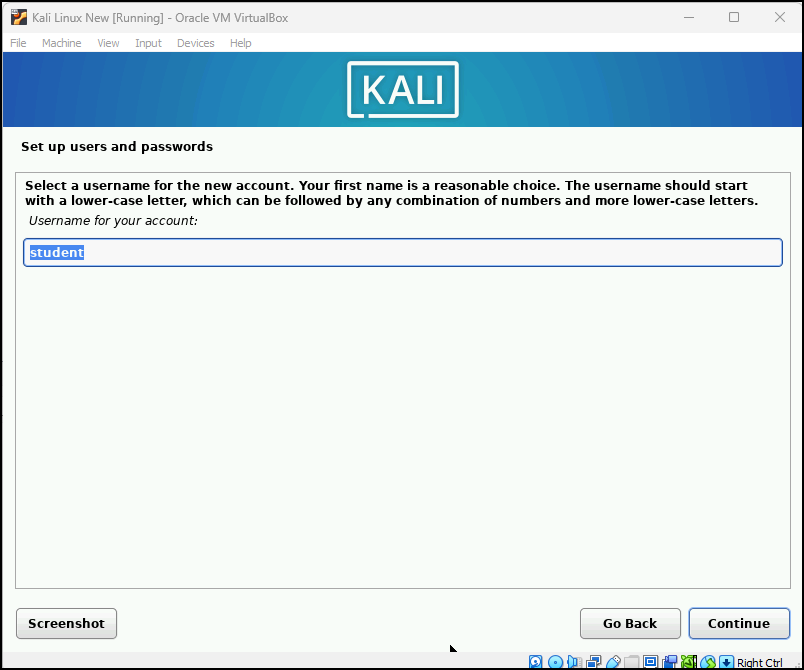
Figure 13 – Set the account name to student - Like other VMs use the password Security1 and click continue
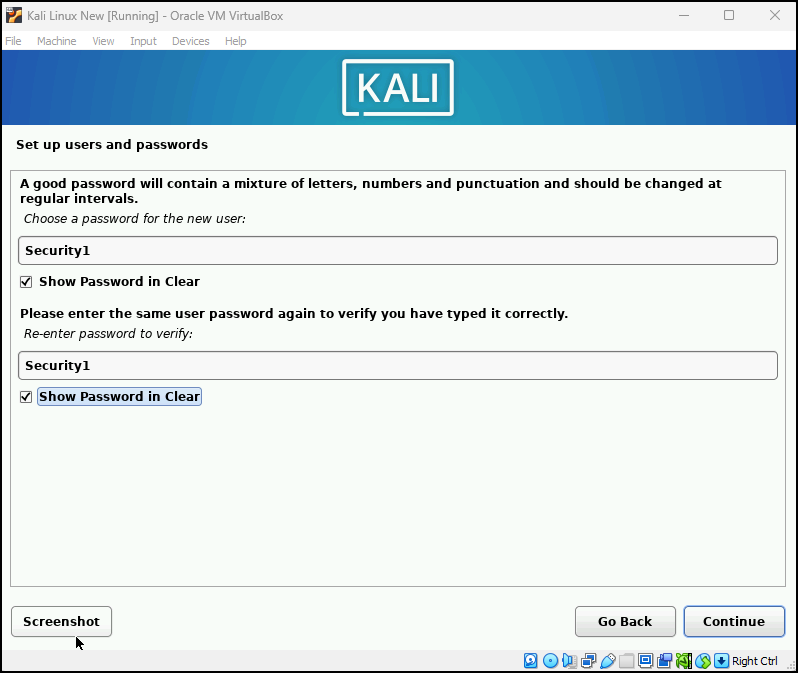
Figure 14 – Set password - Select your time zone and click continue
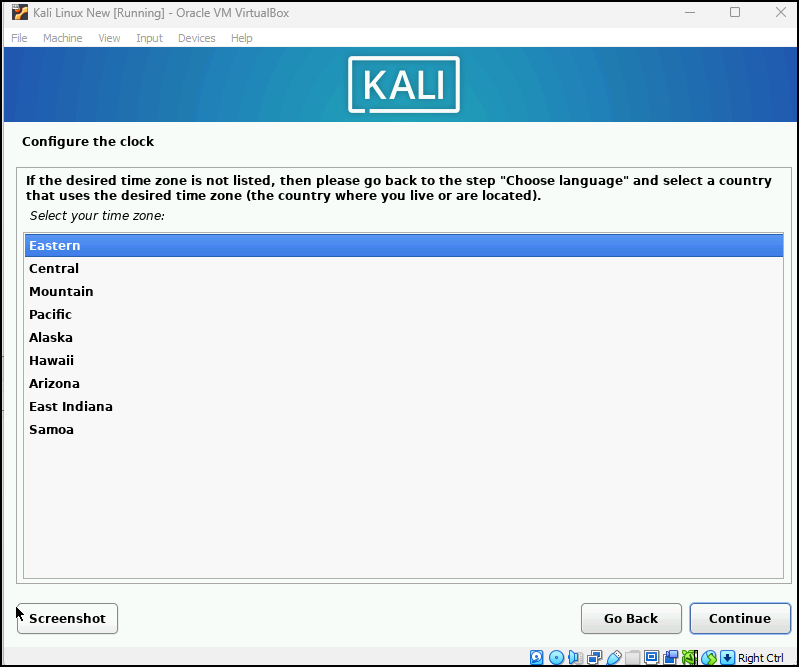
Figure 15 – Select time zone - Partition Disk
- Select option guided – use entire disk and press continue

Figure 16 – Use the entire disk - Leave the disk partition as the default and click continue
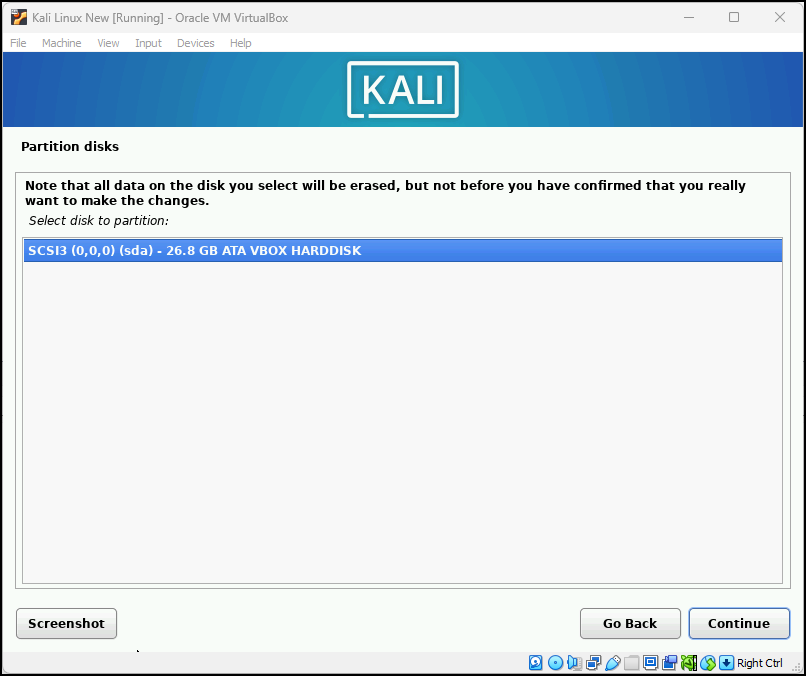
Figure 17 – Use default disk partition - Select – All files in one partition and click continue

Figure 18 – Use all files in one partition - Verify your partition information and click continue
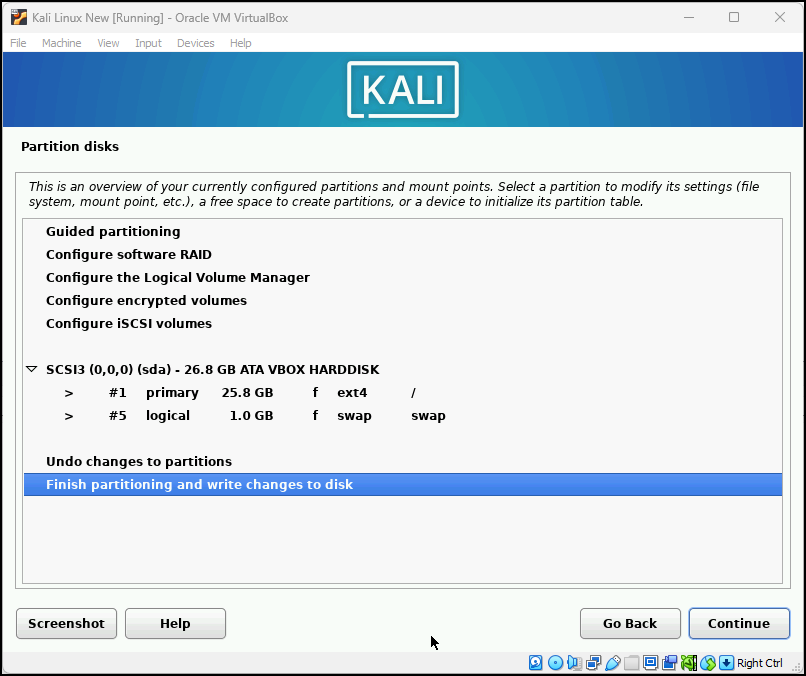
Figure 19 – Verify settings and continue
- Select option guided – use entire disk and press continue
- Once the software selection screen pops up, leave the defaults and click continue
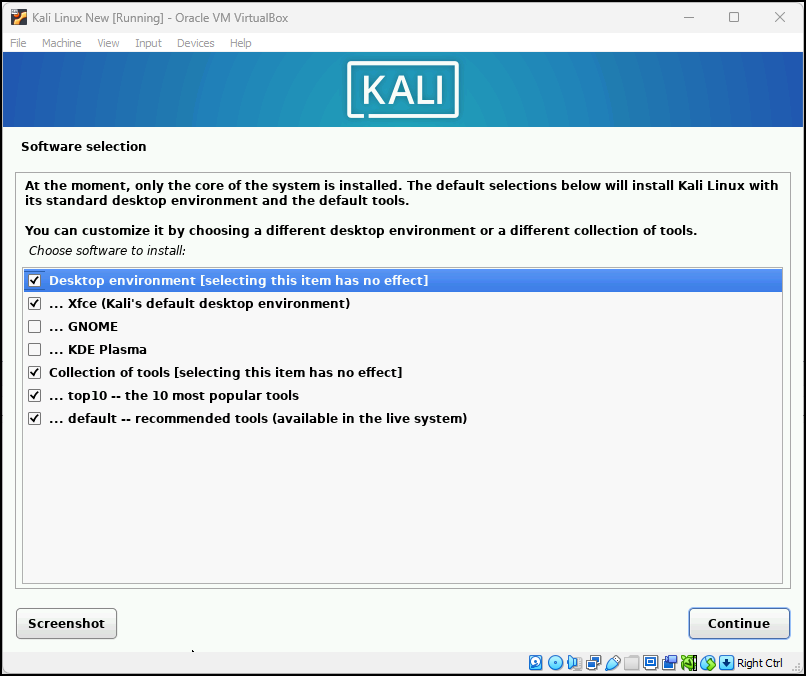
Figure 20 – Software selection is the default - Once the install GRUB boot loader screen pops up, leave the default yes radio button and click continue
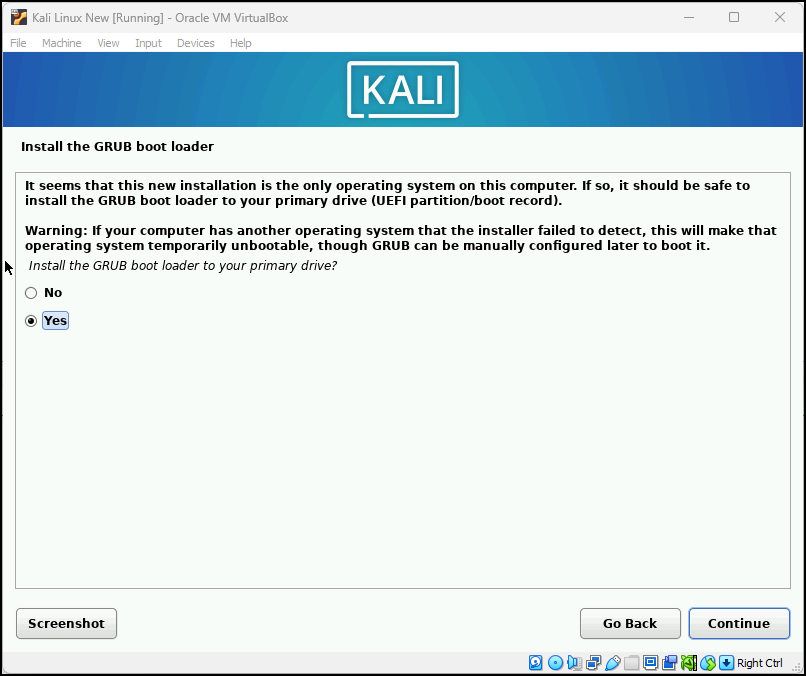
Figure 21 – GRUB loader - On the next screen, select the device; there should be only one, and click continue
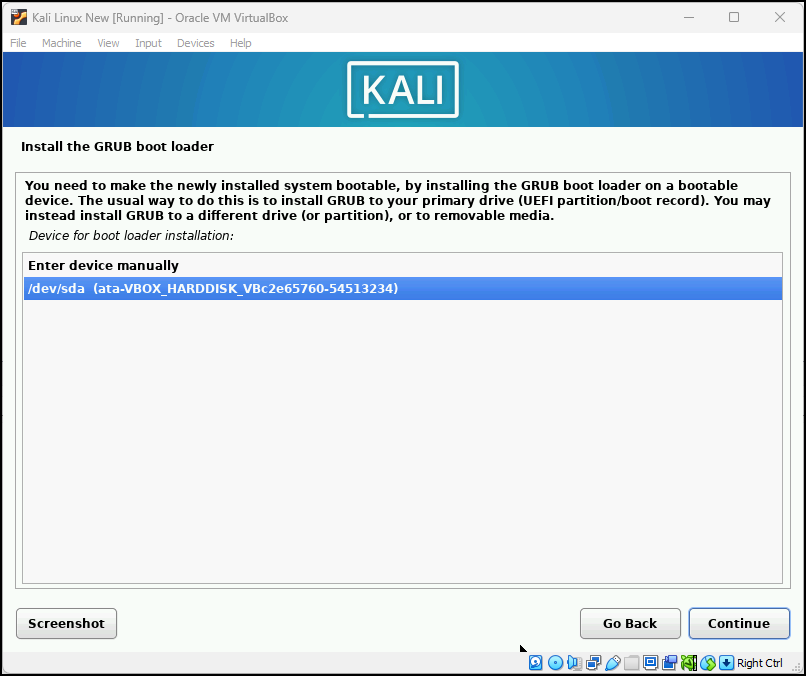
Figure 22 – Select the device - Once this is done, click continue one last time
- Finish the installation by clicking continue
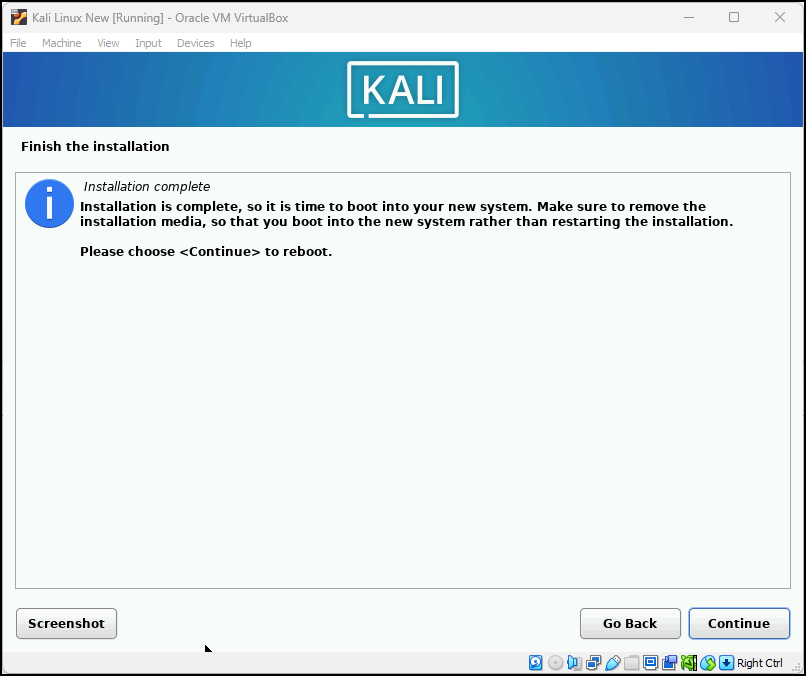
Figure 23 – Finish the installation - Once the login screen pops up, login to make sure everything works
Phase II – Necessary Software
While Kali comes with a large toolset, there are two tools that we will need later and do not come preinstalled.
- Open the terminal and run this command to install rainbow crack
sudo apt-get install rainbowcrack
- Once the installation completes, close the terminal and open Firefox
- In Firefox, go to this link to download Nessus Essentials for Education. Click on try now
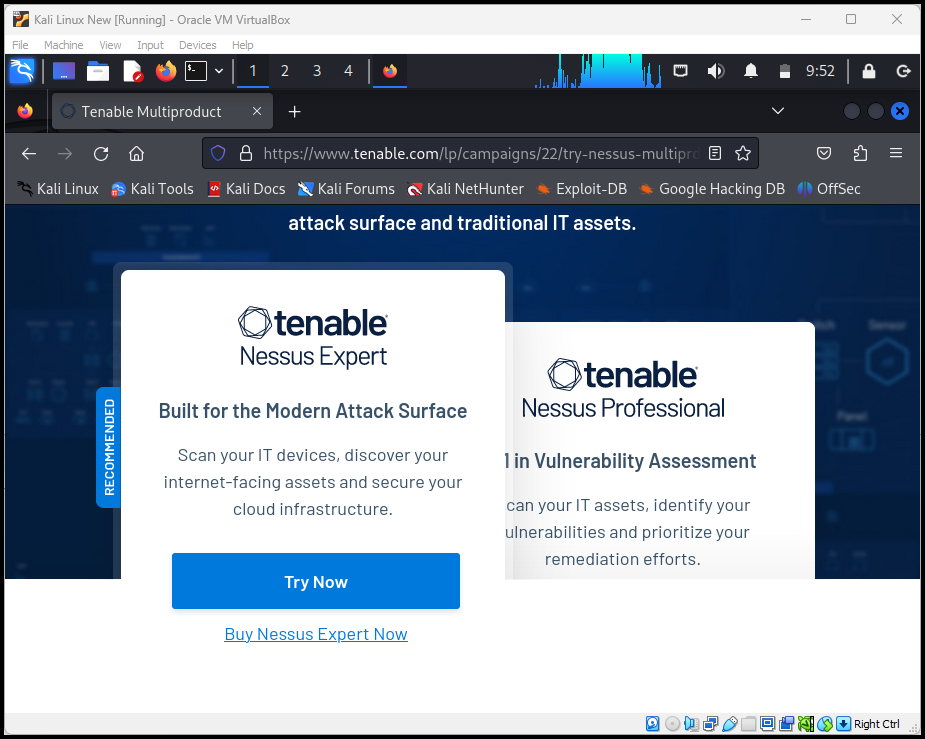
Figure 24 – Install Nessus - You will need to provide a business email, but none of our testers have reported spam from this
- Click the download button that appears. Then leave the defaults on the next screen and click download. At the time of writing, the version of Nessus is 10.7.1
- Open the folder where you downloaded the file. Right-click inside the folder and click Open Terminal Here
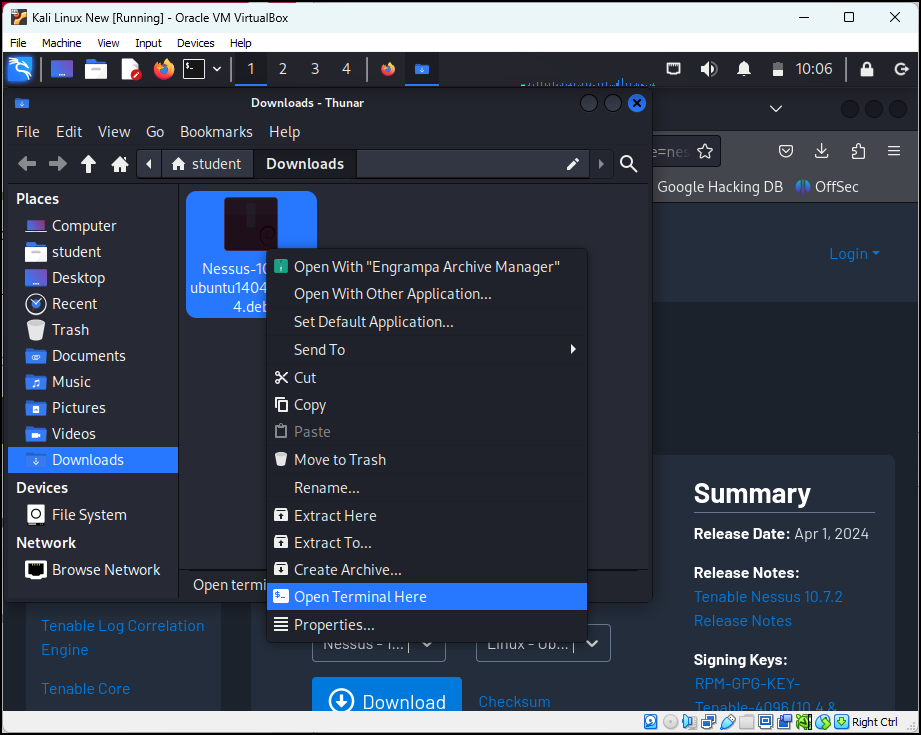
Figure 25 – Open the download folder - Use the following command to install the Nessus Package
NOTE: Adjust the filename to reflect the current file name you just downloaded
sudo dpkg -i Nessus-10.7.1-ubuntu1404_amd64.deb
- Use the following command to start the Nessus Scanner. While we won’t do much with it right now, we will need to input the activation code from our email
/bin/systemctl start nessusd.service
- In the window that pops up, enter the user password. Following that, reopen Firefox and go to this link
https://kali:8834
- The page will tell you that it is insecure. Click advanced and then Accept the risk and continue
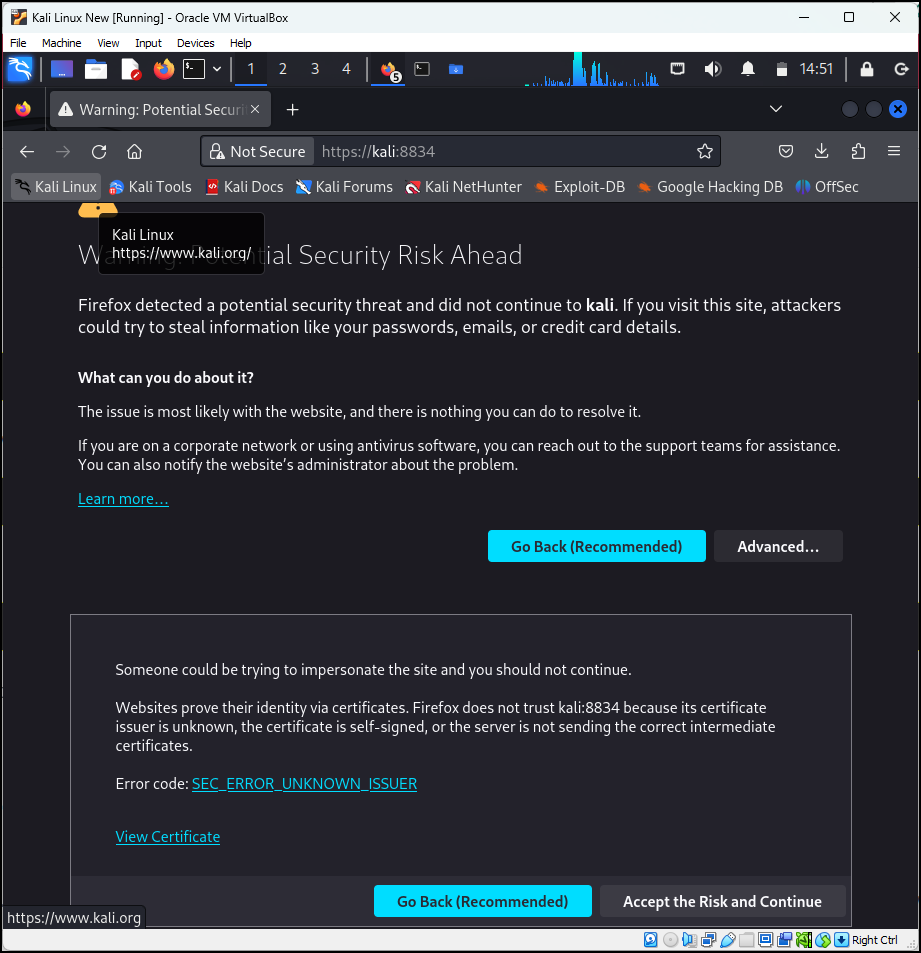
Figure 26 – Using Firefox to navigate Nessus - Click continue on the first screen
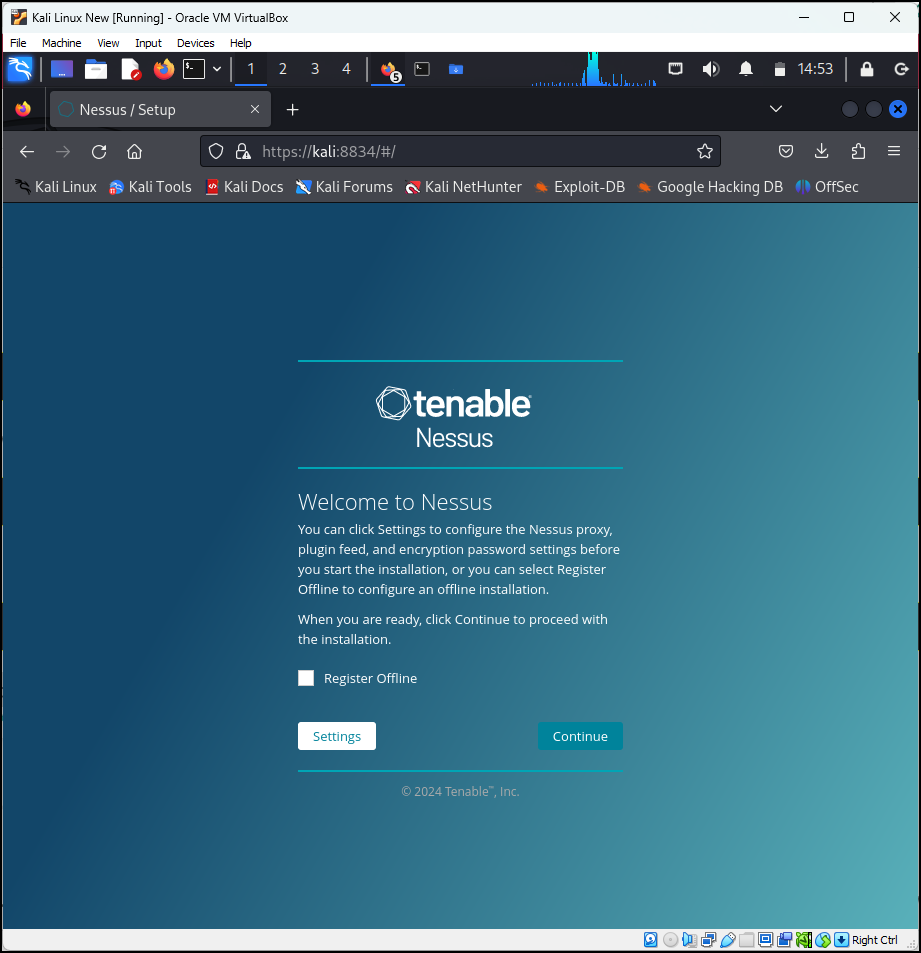
Figure 27 – Continue - Select the Register for Nessus Essentials radio button
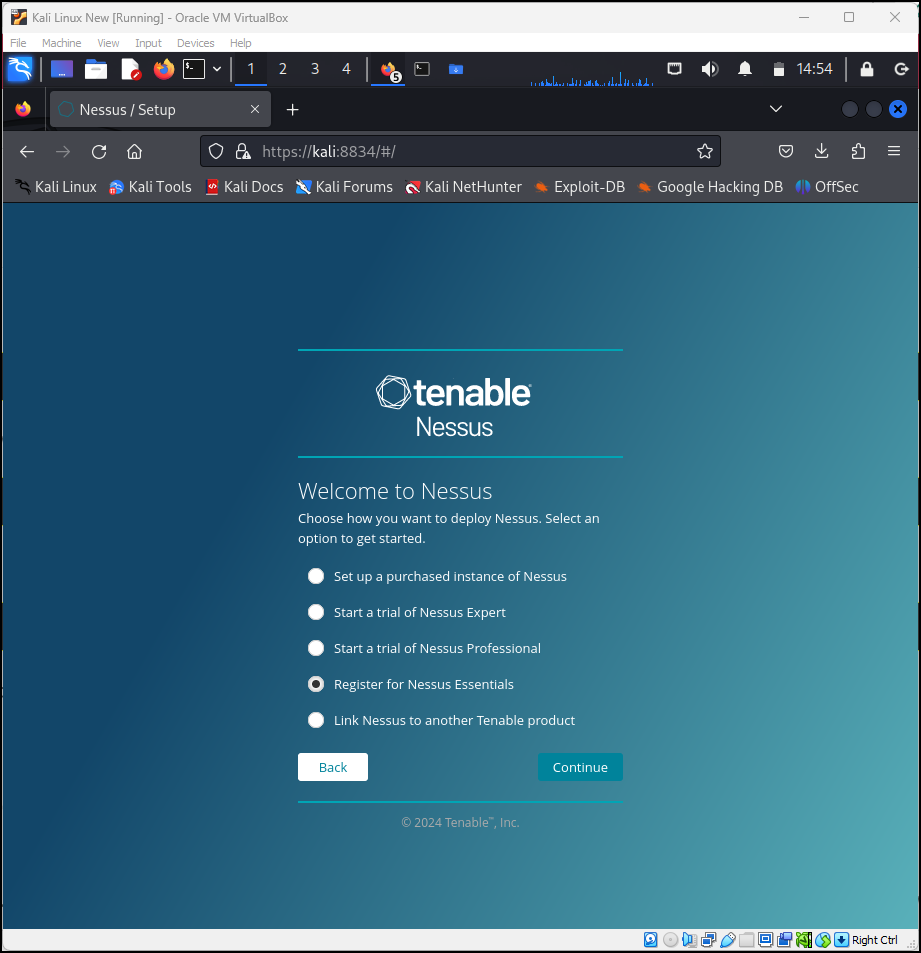
Figure 28 – Register - And click continue. If you have already received the email earlier, then click skip
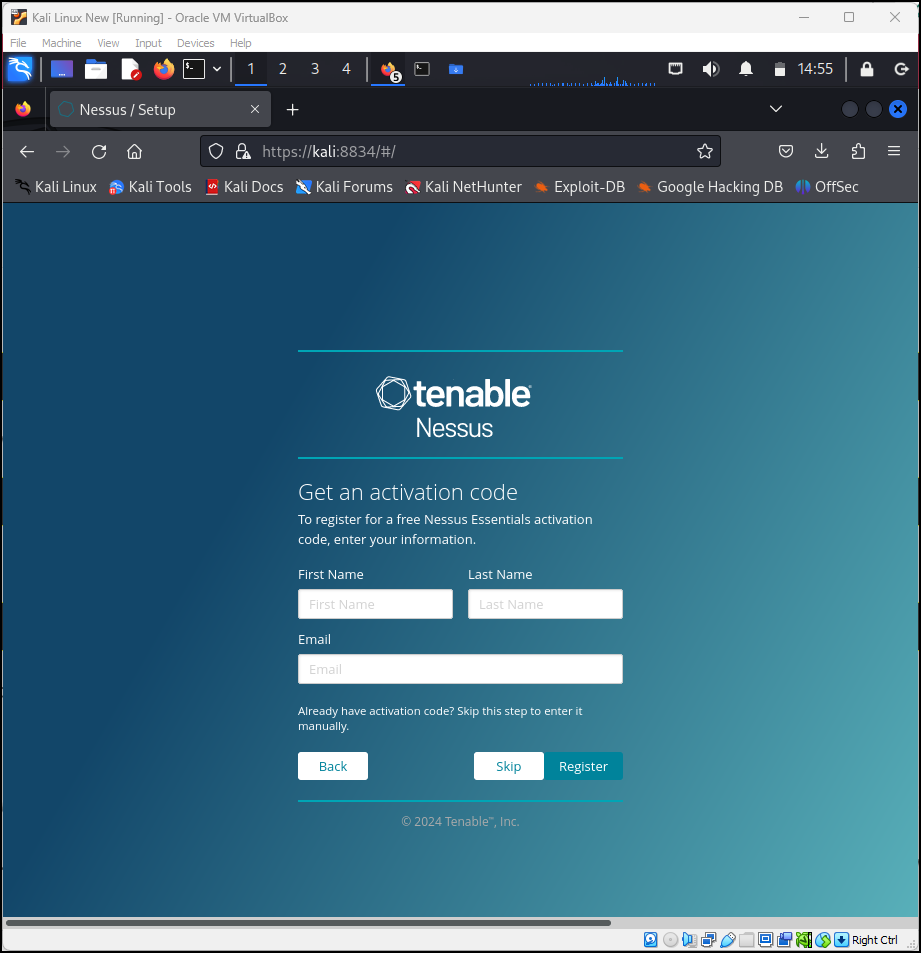
Figure 29 – Skip if you already have the code - Input the activation code from your email and click continue
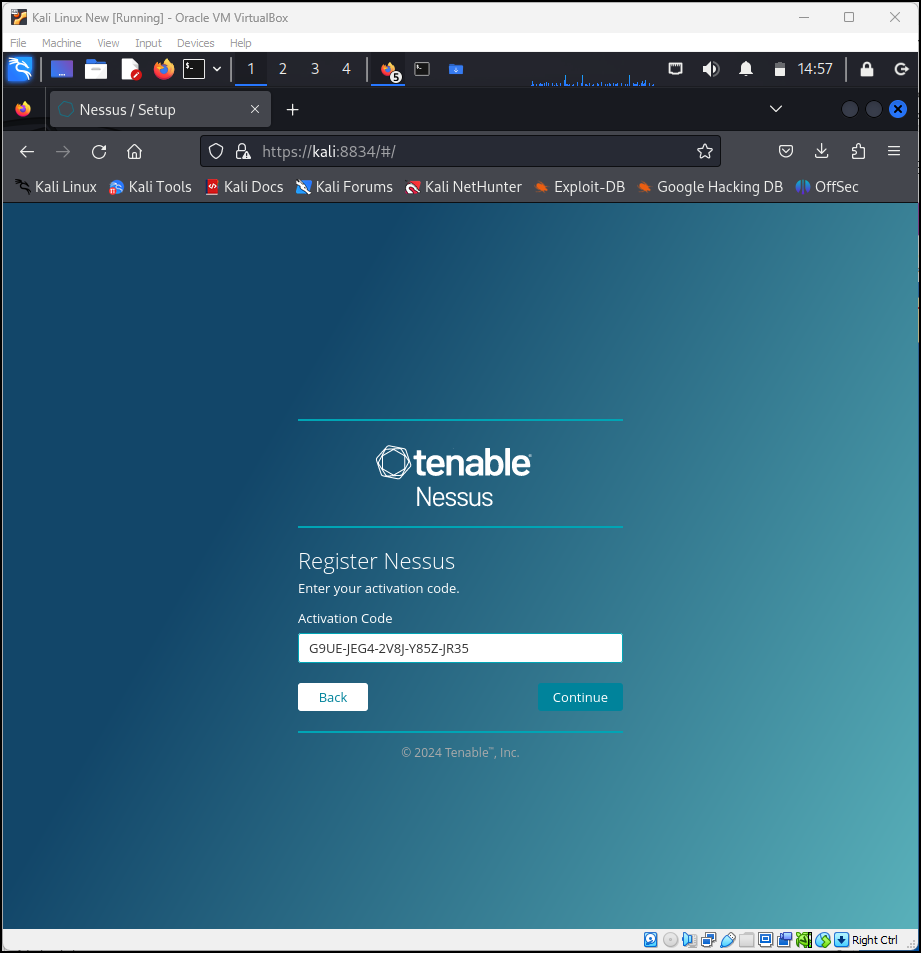
Figure 30 – Input the activation code - Make a username and password for your account and select submit
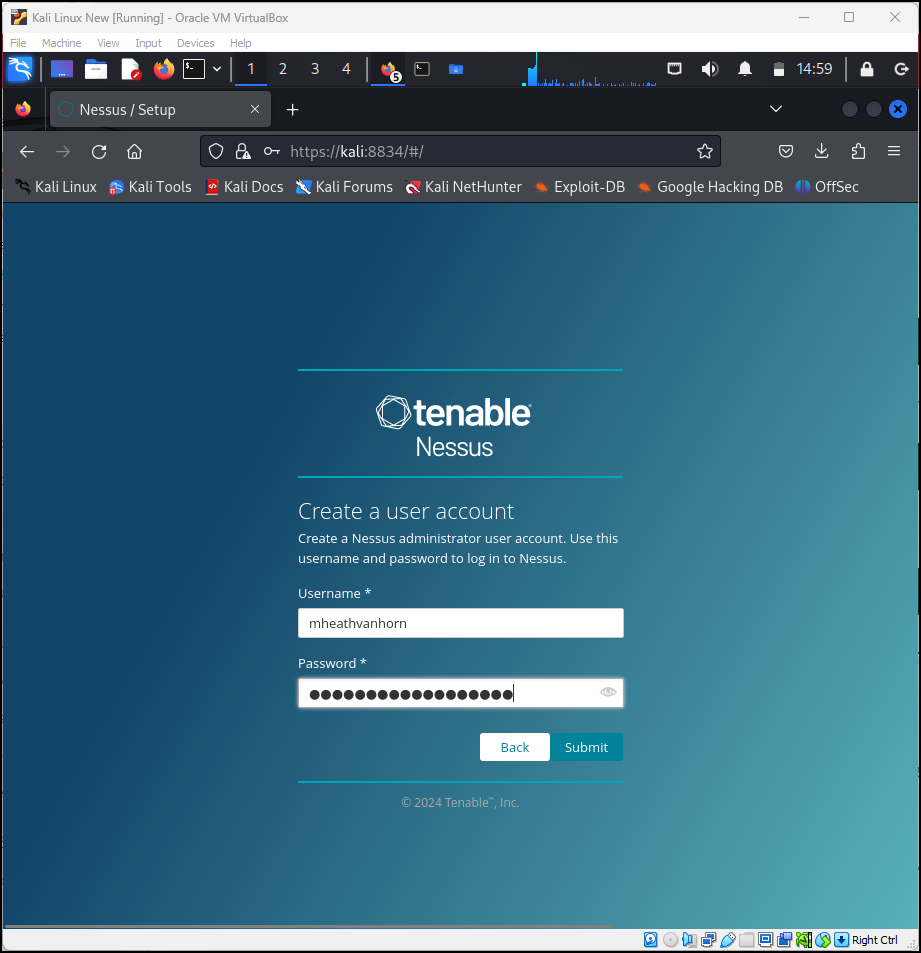
Figure 31 – Create username and password 
Figure 32 – This could take a while - Nessus will take a while to download and compile plugins, so wait for this process to complete before switching the machine off
End of Lab

