11 Create an Ubuntu Desktop
Dante Rocca
Sometimes we need a Linux desktop with more power than Tiny Core Linux. Like other Linux flavors (known as distributions), Ubuntu’s primary strength is the command line interface. Ubuntu Desktop has a graphical interface already installed but we will use the terminal for the installation in this lab anyway.
Learning Objectives
- Successfully download, install, and run Ubuntu Desktop in a GNS3 environment
Prerequisites
- Virtualbox Installed
- GNS3 Workspace Installed
Deliverables
- None – this is a preparatory lab that supports other labs in this book
Resources
- Download Ubuntu Desktop
Contributors and Testers
- Mathew J. Heath Van Horn, PhD, ERAU-Prescott
Phase I – Download and Installation
- Download Ubuntu Desktop from here
- Start Oracle Virtual Box Manager
- Click on New
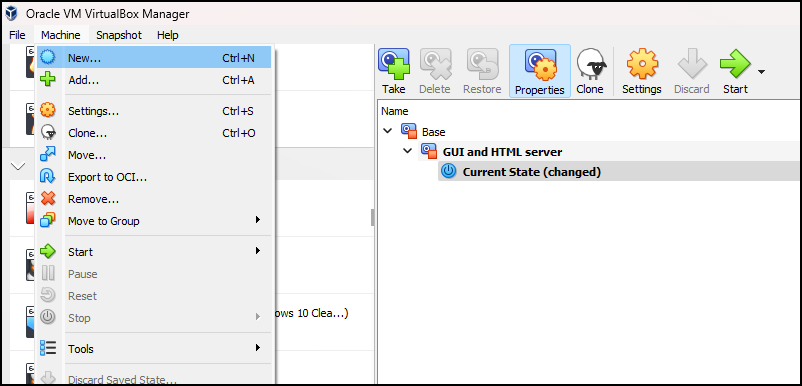
Figure 1 – Creating a new VM - Pick a name, here we will use Ubuntu Desktop New
- Select a directory where you want the VM to be installed. Here, we used an external M2 drive
- Use the dropdown menu to select the Ubuntu Desktop ISO that you downloaded
- IMPORTANT! Click Skip Unattended Installation
- Click Next
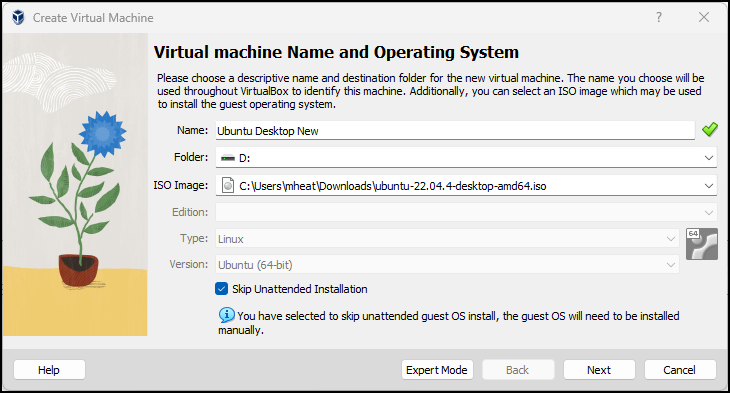
Figure 2 – Creating a new VM - Change the base memory to 4096 MB and click next
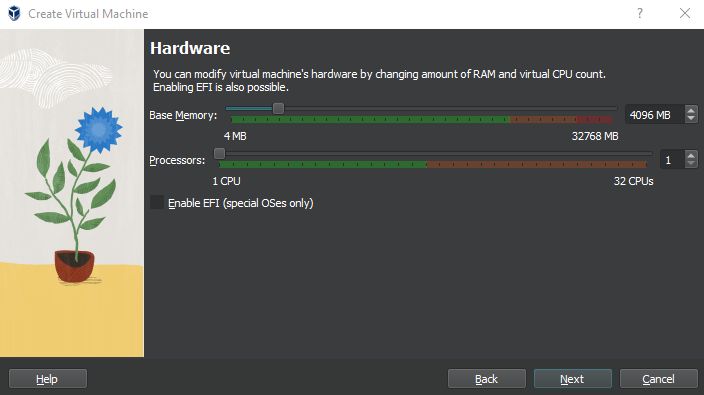
Figure 3 – changing the memory amount NOTE: The Ubuntu Desktop requires 4GB of RAM for installation. This, unfortunately, makes it more intense than other machines used in this book. If you need an Ubuntu Desktop that uses less RAM, we recommend version 22 instead of version 24. That can be found here.
- Leave the default Virtual Hard Disk settings and click next
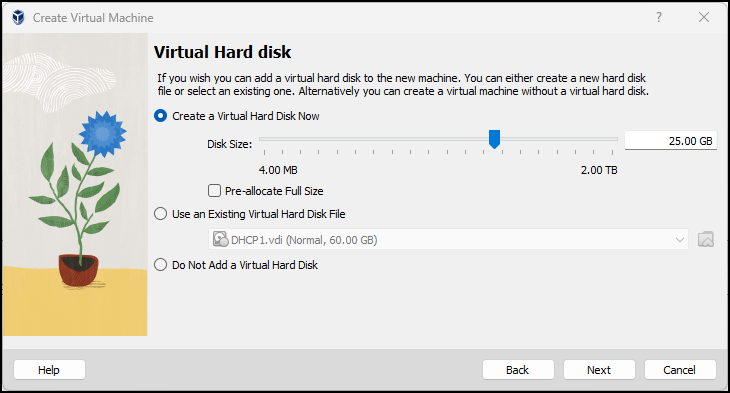
Figure 4 – Creating a new VM - Review the summary and click Finish
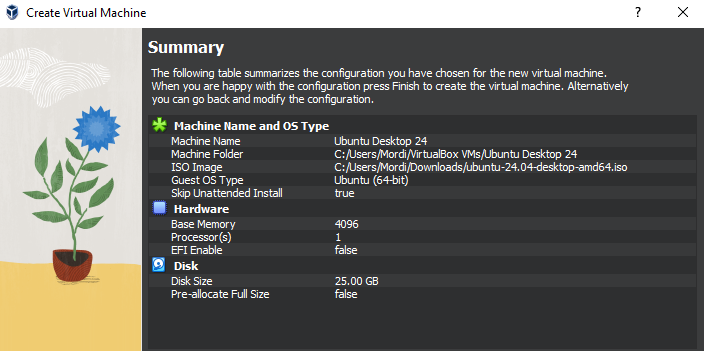
Figure 5 – review the system
- Start the Ubuntu Desktop VM
- Hit enter to try or install Ubuntu
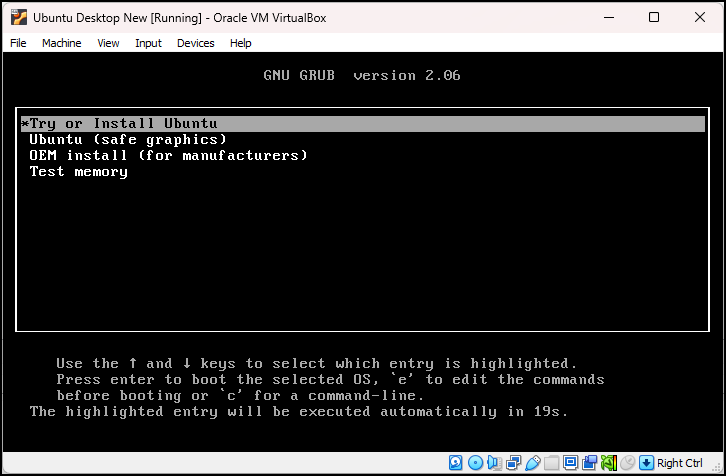
Figure 6 – Installing a Ubuntu Desktop - When the welcome to Ubuntu window appears, select your language and click next
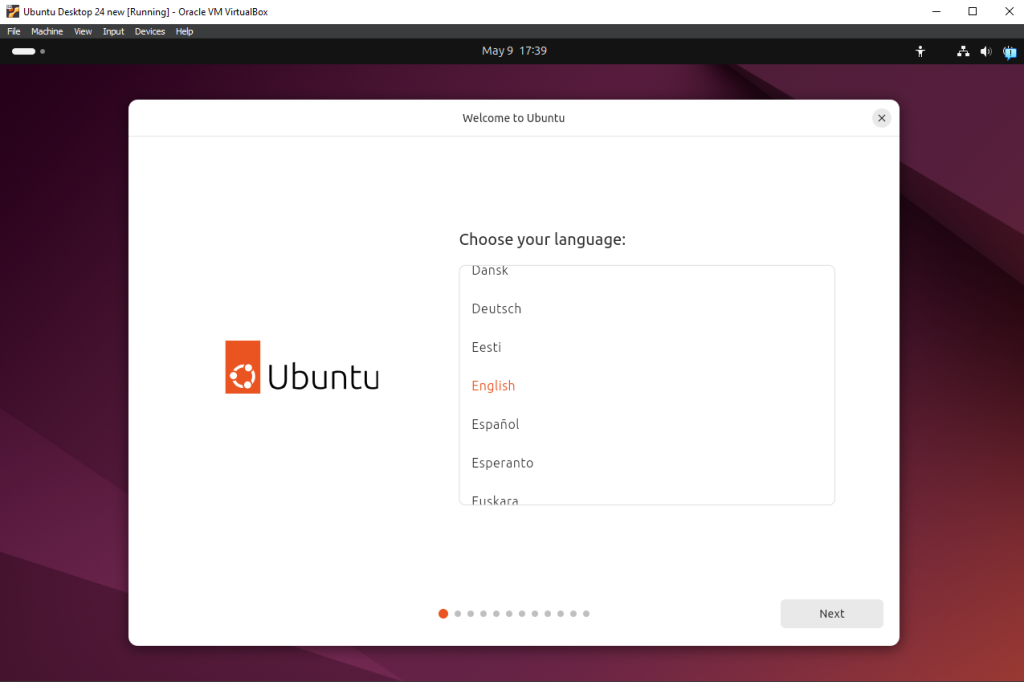
Figure 7 – installing Ubuntu - On the Accessibility screen, select any accessibility settings relevant to you. Once done, hit next
- Select your keyboard layout and hit next
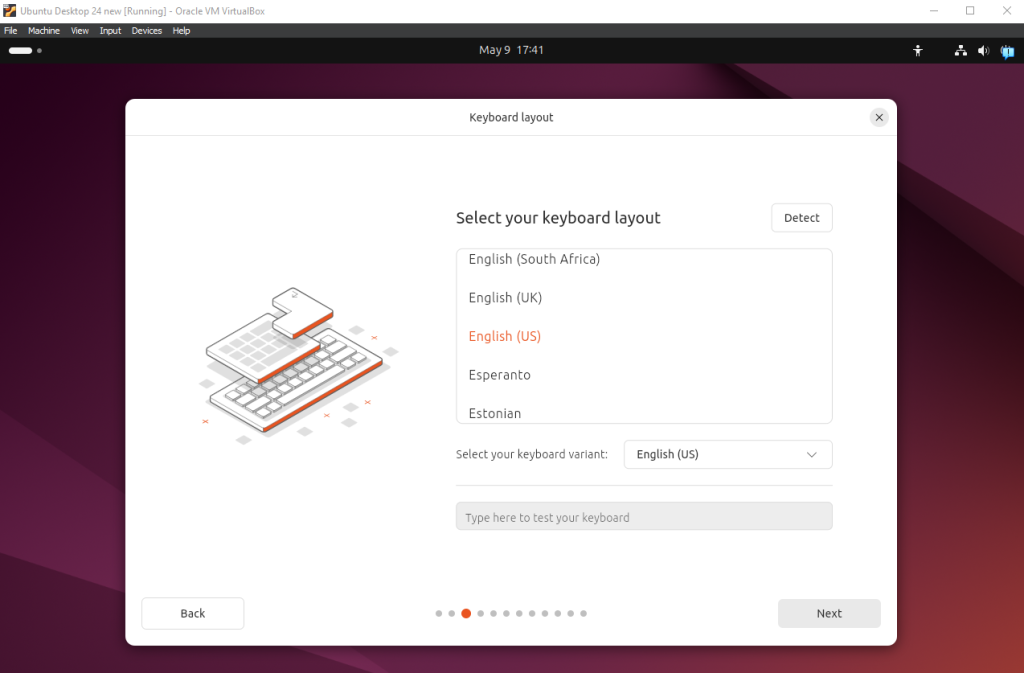
Figure 8 – continuing the installation - On the Internet Connection screen leave the Use wired connection radio button selected and hit next
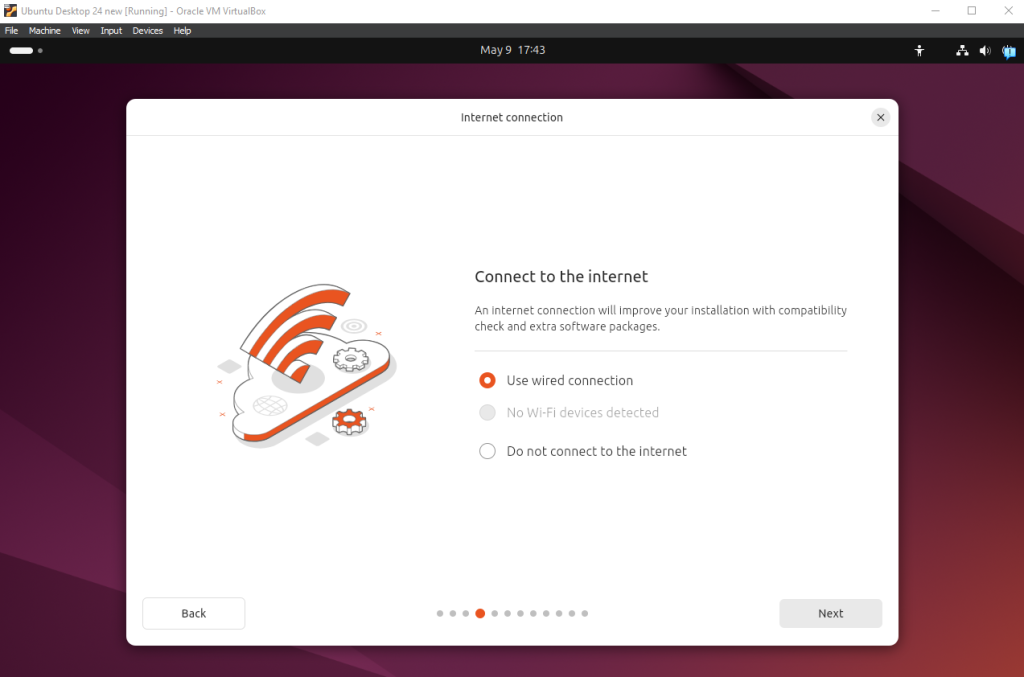
Figure 9 – use wired connection - Select Install Ubuntu and hit Next
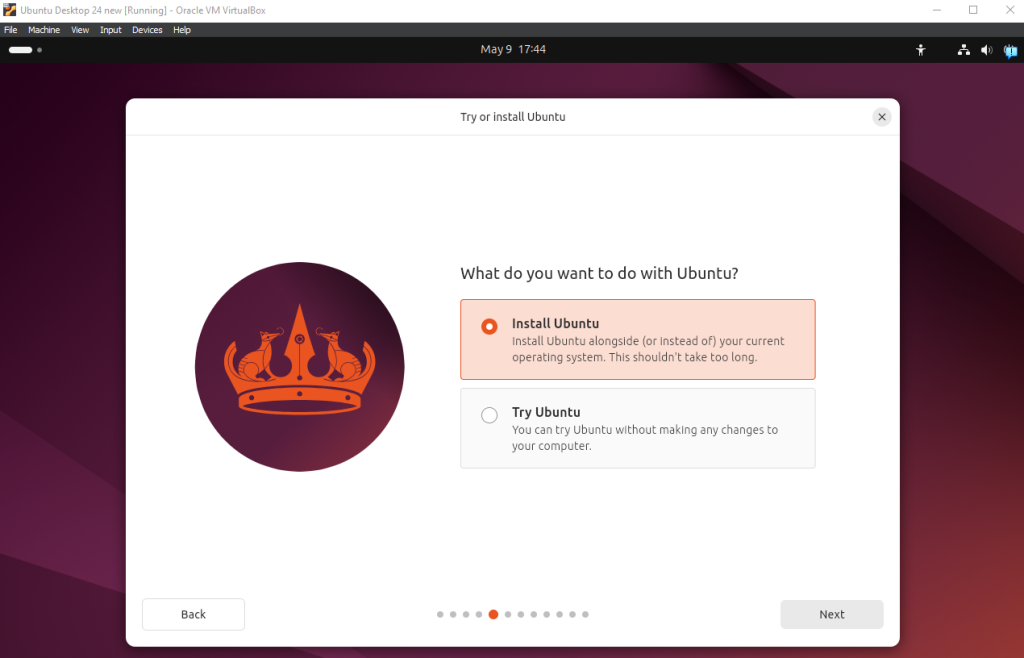
Figure 10 – continue installation - Select Interactive Installation and hit next
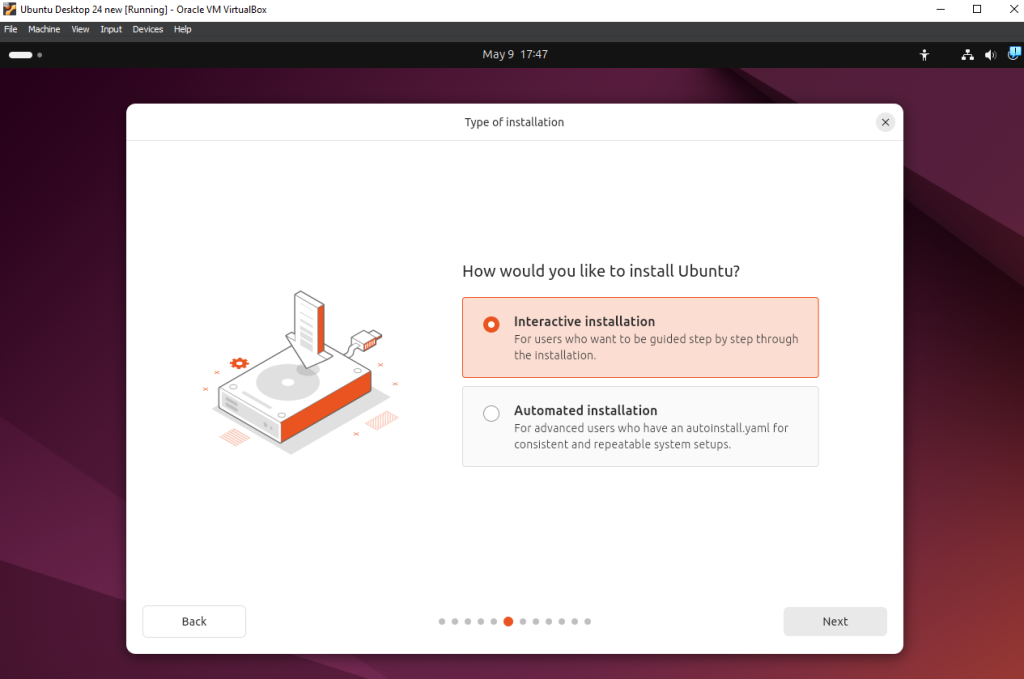
Figure 11 – Interactive installation - Select Default selection and hit next

Figure 12 – select defaults NOTE: If desired you may select Extended selection but it isn’t required for the labs present in this book and will take longer to install.
- Select any proprietary software you desire, none of them will be needed for labs in this book. Hit next
- Select Erase disk and install Ubuntu then click next
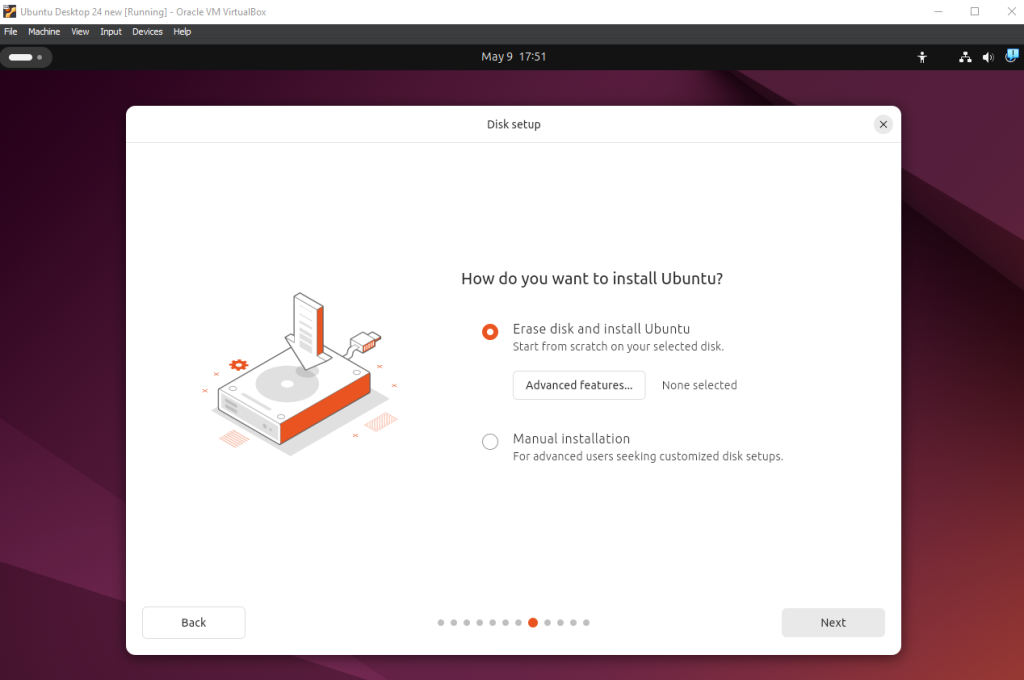
Figure 13 – erase the disk - Enter a name and the computer and username should be automatically filled out. Like every other machine we will use the name student. Enter a password, as with every other machine, we use Security1 as our password. Click next
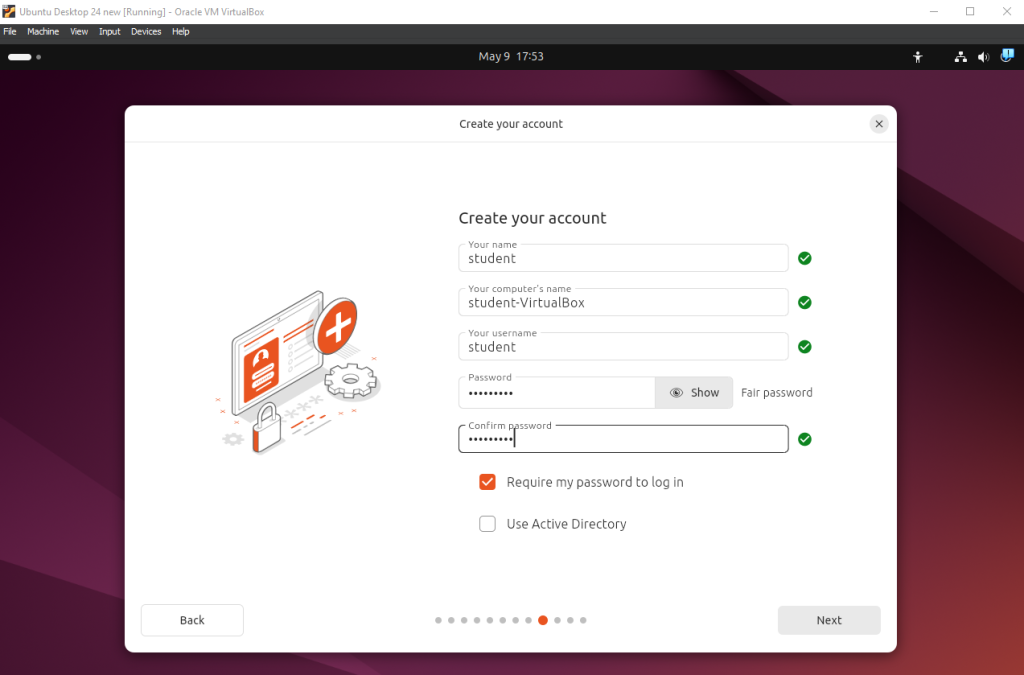
Figure 14 – continue installation - Select your time zone and location

Figure 15 – select time zone - Review your choices and click Install
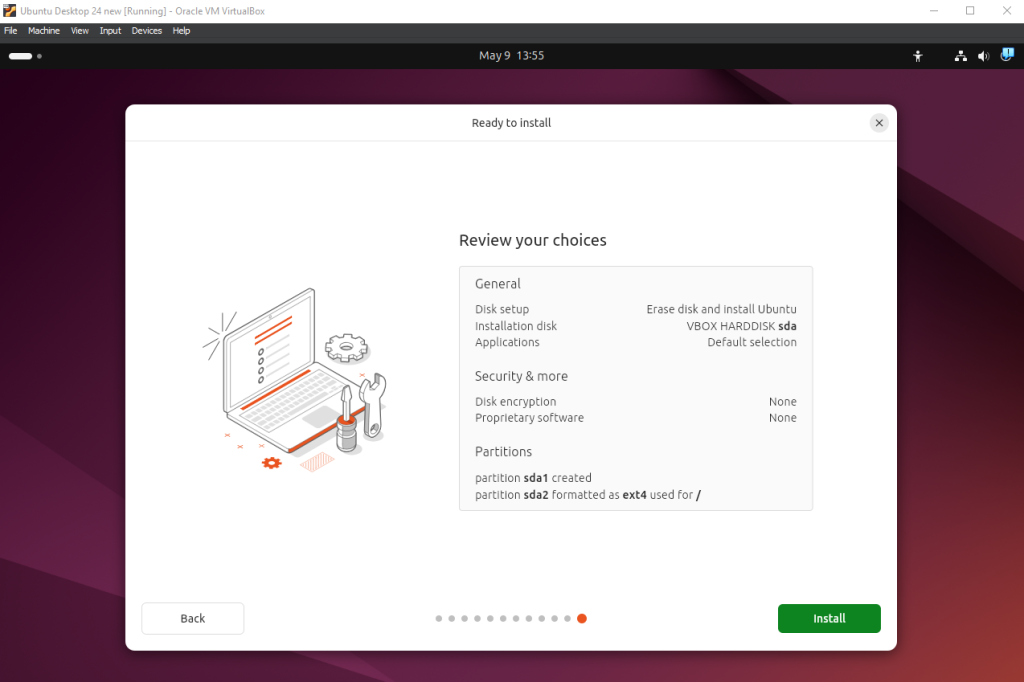
Figure 16 – continue installation - Once the installation is complete, click Restart now
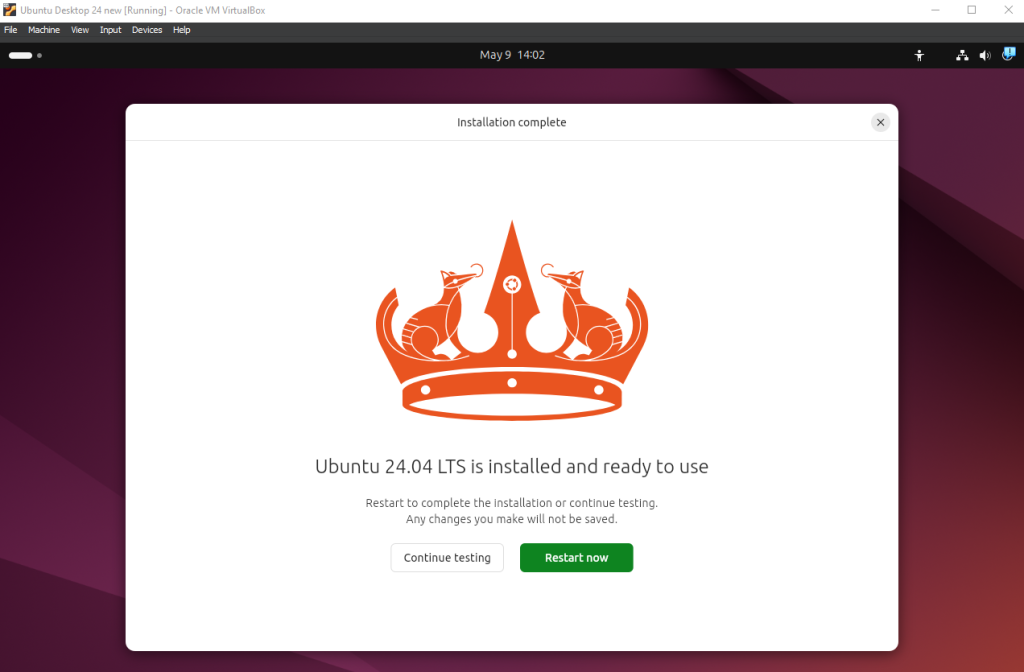
Figure 17 – restart - Hit enter when prompted to boot into the machine
Phase II – Installing SSH
Secure Shell (SSH) is a common remote shell and administration tool. It is used to securely remote login and command-line execution. We install it here for later use.
- Log into the Ubuntu Desktop virtual machine
- Click the Canonical logo (show applications) button in the bottom left corner. In the search screen that appears, search for and open the terminal
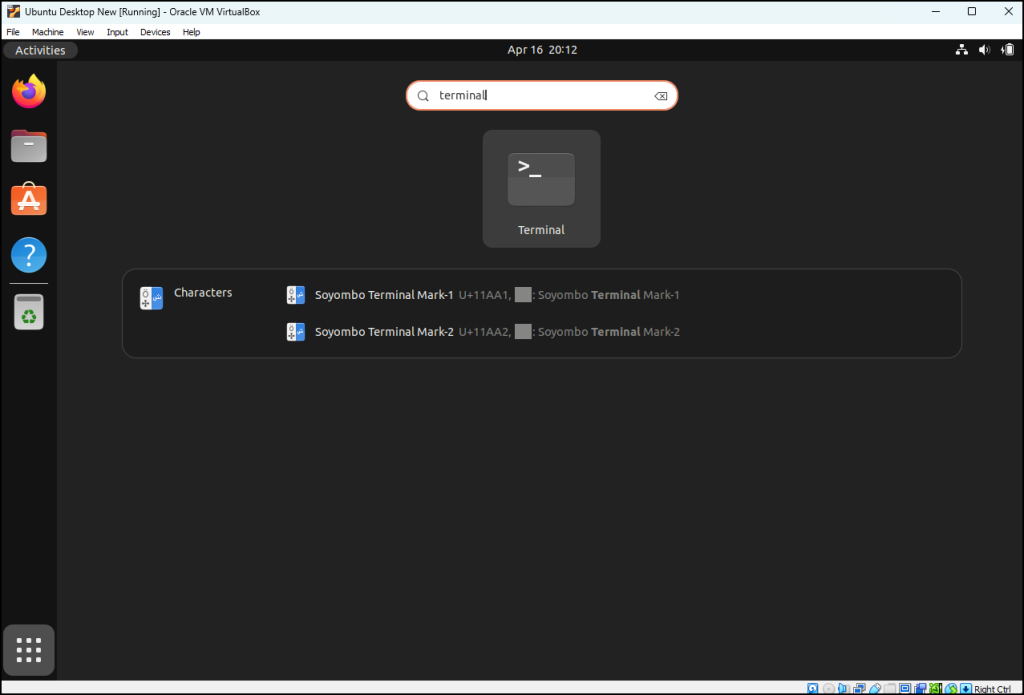
Figure 18 – Find terminal - In the newly opened terminal, type the following command to install SSH
sudo apt install ssh
- Enter y when prompted
- Once the installation is finished, SSH will be successfully installed

Figure 19 – Install SSH
End of Lab

