27 Create QEMU Images
Mathew J. Heath Van Horn, PhD
Quick Emulator (QEMU) is a free and open-source emulator that works with hardware near-native speeds. It has many advantages in that QEMU machines can run on various host operating systems.
Learning Objectives
- Install QEMU on Windows
- Convert a VirtualBox VM to QEMU
- Import the QEMU image into GNS3
Prerequisites
- Install VirtualBox
- Install GNS3
Deliverables
- None – This is for student needs
Resources
- QEMU Wiki
- Piotr Kobylaczyk – Converting VirtualBox to QEMU
- Linda from MiniTool – Installing Qemu on Windows
contributors and testers
Testers:
Phase I – Install QEMU
These are the instructions to install QEMU on your local machine. QEMU uses CLI for its user interface.
- Visit this website and download the QEMU Binary for Windows
- Double-click on the downloaded file and install the program
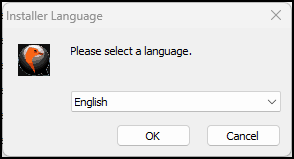
- Select your language (Figure 1)
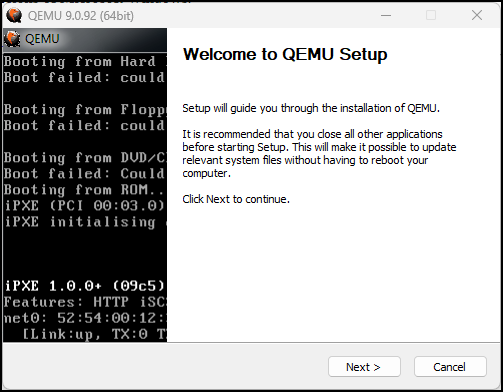
- Press Next on the welcome screen (Figure 2)
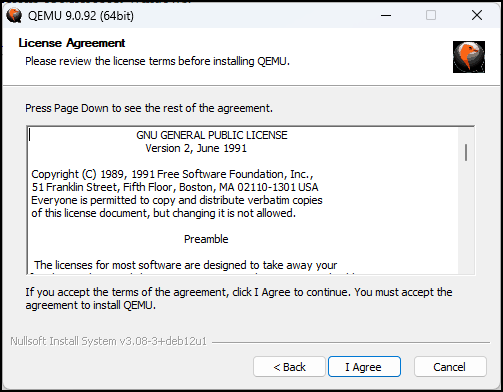
- Review and agree to the license agreement (Figure 3)
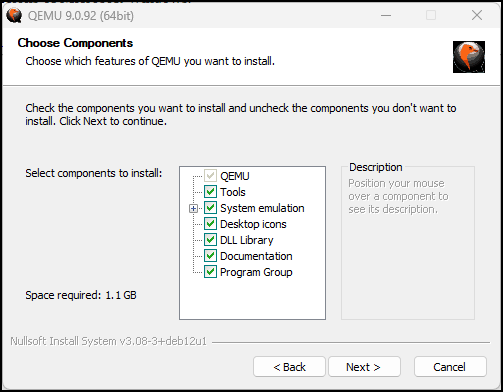
- Accept the default components and press next (Figure 4)
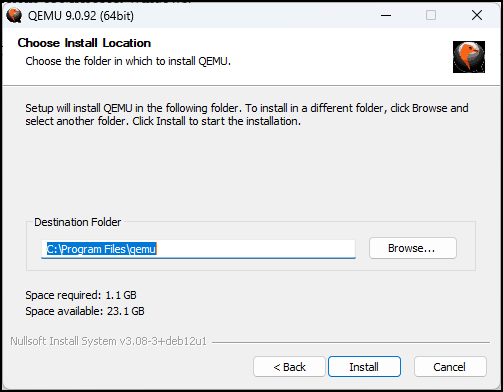
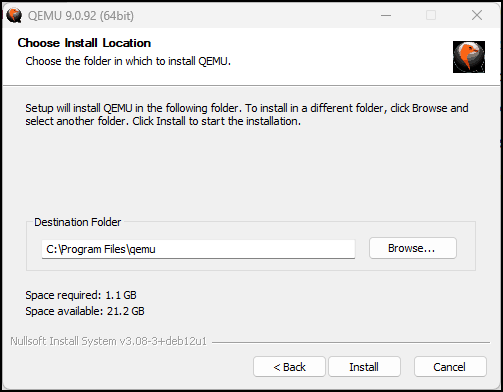
- Use the default path and click install (Figure 5)
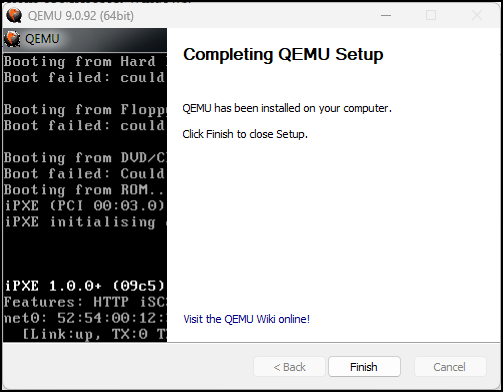
- When completed, click on Finish (Figure 6)
- Add QEMU to the command line path of Windows
- Navigate to the folder where you installed QEMU and copy the file path. On Windows the default is C:\Program Files\qemu (Figure 7)
- Right-click on Start, then settings
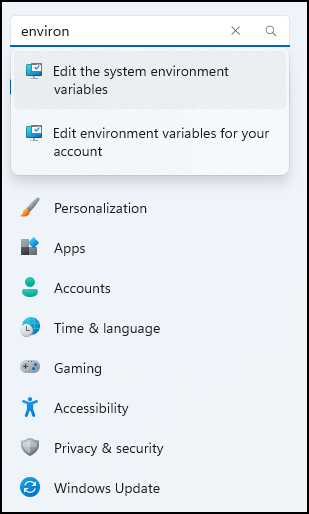
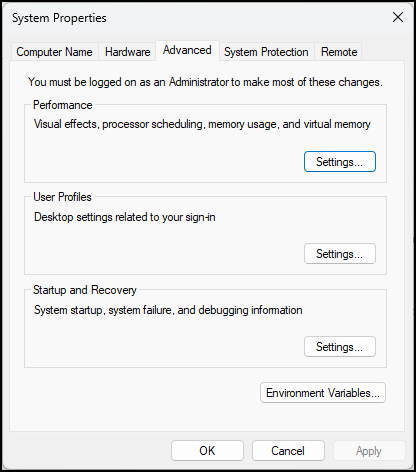
- In the search box type [environment] and click on Edit the system environment variables (Figure 8)
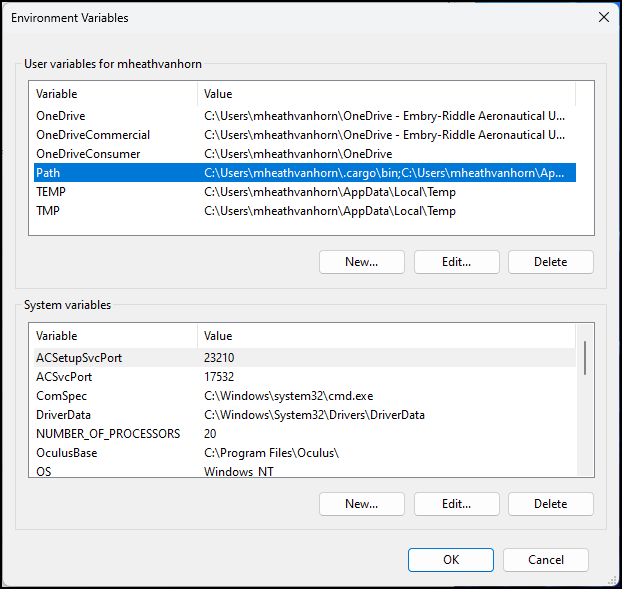
- Click on Environment Variables (Figure 9)
- Click on Path, then click Edit (Figure 10)
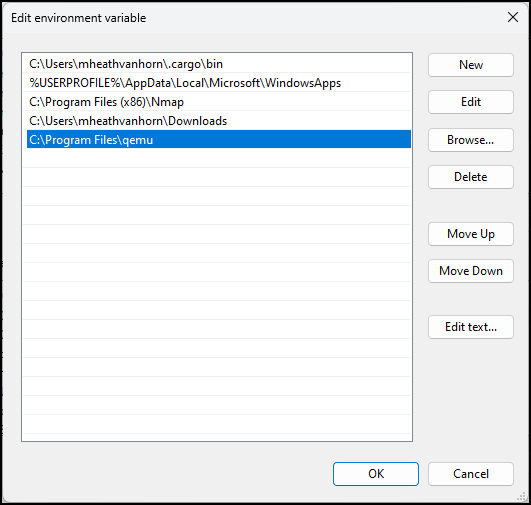
- Click on New
- Paste the path that you copied earlier (Figure 11)
- Press OK to accept the changes and then exit all of the open windows
Phase II – Create the QEMU image
QEMU images can be created from ISOs using the command line. However, our testers found creating VMs in Oracle VM VirtualBox Manager the easiest way. Then use the manager tools to convert the VirtualBox VMs to an intermediate format.
- Select an existing VM from the Oracle VM VirtualManager. We are going to use a Kali VM for this walk-through
- Right-click on the image and select Export to OCI (Figure 12)
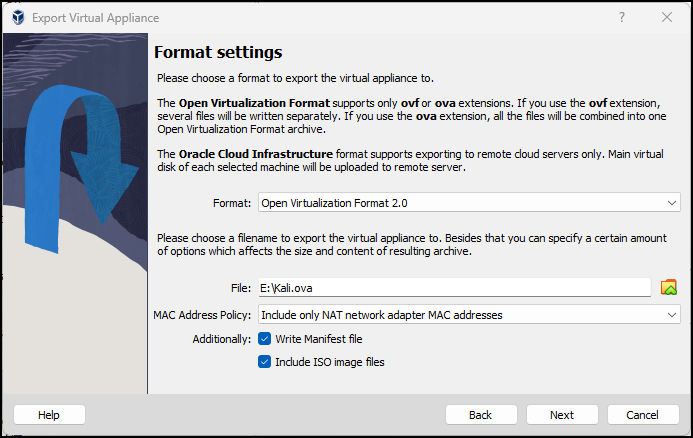
- Format Settings (Figure 13)
- Select OVF 2.0 format
NOTE: You might get a cloud error since the default configuration option is cloud and you probably have not configured the cloud settings. Press the ‘X’ to dismiss the message.
- Select the file location where you want the export
- Select Include all network adapter MAC addresses
- Select Write Manifest file
NOTE: The Manifest file is used for error checking during the export/import process.
- Select Include ISO image files
NOTE: The ISO files are not necessarily needed and produce a larger file export. However, by including the ISO file, if something is missing from the OS VM the missing program or option can quickly be added. Think Windows optional programs.
- Click Next
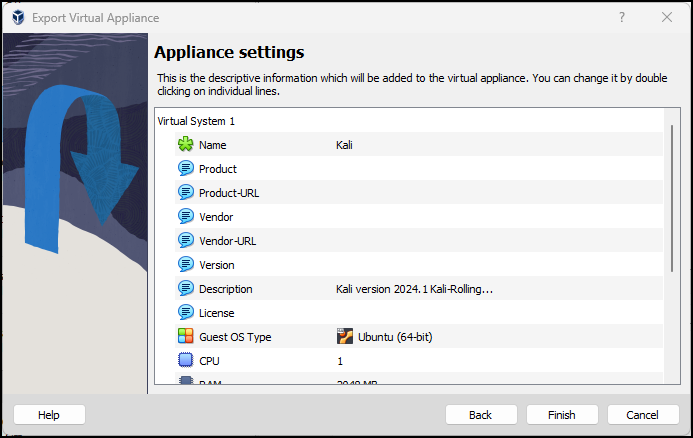
- Click Finish (Figure 14)
- The export process can take a bit of time. Only export one VM at a time

Figure Zzzzzz – This could take a while NOTE: QEMU cannot directly convert an OVA file to the qcow2 format because OVA is a tar-compressed file and so we must extract all the compressed files first.
- Select OVF 2.0 format
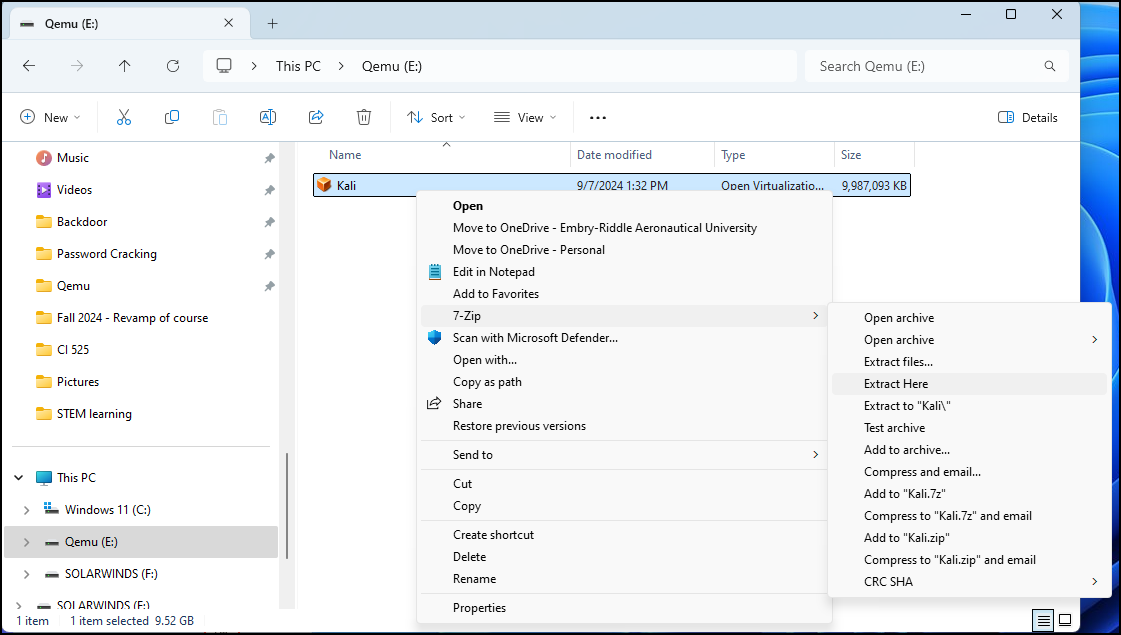
- In Windows File Explorer, navigate to the location where the export was created and use 7zip to extract here (figure 15)
NOTE: 7zip occasionally gives a warning Unexpected End of Data. You can close the extraction window, everything is fine.
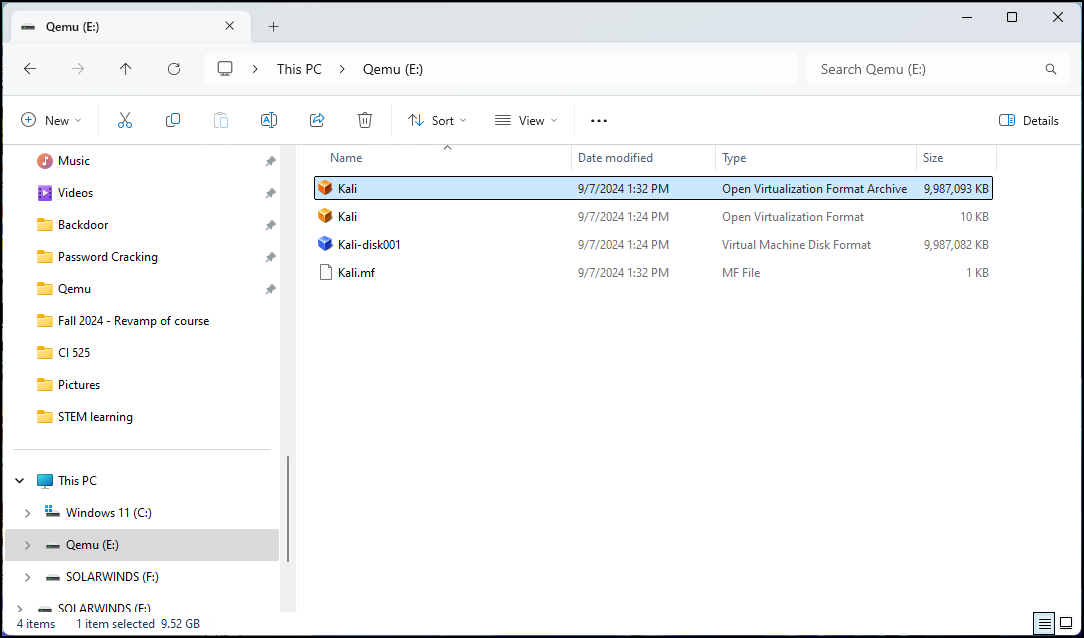
- You should now see a VMDK file with an appended -disk001 in the folder (Figure 16)
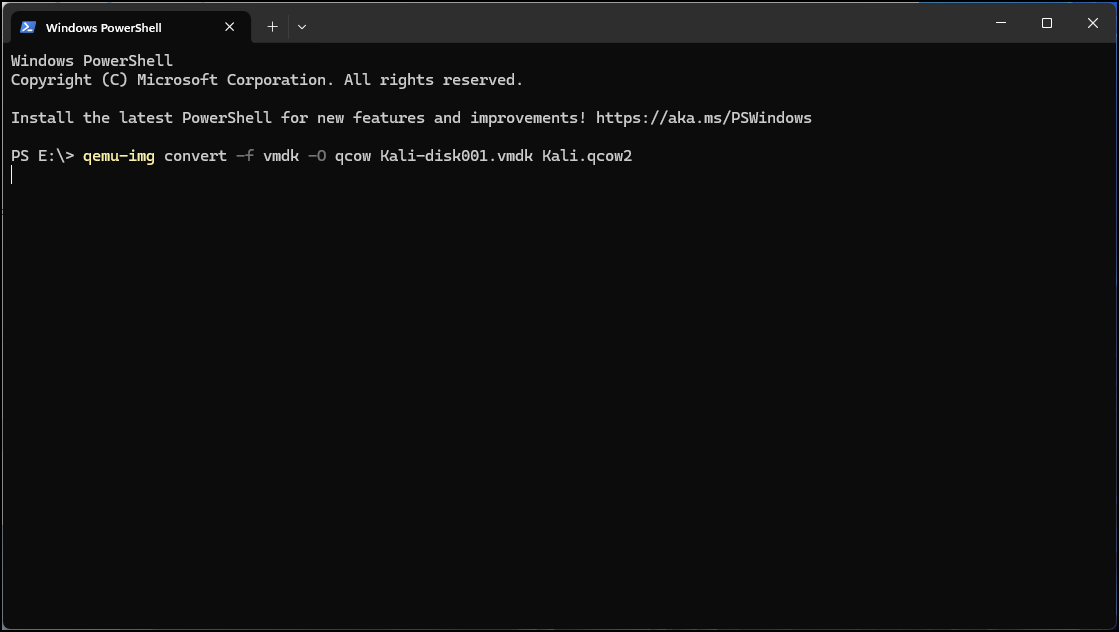
- Within the folder, right-click on the background and select open in terminal to open the CLI
- Convert the VMDK file to a QEMU format called QCOW2, by typing all on one line (Figure 17)
qemu-img convert -f vmdk -O qcow [source_file_name].vmdk [destination_file_name].qcow2
NOTE: The conversion can also take a while.
Phase III – Add the QEMU to GNS3
Running VMs in QEMU mostly runs faster and with fewer problems. With one exception; Windows runs better in VirtualBox. Here is where we add the QEMU images to GNS3.
- Start GNS3 and wait for the lights to turn green
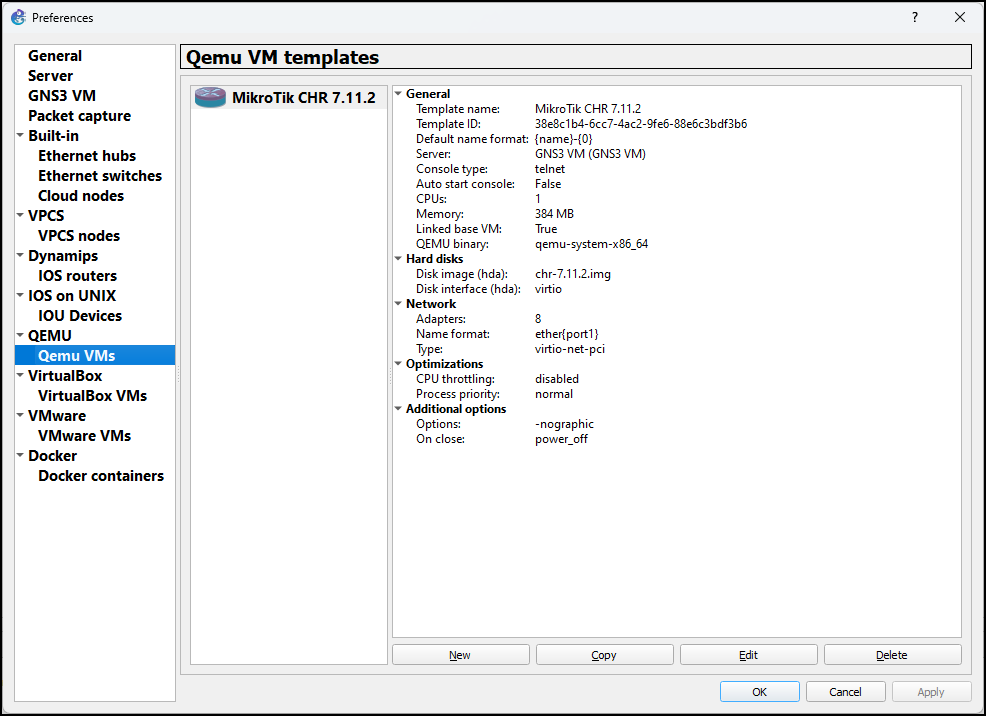
- In preferences, click on Qemu VMs
- Click New (Figure 18)
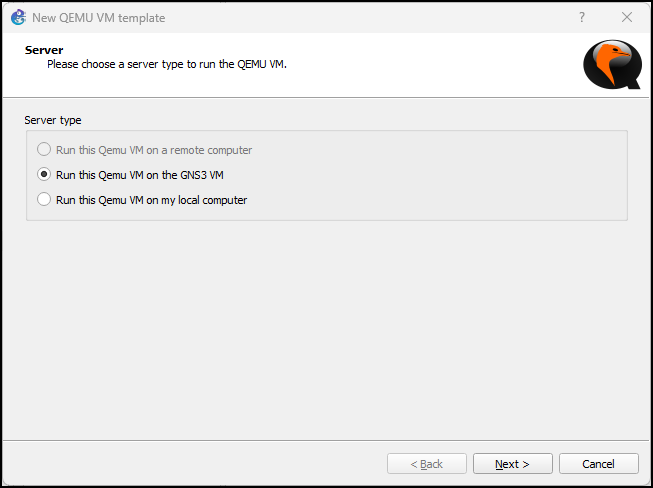
- Select Run the Qemu VM on the GNS3VM (Figure 19)
- Click Next
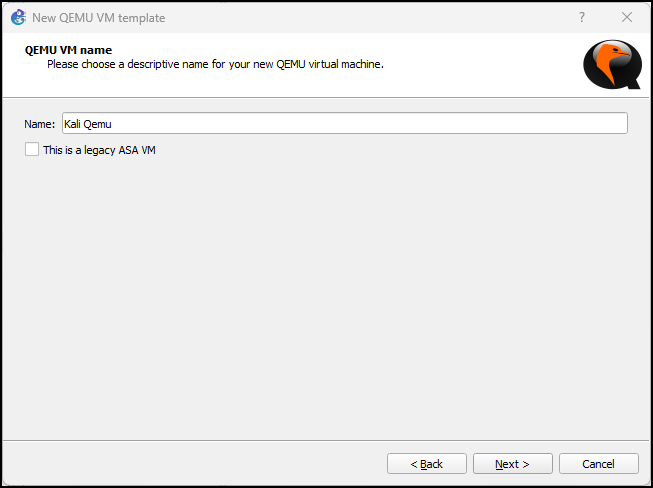
- Name the Qemu VM, in this case, we are calling it Kali (Figure 20)
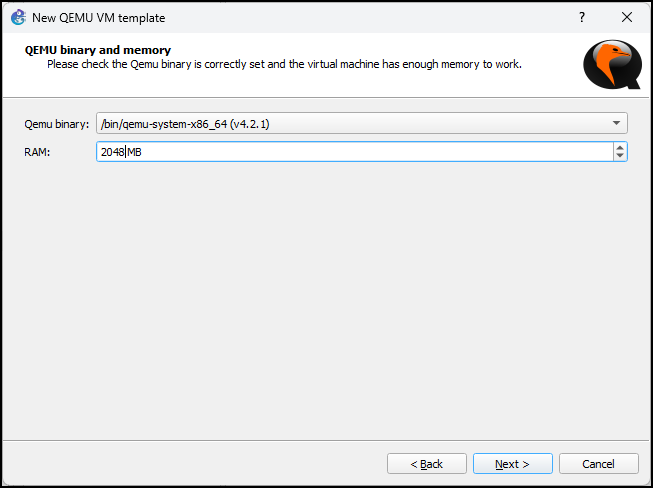
- Leave the Qemu binary on the default, and make sure the VM has enough RAM (Figure 21)
- Click Next
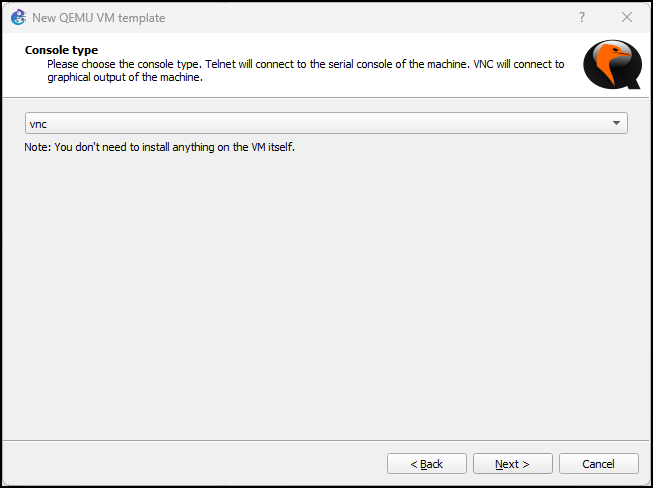
- Change the console type to VNC to use the GUI interface and click Next (Figure 22)
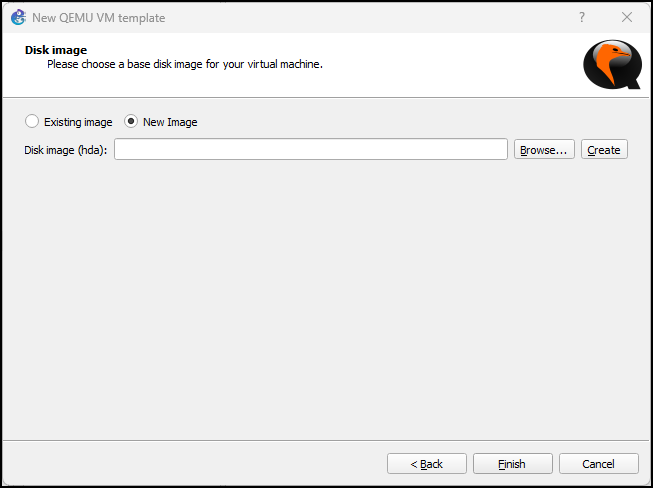
- Click on New Image (Figure 23) and browse to the location where we saved our Qemu image (QCOW2) of Kali (Figure 24)
- After it finishes loading, click Finish
- Click Apply (Figure 25)
Figures