8 Create a Windows Server
Mathew J. Heath Van Horn, PhD and Raechel Ferguson
Windows Server is a popular server that offers many functions for businesses to control their enterprise network. It is not a singular operating system, but rather a group of operating systems that can be used in a variety of ways. This lab’s focus is on installing Windows Server for the first time with the most common features.
Learning Objectives
- Using an image of Windows Server, install and configure Windows Server as a virtual machine in the GNS3 workspace
Prerequisites
- VirtualBox installed. For this book, make sure you install Version 7.0.x
- GNS3 Workspace Installed. For this book, make sure you install version 2.xx.xx
Deliverables
- None – this is a preparatory lab that supports other labs in this book
Resources
- Most students at colleges and high schools can download Windows Server (with a license key) through Azure for Education. Ask your instructor for details or a copy of the Windows Server iso file.
- Some testers have used the Windows Server Evaluation copy available here. If you use an evaluation copy, ignore references to product keys.
- NOTE: Each source will be referenced with its corresponding number in superscript (EX: 1 ) at the end of a step
- 1. MSFT WebCast. “How to Install Windows Server 2019 in VirtualBox (STEP by Step Guide).” YouTube, January 23, 2019. https://www.youtube.com/watch?v=ZjQSuyuN0nA&list=PLUZTRmXEpBy32NP6z_qvVBOTWUzdTZVHt.
- 2. MSFT WebCast. “Basic Configuration Tasks in Windows Server 2019.” YouTube, January 25, 2019. https://www.youtube.com/watch?v=1nxYJSV7-u8&list=PLUZTRmXEpBy32NP6z_qvVBOTWUzdTZVHt&index=3.
- 3. MSFT WebCast. “Setting up Active Directory in Windows Server 2019 (Step by Step Guide).” YouTube, January 28, 2019. https://www.youtube.com/watch?v=h3sxduUt5a8&list=PLUZTRmXEpBy32NP6z_qvVBOTWUzdTZVHt&index=5.
Contributors and testers
- TBD
Phase I – Install Windows Server as a VM
Installing Windows Server on a VM has some nuances to be followed in VirtualBox. Please read the instructions carefully.
- Download a copy of Windows Server. Many schools have access to Azure for Education, or download an evaluation version from here
- Open VirtualBox Manager
- Select New from the top ribbon to open the “Create Virtual Machine” window
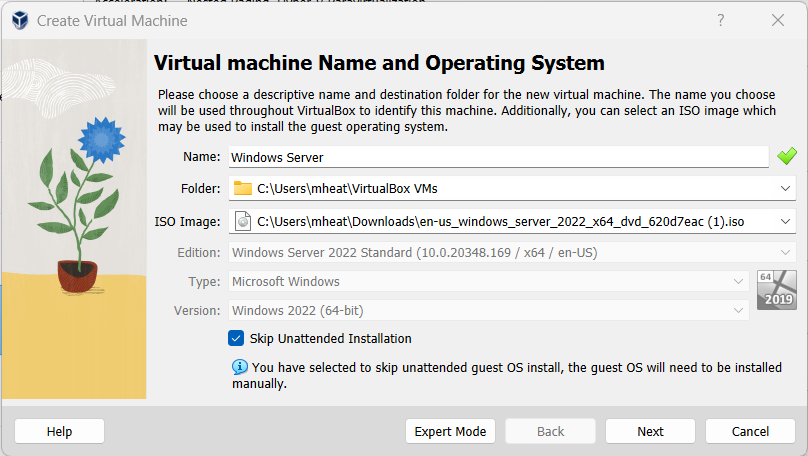
Figure 1 – Create a virtual machine - Name the VM “Windows Server” 1
- Use the ISO Image drop-down box to select the iso image for Windows Server that you have downloaded
- Click the box that states Skip Unattended Installation
- Press Next
- Use the default hardware settings
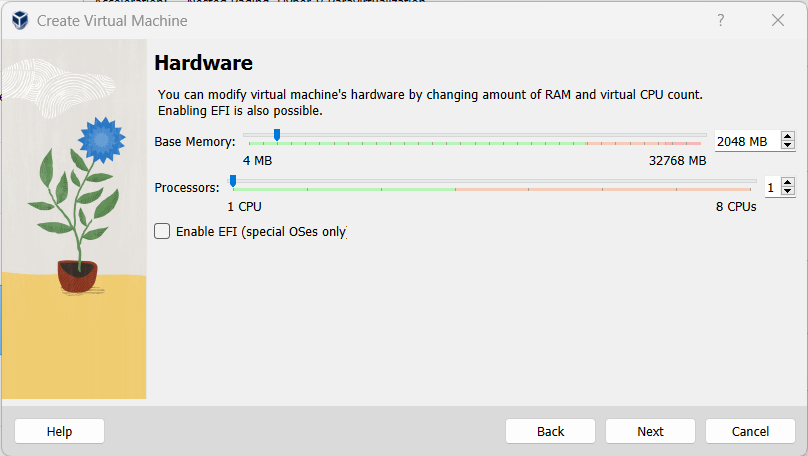
Figure 2 – Hardware settings - Press Next
- Use the default Virtual Hard disk settings
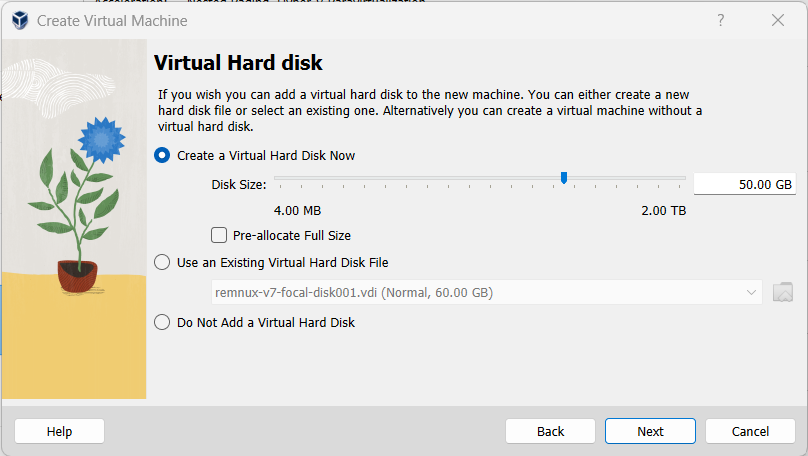
Figure 3 – Virtual hard disk settings - Press Next
- Review the Summary and press Finish
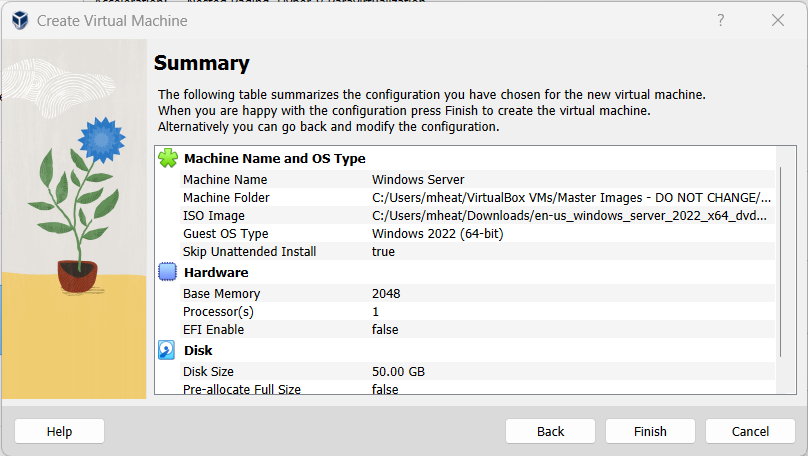
Figure 4 – Review and approve settings
- Start the Windows Server VM by pressing the big green arrow on VirtualBox Manager to start the setup process
- On the setup screen, use the defaults and press Next
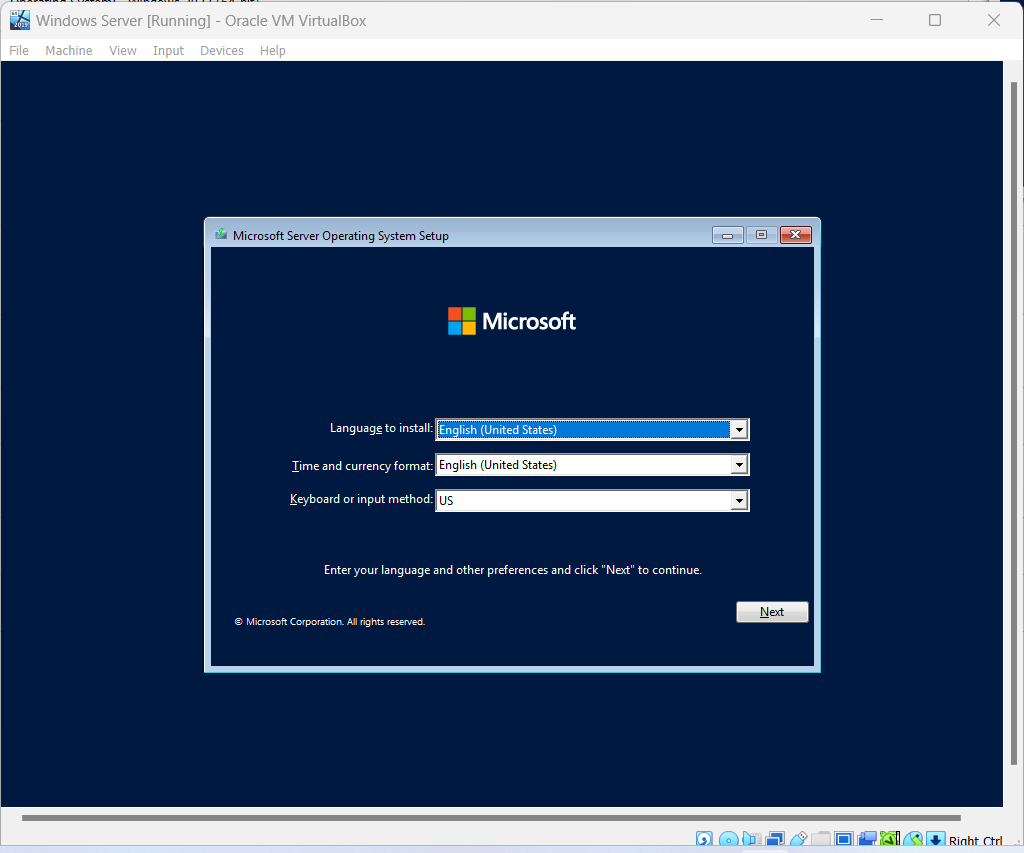
Figure 5 – Windows server default settings - Click Install now
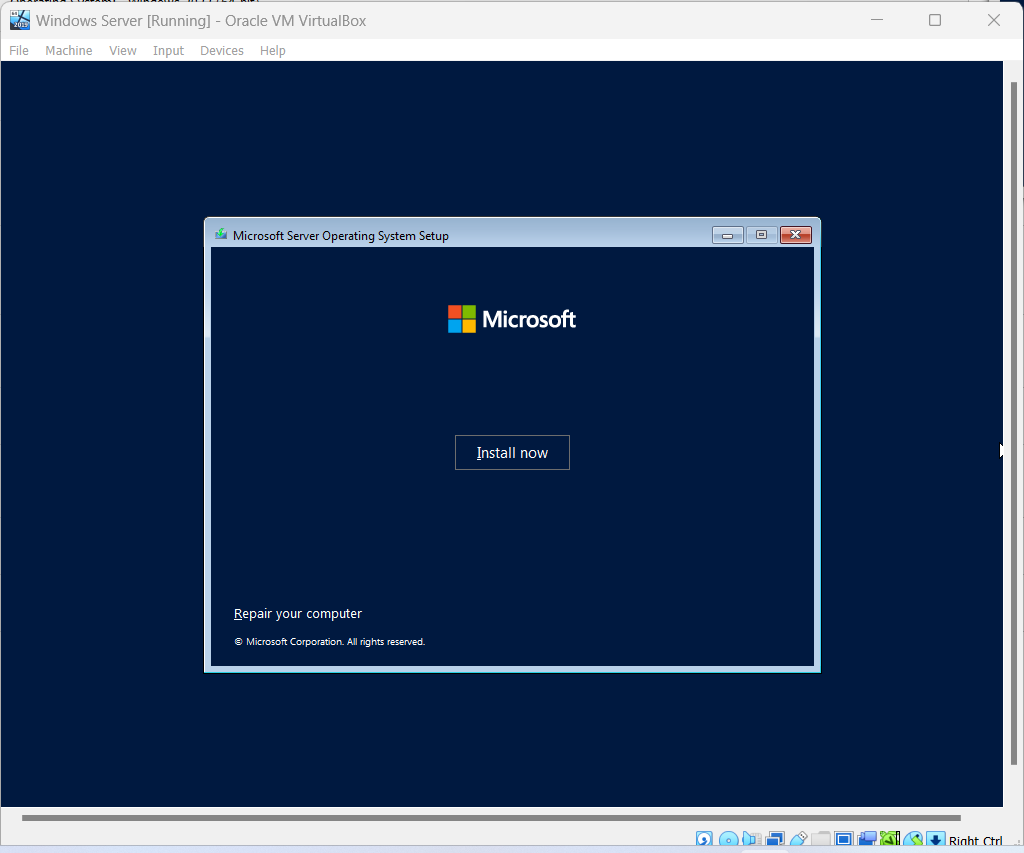
Figure 6 – Install now - Enter your product key and press next. If you don’t have one, click on I don’t have a product key

Figure 7 – Product key - Select the desktop experience (this is with a GUI instead of a CLI) and press next
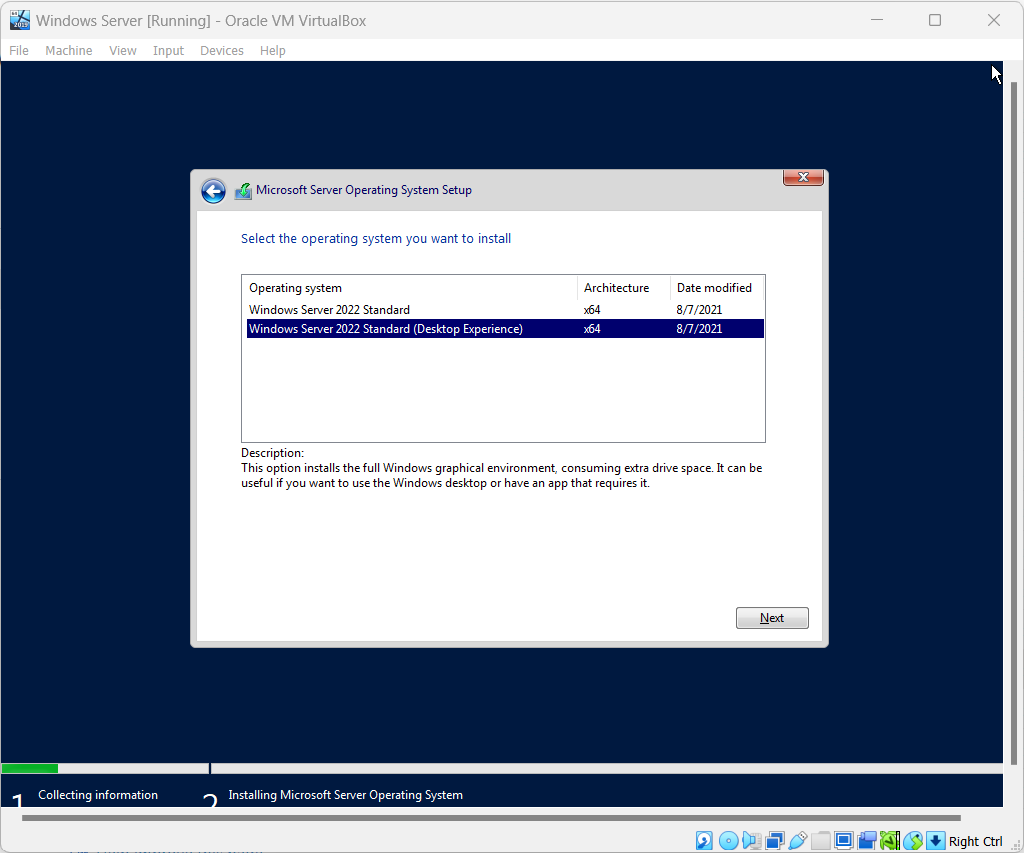
Figure 8 – Desktop Experience - Read and accept the license terms and press next
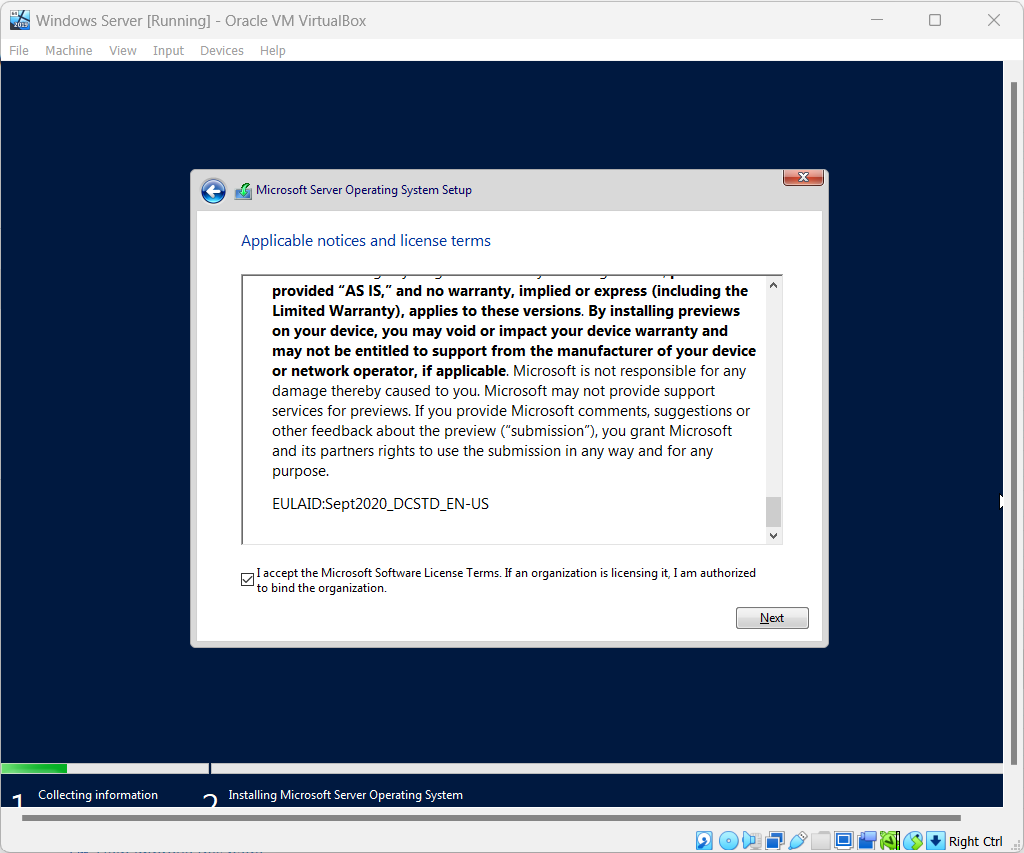
Figure 9 – Accept liscense terms - Click on Custom Install
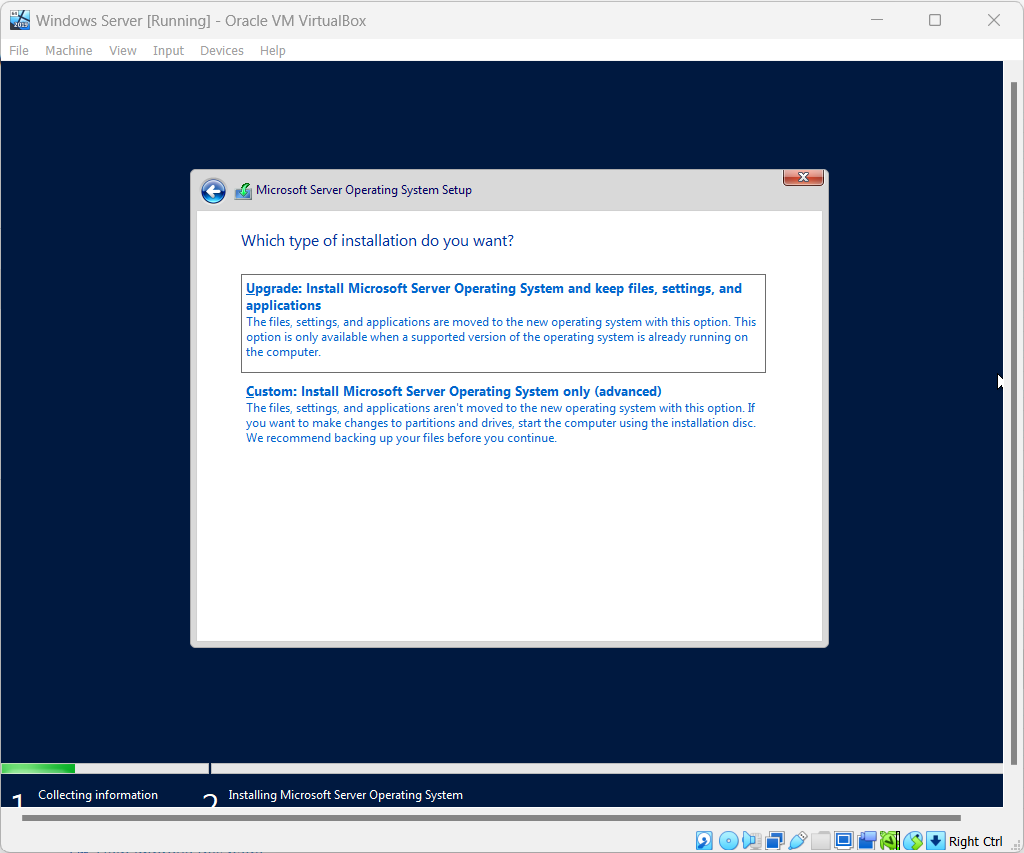
Figure 10 – Custom install - Leave the defaults and press Next
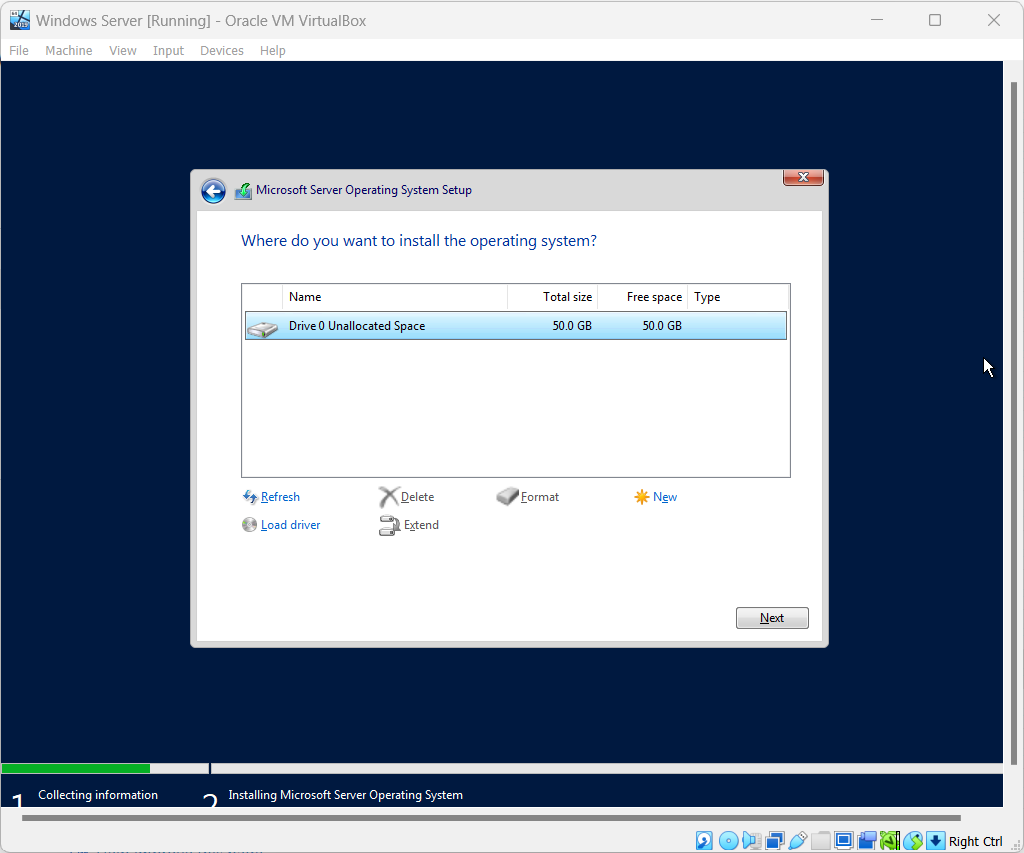
Figure 11 – Use defaults - Wait for the installation to finish and restart
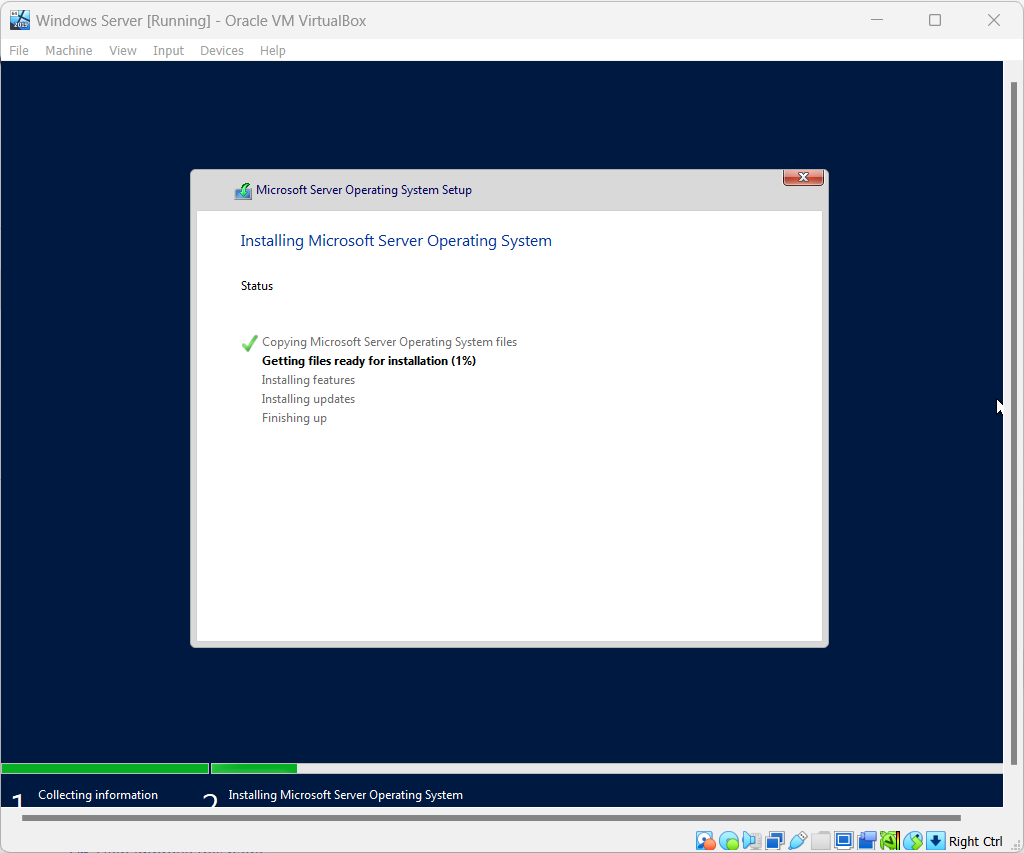
Figure 12 – Waiting for installation to finish - At the Password Screen, set the password to “Security1” and press Finish
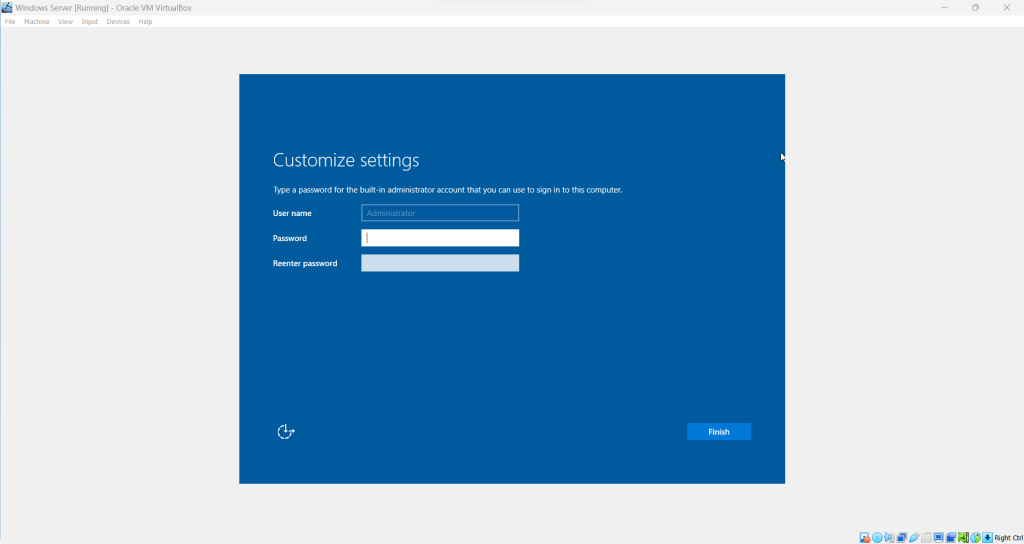
Figure 13 – Set the password - If your Host OS reacts to the pressing of Ctrl-Alt-Delete instead of the VM, press your Host Key (right ctrl by default) and delete simultaneously to get to the Windows Server login screen on your VM
- Log into the Windows Server using the administrator credentials
Figure 14 – Login as admin - At the first start-up, you will get two pop-ups
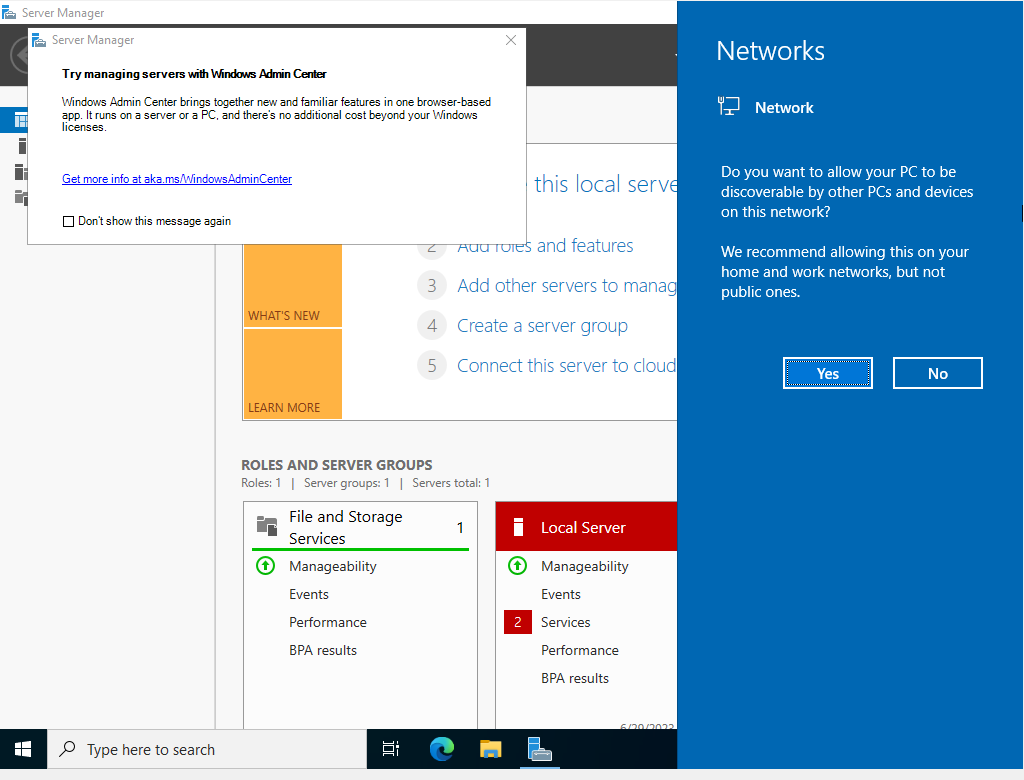
Figure 15 – First start-up - Server Manager – Click on Don’t show this message again
- Networks – Click Yes
- This brings you to the Server Manager Dashboard
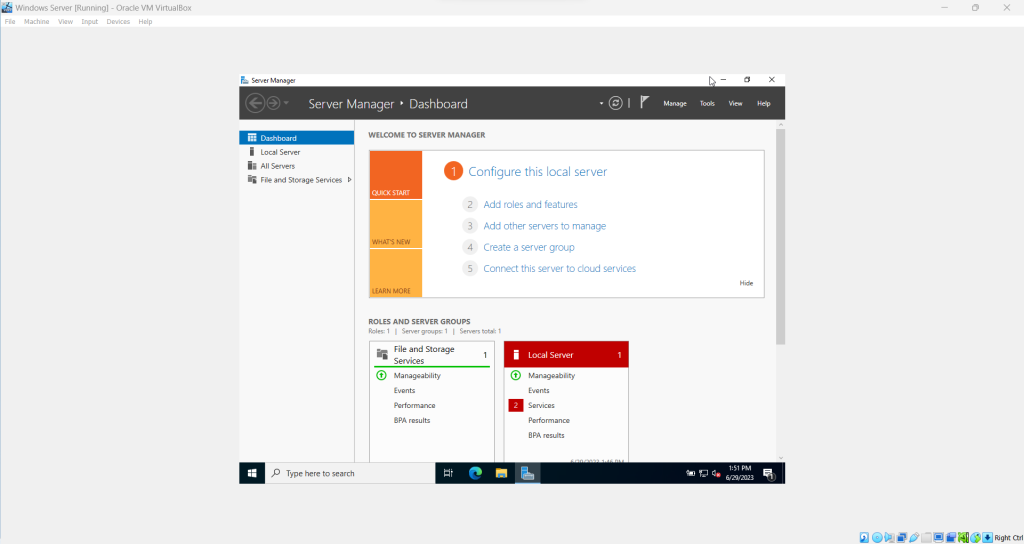
Figure 16 – Server manager dashboard
- On the setup screen, use the defaults and press Next
Phase II – Install Active Directory
Active Directory (AD) is a collection of processes and services. It is commonly used to assign and enforce security policies for all computers on the network via a Windows Server running Domain Services. The Windows Server with Domain Services running is called a Domain Controller. Most Windows Server services rely on the Domain Controller to function correctly.
- The Server Management Dashboard should open automatically on Windows Server startup
Figure 16 – Server manager dashboard - On the left side of the dashboard, click on Local Server and give it a couple of seconds to populate the information
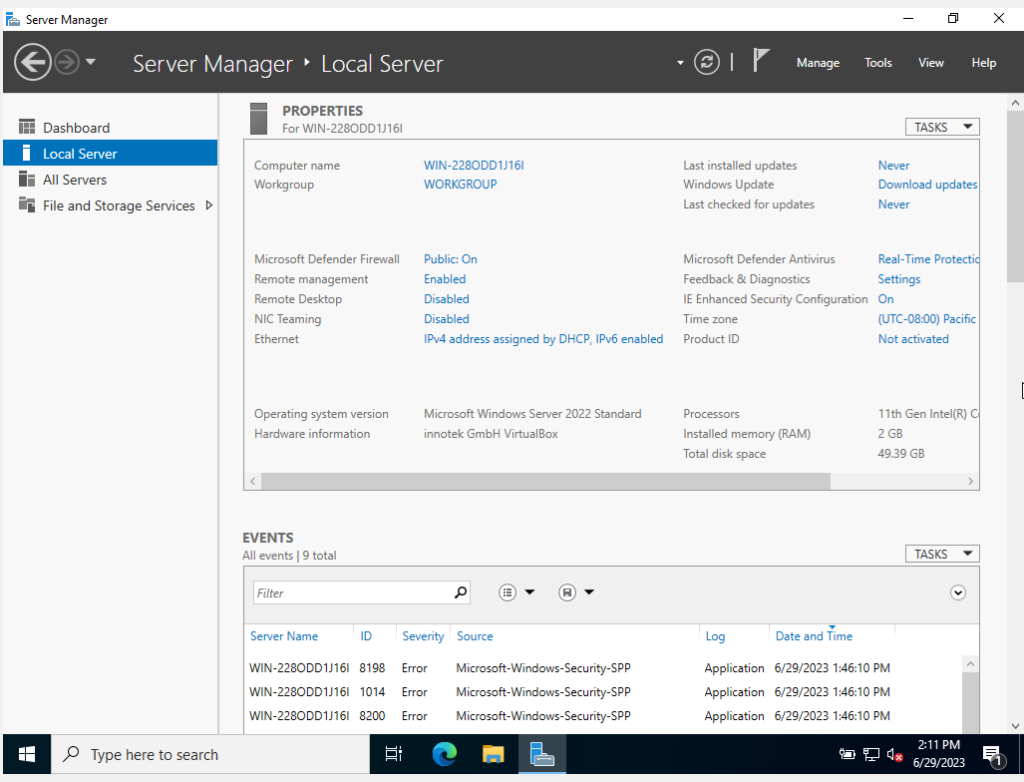
Figure 17 – Local Server - Click on Manage in the top right-hand corner of the screen. Once the drop-down appears, click on the Add Roles and Features option shown
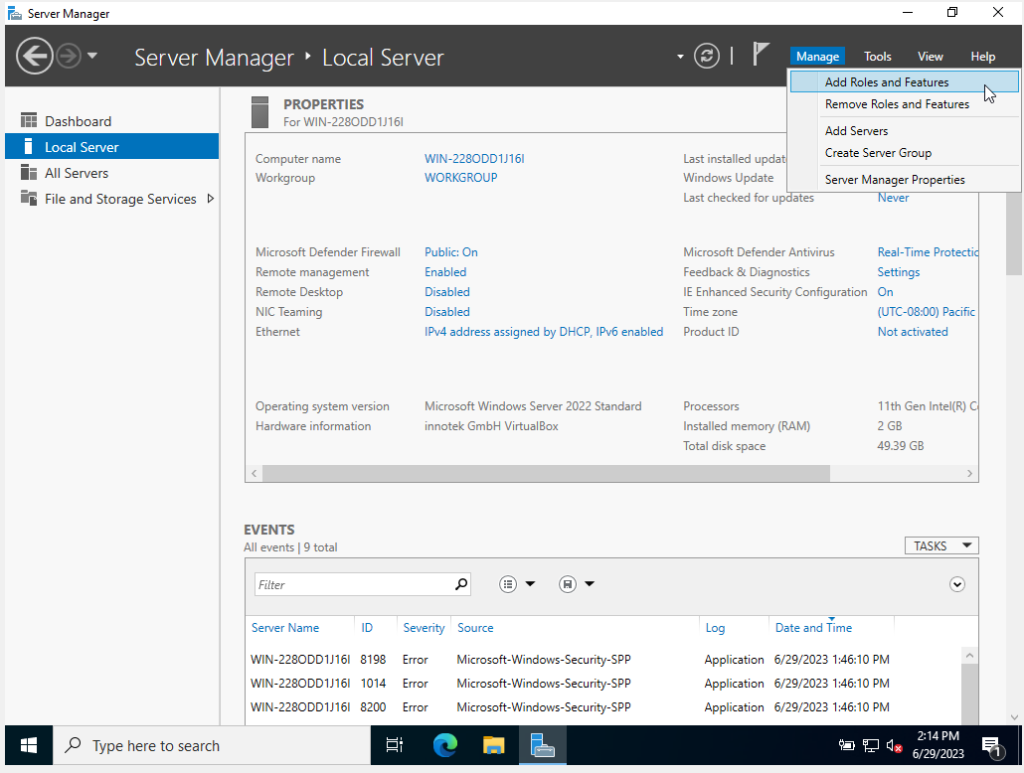
Figure 18 – Add roles and features - An “Add Roles and Features Wizard” box will open
- Before you begin – Click next
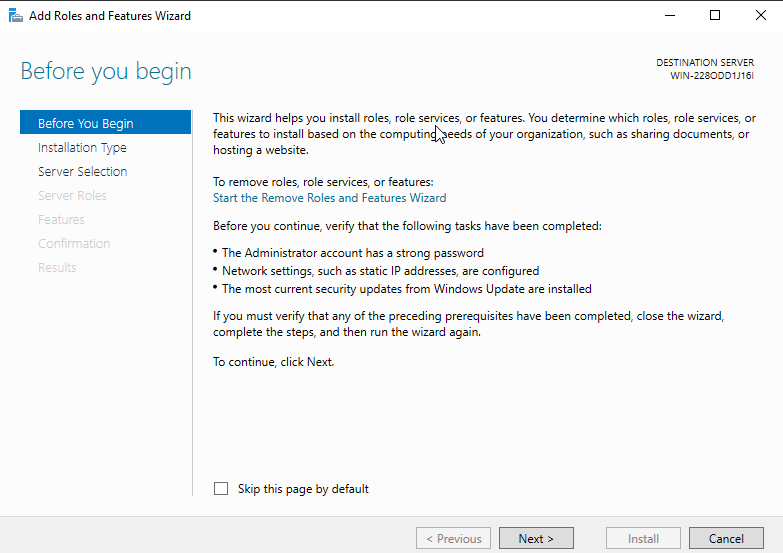
Figure 19 – Click next - Installation Type – click the Role-Based option – click next
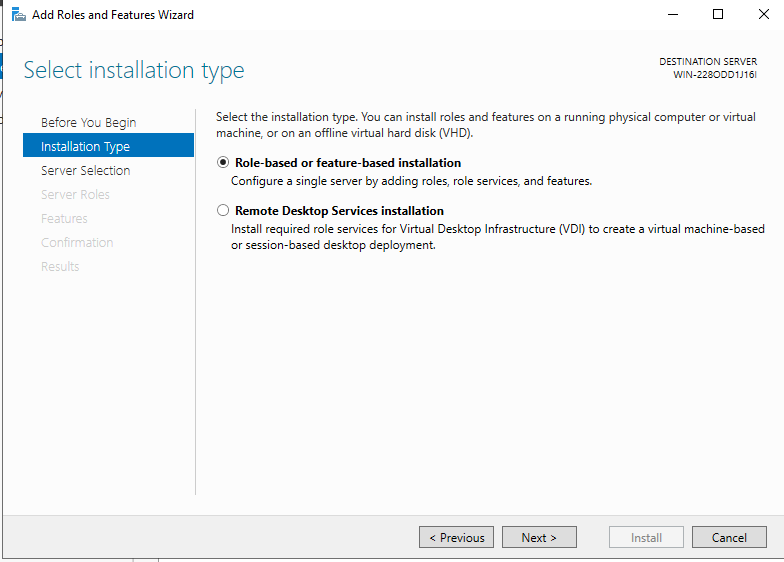
Figure 20 – Installation type, Roll-based - Server Selection – click on your local server (Should be the only option) – click next
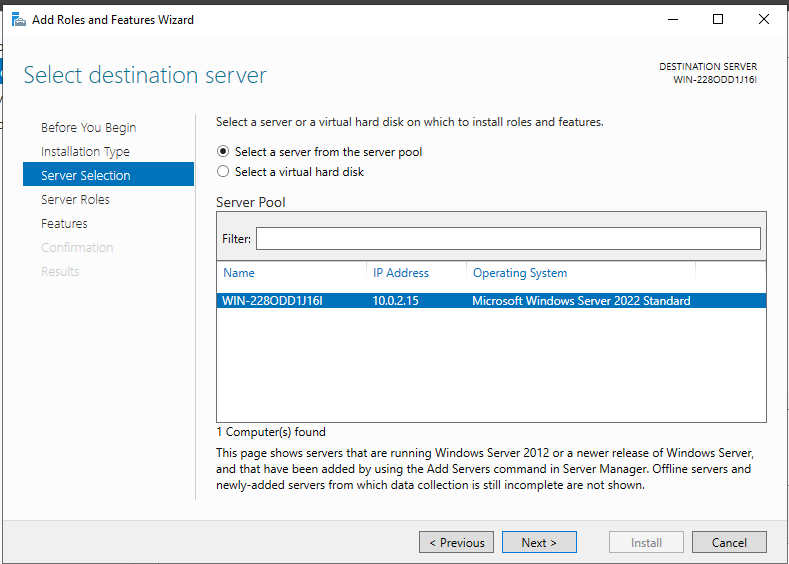
Figure 21 – Select the server - Server Roles – select Active Directory Domain Services, which will automatically open a pop-up window where you will press the Add Features button
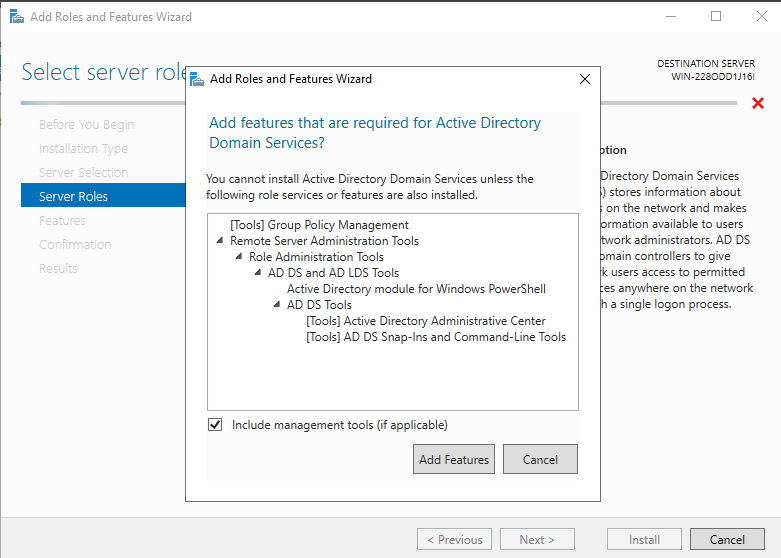
Figure 22 – Add features to Active Directory - Returns you to the Select Server Roles, and you can see that the Active Directory Services option now has a checkmark next to it
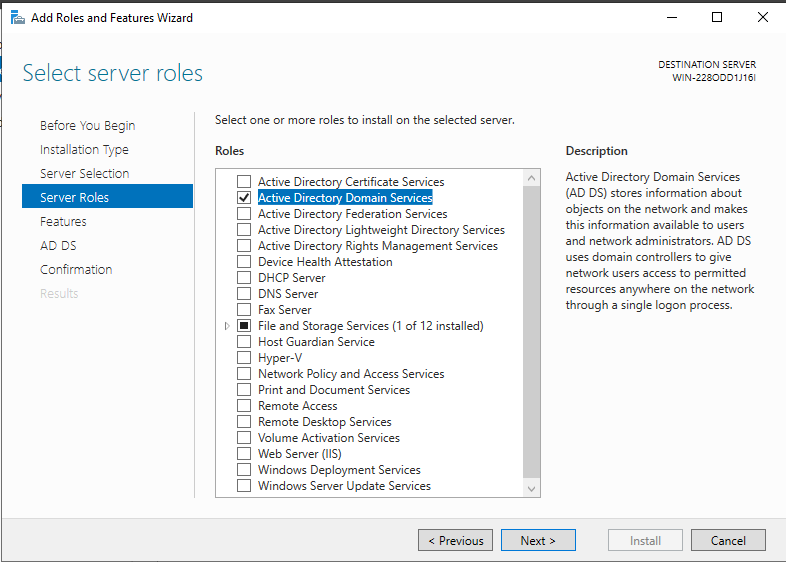
Figure 23 – Select server roles - Select DNS Server from the list of options, which will open a pop-up Window where you will press the Add Features button
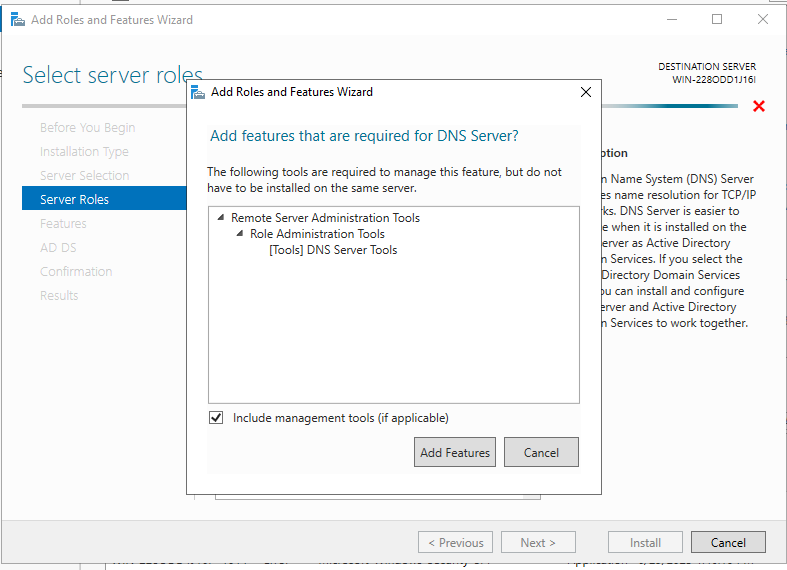
Figure 24 – Add features to DNS NOTE: You may get an alert. This is normal because we haven’t finished configuring everything. Just press “Continue”
- Returns you back to the Select Server Roles, and you can see that the DNS Server has a checkmark next to it – Click Next
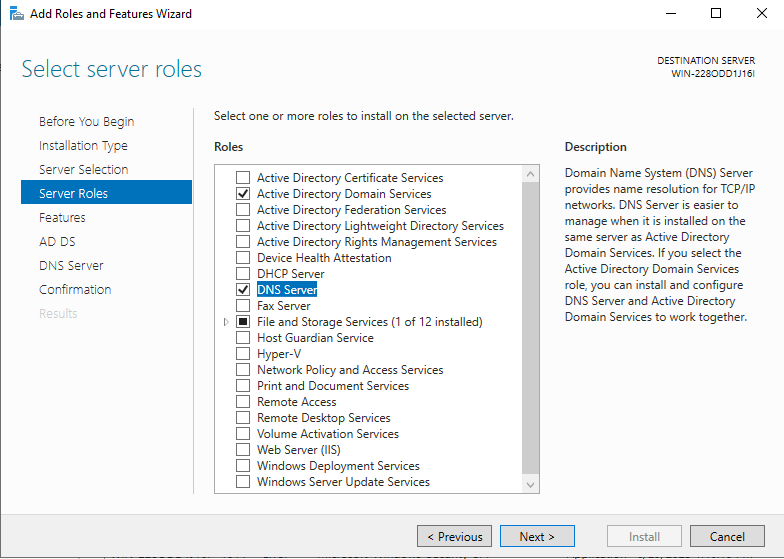
Figure 25 – Verify changes and select next - Features – Click Next

Figure 26 – Confirm Features - AD DS – Click Next
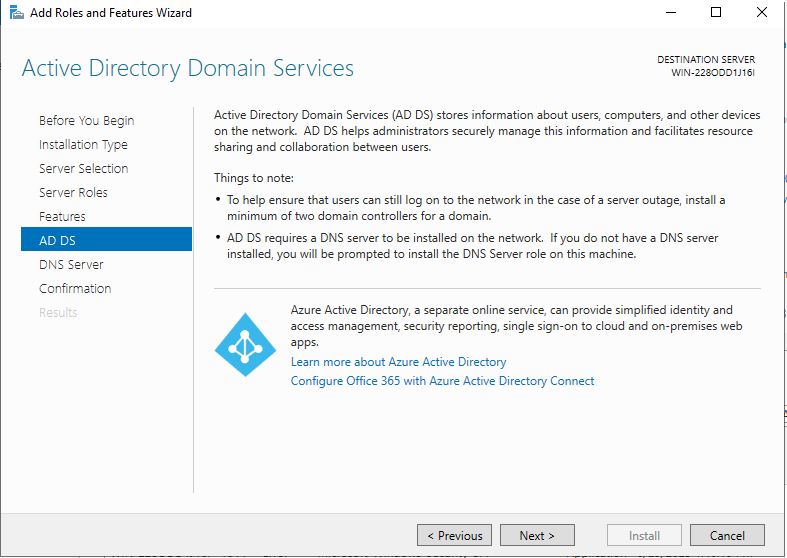
Figure 27 – Confirm AD DS - DNS Server – Click Next

Figure 28 – Confirm DNS - Confirmation – Click Install
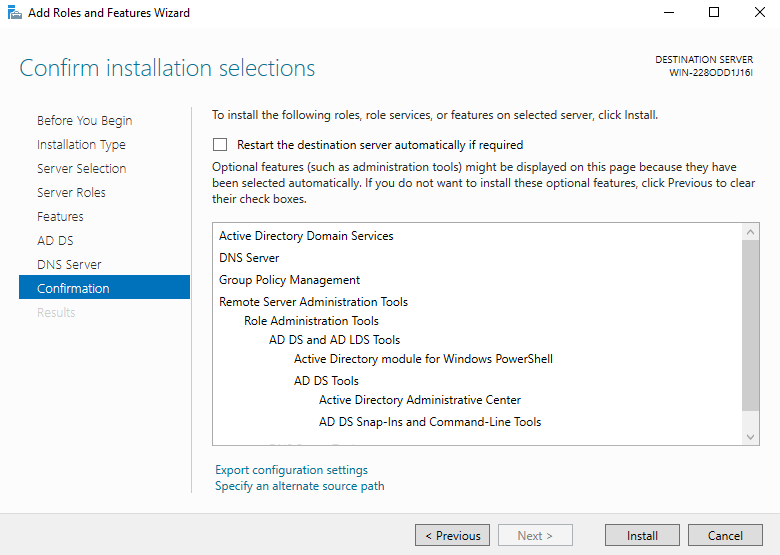
Figure 29 – Confirm settings - Wait for the installation to complete
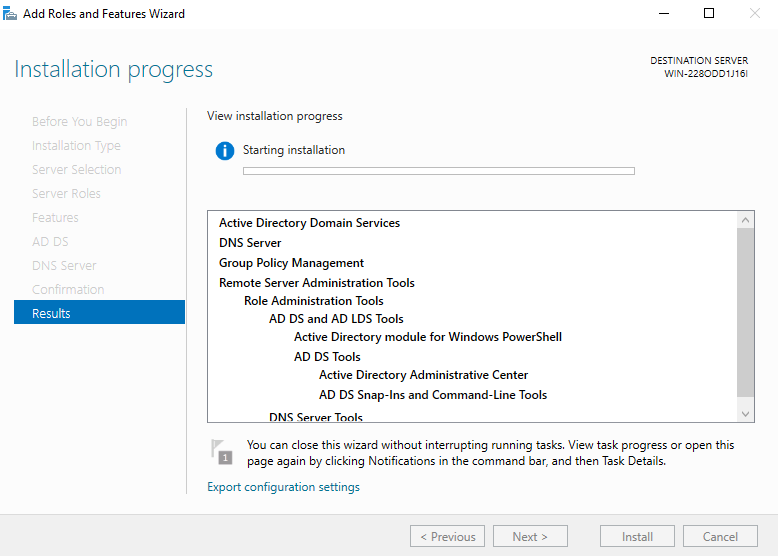
Figure 30 – Wait for installation - Click on the blue text that reads, “Promote this server to a domain controller.” and you will get a popup
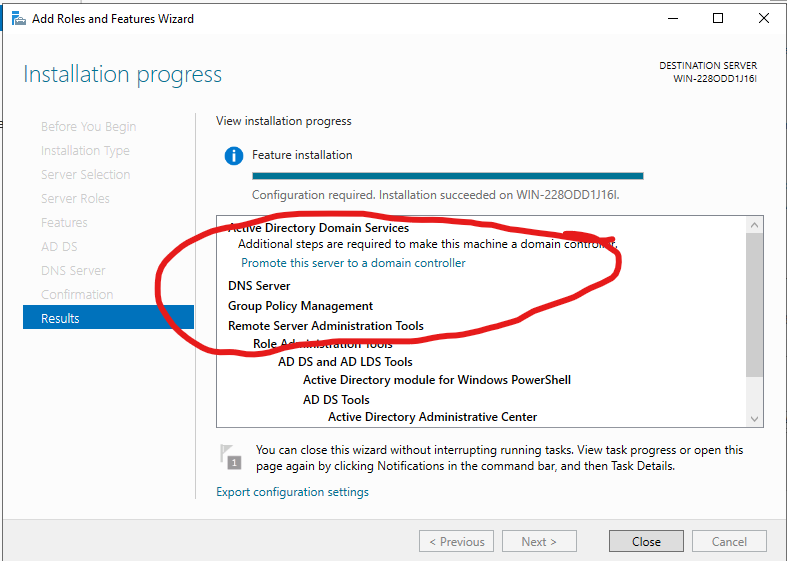
Figure 31 – Promote the server
- Before you begin – Click next
- Configure Active Directory Domain Services Wizard
- Deployment Configuration
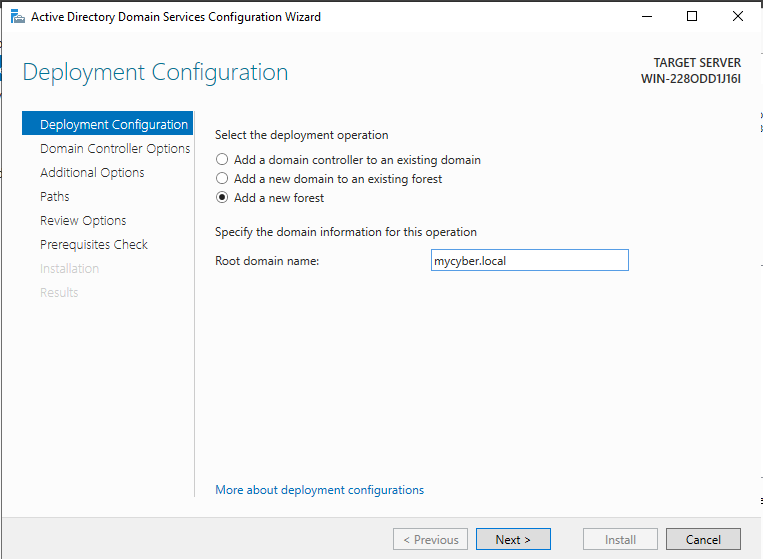
Figure 32 – Active Directory Domain Services Wizard - Click on Add a new forest
- Root domain name: pick something you would like. For these examples, “mycyber.local” was chosen
- Click Next
NOTE: Creating a new forest can take a minute or two.
- Domain Controller Options- select a password for the DSRM – we typically use “Security1” in this book – Click Next

Figure 33 – Set password for DC - DNS Options (Figure 34) – Ignore the alert if there is one and Click Next
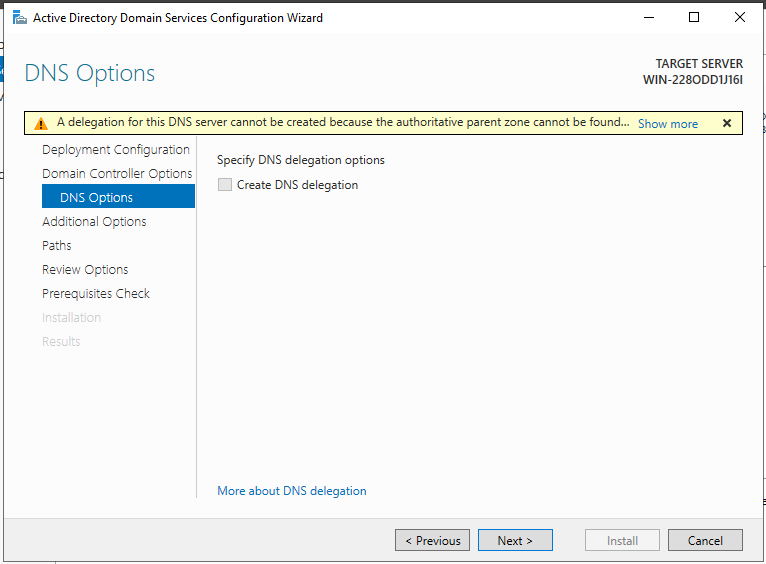
Figure 34 – DNS Options - Additional Options – It takes a moment to auto-populate with MYCYBER, but if it doesn’t, type it in. Then Click Next

Figure 35 – MyCYBER - Paths – Click Next
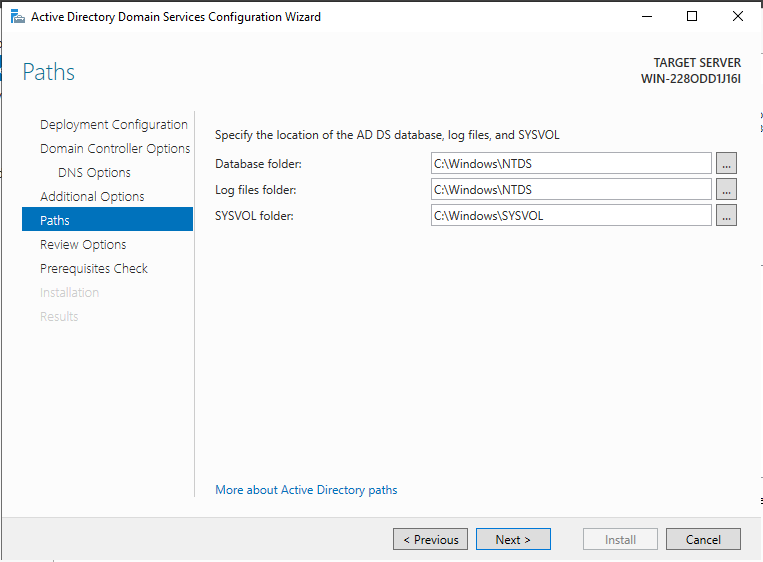
Figure 36 – Confirm paths - Review Options – Click Next
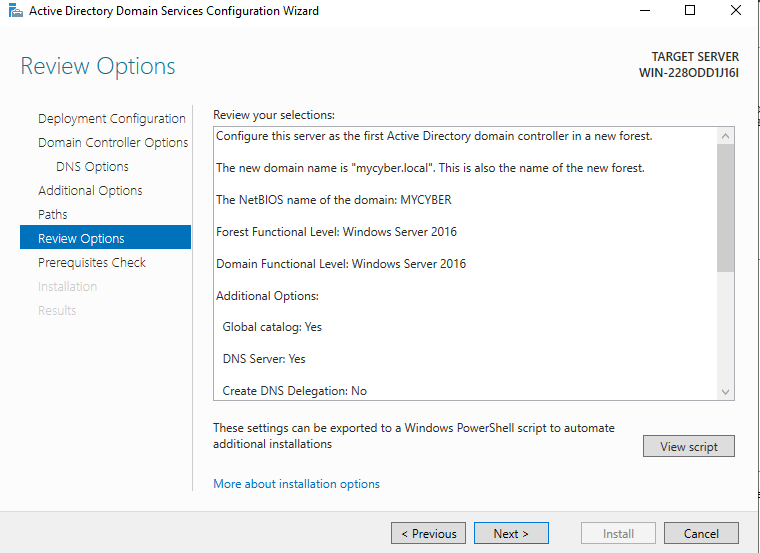
Figure 37 – Review and confirm - Prerequisites Check – (this could take a minute for a green box to appear – Ignore the alerts) Click Install
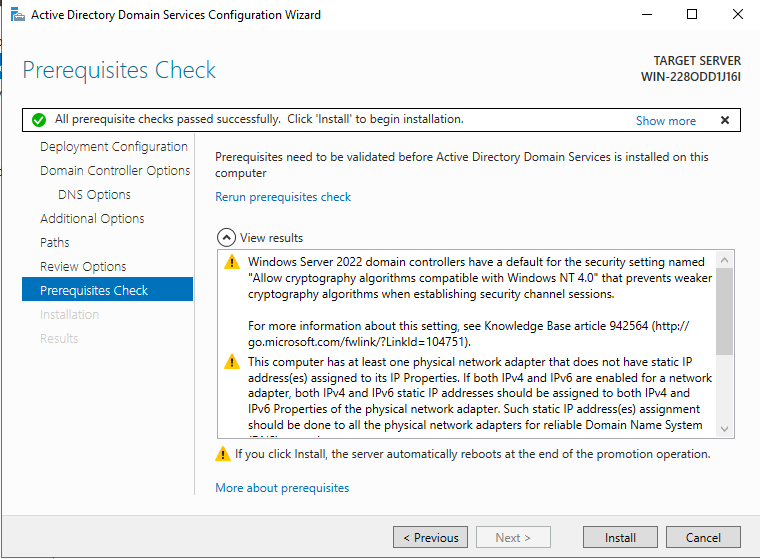
Figure 38 – Wait for green checkmark - The Server VM will automatically restart. Just wait for it to finish
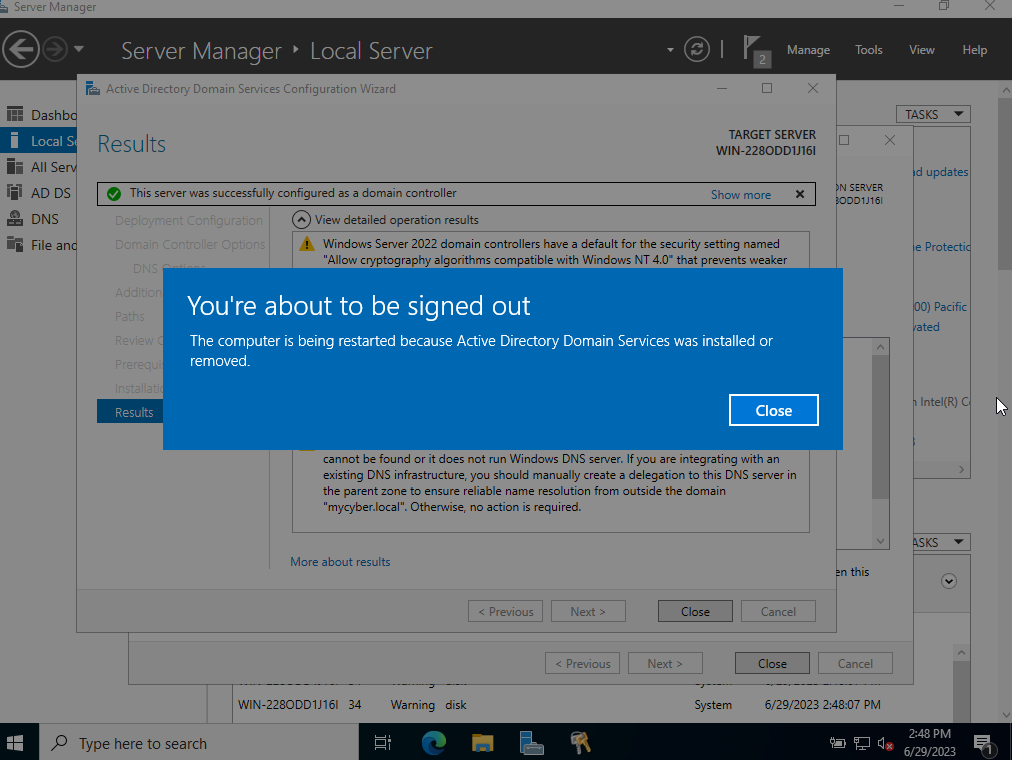
Figure 39 – It will restart automatically
- Deployment Configuration
Phase III – Add to GNS3
Add the newly created Windows Server VM to GNS3.
- Follow the procedures for adding a VM to GNS3
- You may want to make some changes to the default settings
-
- Change the image to look more like a server instead of a PC
- Change the network options to Allow GNS3 to use any configured VirtualBox adapter
Add a Network Administrator
It is not a good idea to do everything with an account named “Administrator”. Therefore, here are the instructions to create a user account for Ian Worthington, a fictitious network administrator.
- On the Server Manager, navigate to Tools -> Active Directory Users and Computers
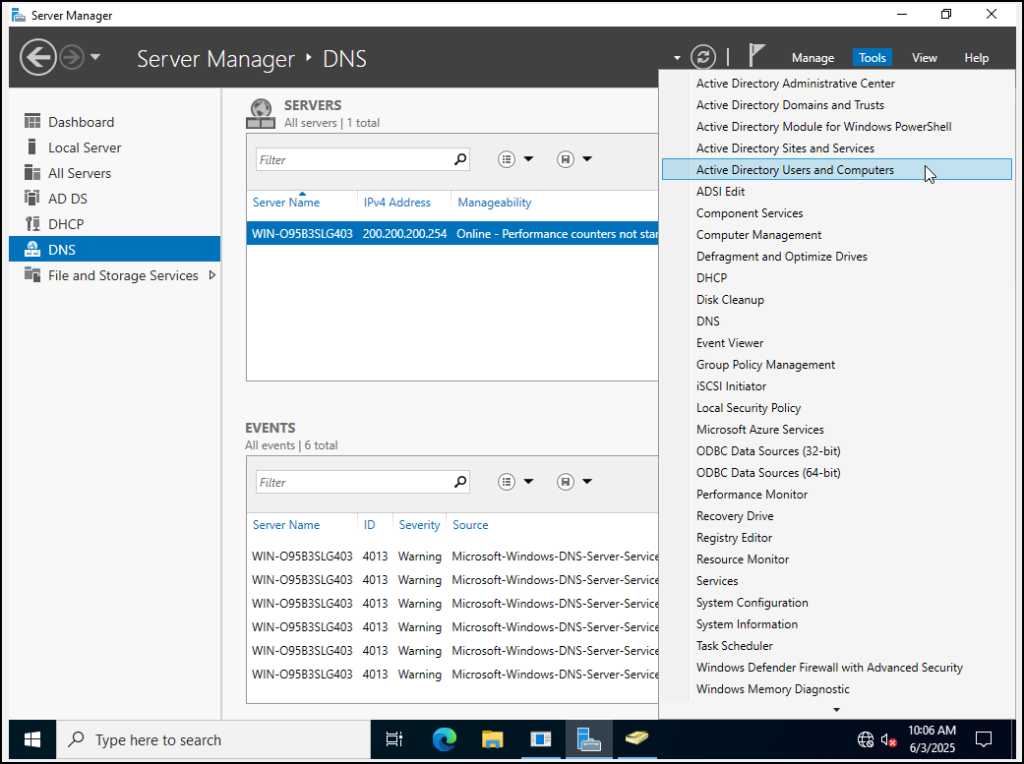
Figure 40 – Opening users and computers menu - In the left pane, right-click on users and select the new user submenu
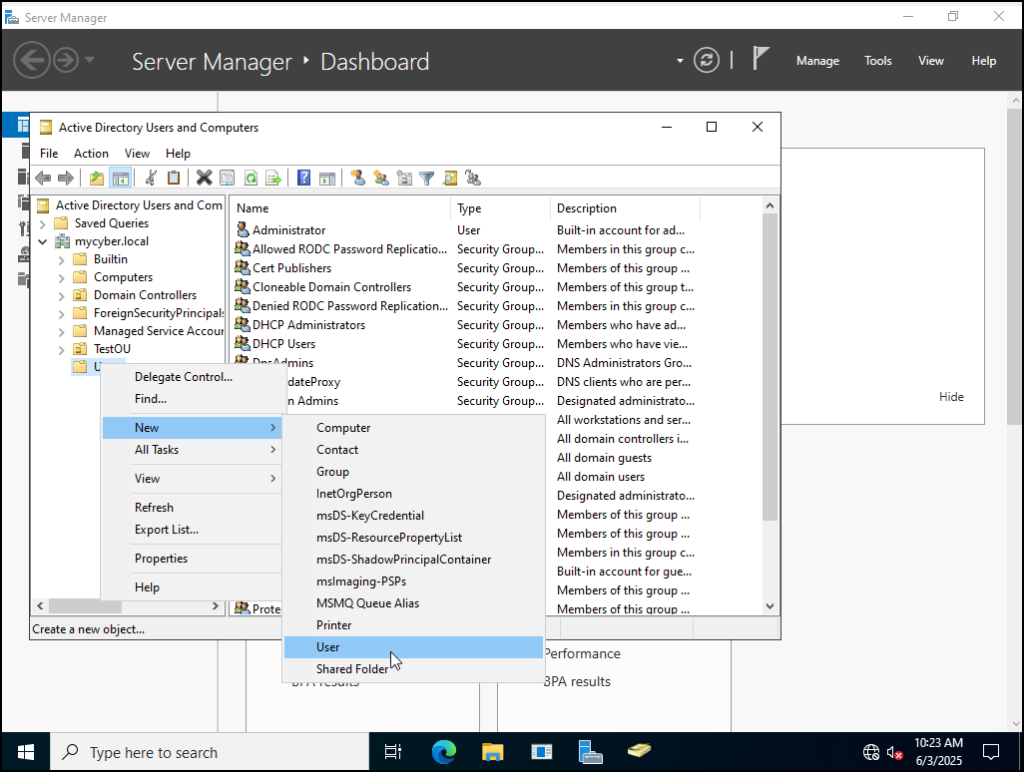
Figure 41 – Creating a New User - Complete the information for the new user using the login name of ian.worthington and click on Next
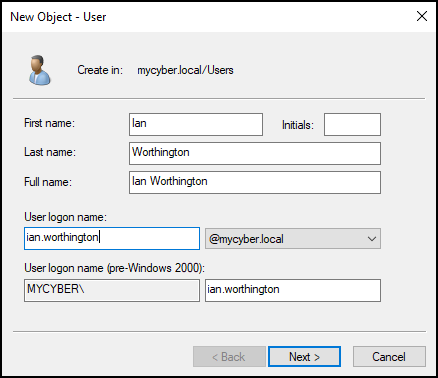
Figure 42 – Completing the New User information - Create the password, we’ll use the standard Security1. Also, because this Server VM will be used as a baseline, click the box “Password never expires” then hit Next
NOTE: This would be a significant security violation in a real-life scenario, but we are creating a lab environment.
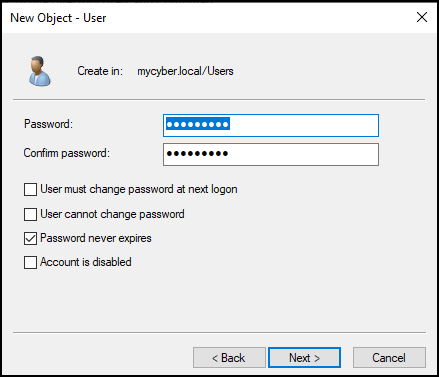
Figure 43 – Setting security settings - Verify your changes and click on Finish
- Observe that Ian Worthington’s account appears in the right pane
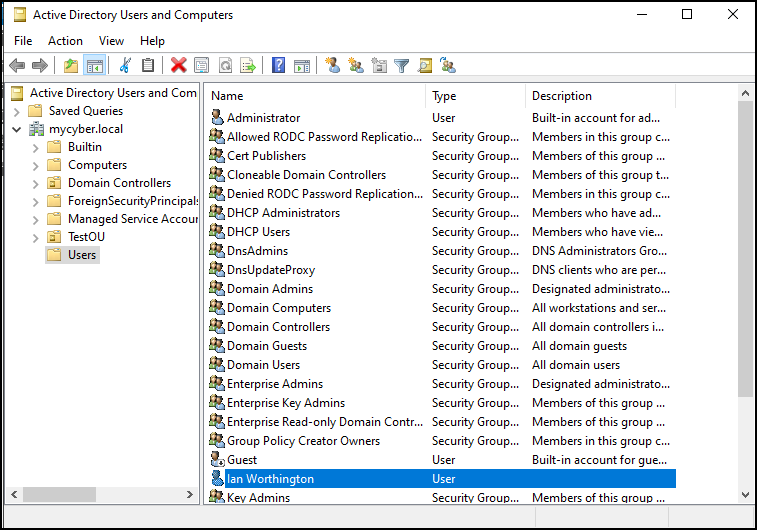
Figure 44 – Verify account exists
End of Lab

