7 Create a Linux Server
Jacob Christensen and Mathew J. Heath Van Horn, PhD
The Linux operating system has been increasing in popularity for many reasons. Most Linux platforms are free and open-source with very active development communities. Linux is also very reliable in that it often does not require reboots when something goes wrong. Furthermore, Linux is very customizable so only the features that are required are installed. A bare-bones Linux distribution can run on as little as 58MB of RAM! Finally, most applications on Linux are free and open-source.
Many people are reluctant to use Linux because it generally uses a command line interface (CLI) instead of a graphical user interface (GUI) like Windows or Apple. However, all those easy-to-use images require a lot of RAM and CPU power, so using CLI allows the operating system to focus on the essentials. We use Linux in the GNS3 environment because it requires very little in the way of hardware resources. This allows us to build complex enterprise networks without overloading our hosting machine. This lab will help you download, install, and configure a Ubuntu Linux Server for use in a GNS3 environment.
Learning Objectives
- Successfully download, install, and run Ubuntu Server in a GNS3 environment
- Optional installs for later labs
-
- Phase II – DHCP Server – KEA
- Phase III – DNS Server – BIND9
- Phase IV – Text-Based Web Browser – w3m
- Phase V – GUI – LXDE Desktop
- Phase VI – Web Hosting Service – Apache2
-
Prerequisites
Deliverables
- None – this is a preparatory lab that supports other labs in this book
Resources
- Download Ubuntu Server https://ubuntu.com/download/server
Contributors and Testers
- TBD
Phase I – Download and Installation
Installing a Linux Server is pretty straightforward. We will use the Ubuntu distribution of Linux due to its extensive documentation and support structure. However, learners will find that other Linux distributions follow similar processes prescribed here.
Furthermore, various tools on the Ubuntu server will be used in part 2 of this book. It is highly recommended that you install all optional tools, as you may need them later.
If you have limited PC resources, we recommend skipping Phase V (installing LXDE Desktop) and make use of the CLI interface instead.
- Download Ubuntu Server from https://ubuntu.com/download/server
- Start Oracle Virtual Box Manager
- Click on New
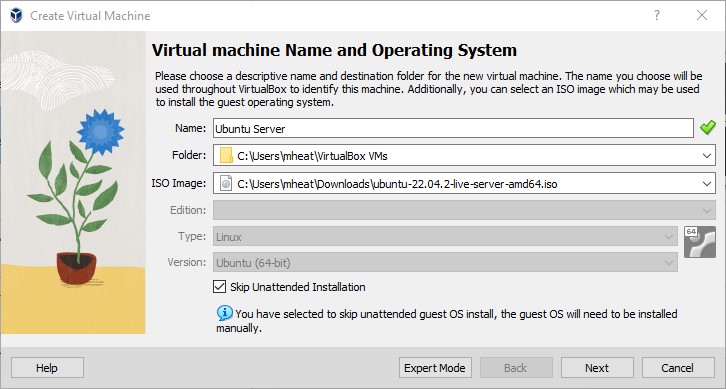
Figure 1 – Create a new VM - Pick a name, for this example, we use something clever like “Ubuntu Server”
- Use the dropdown menu to select the Ubuntu Server ISO that you downloaded
- Click Skip Unattended Installation IMPORTANT!
- Click Next
- You can leave the hardware on its defaults –> click next
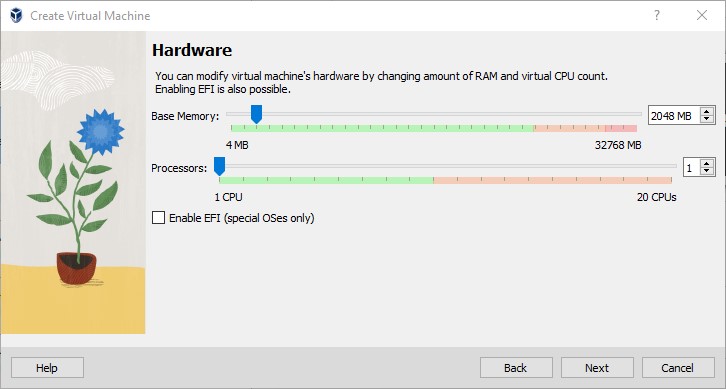
Figure 2 – VM resource settings NOTE: If you plan to install the GUI interface, you will need at least 50 GB of hard disk storage in the next step.
- Leave the default Virtual Hard Disk settings –> click next
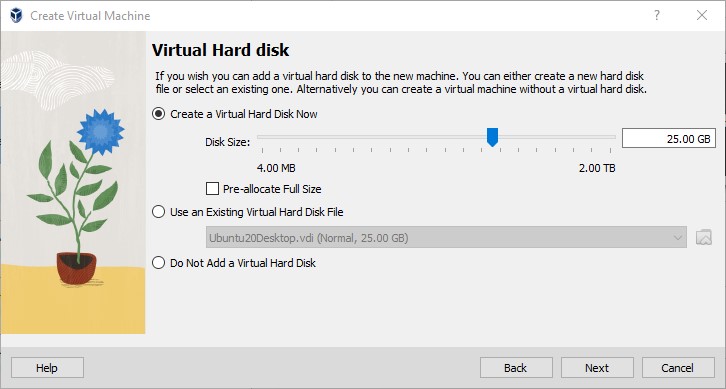
Figure 3 – Hard disk settings - Review the summary and click on Finish
- Start the Ubuntu Server VM
- Use the arrow keys to Install Ubuntu Server
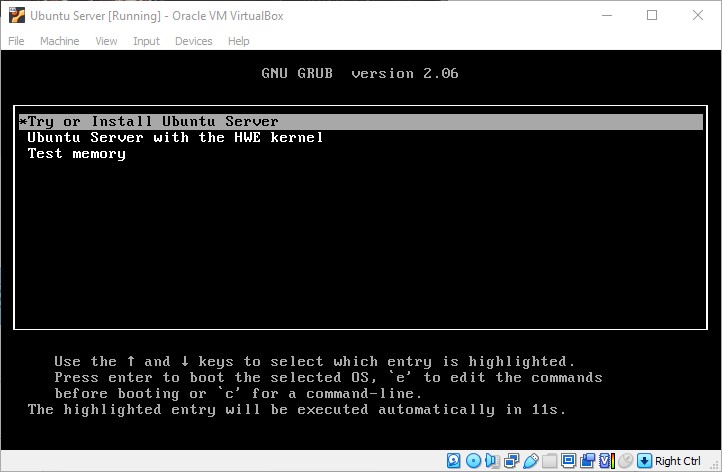
Figure 4 – Install Ubuntu Server - Use the arrow keys to select your language and your keyboard
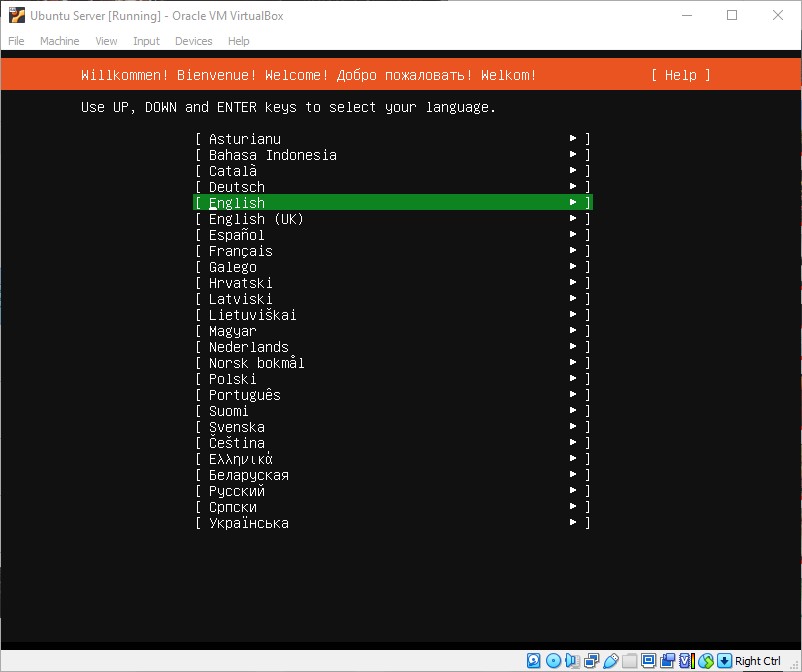
Figure 5 – Select your language - Use the arrow keys to select Ubuntu Server and press done

Figure 6 – Ubuntu Server - Accept the default network connections and select Done
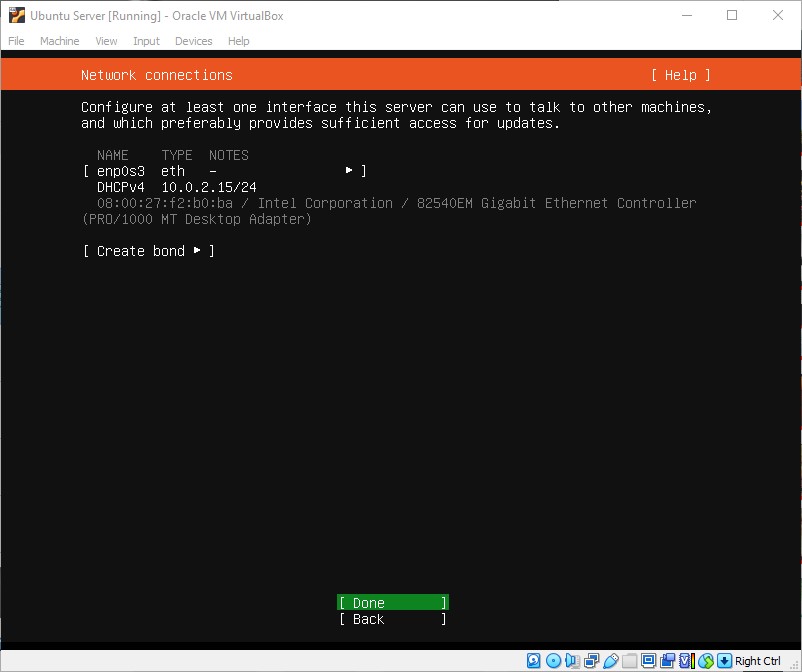
Figure 7 – Accept default network connections - Enter a proxy address, if you need one (if you don’t know, then you don’t need one), then select Done
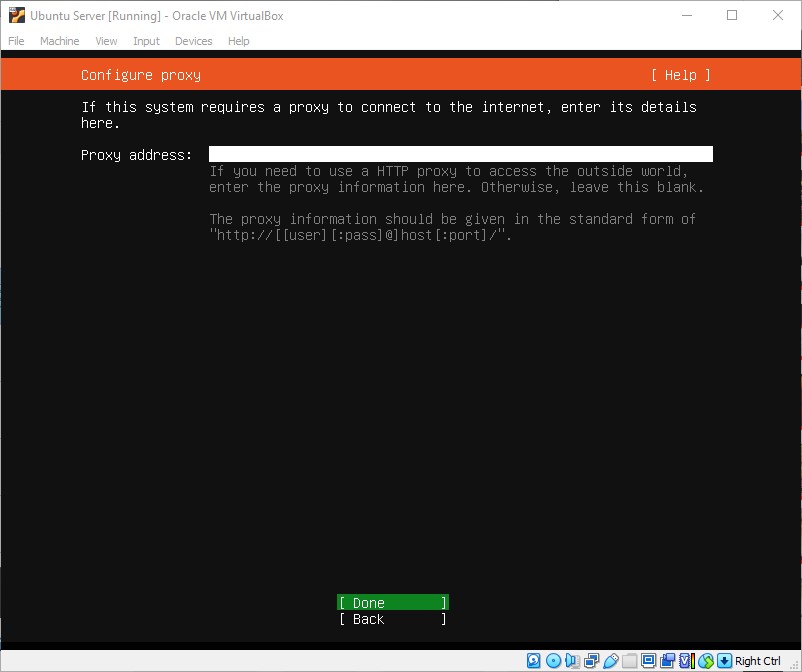
Figure 8 – Proxy address if needed - Enter an alternative Mirror if you know you need one; otherwise, just select Done
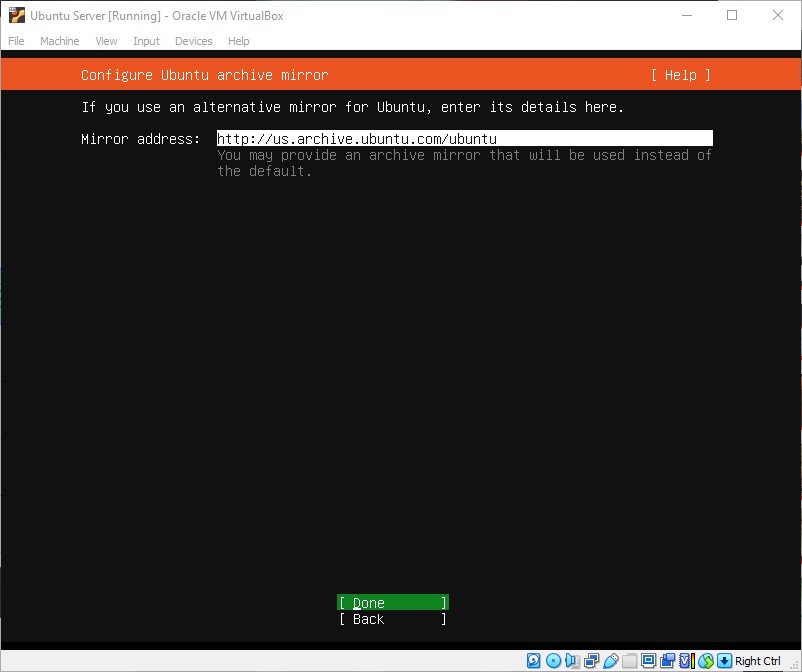
Figure 9 – Alternative mirror if needed - Use the default storage configurations and select Done for both screens
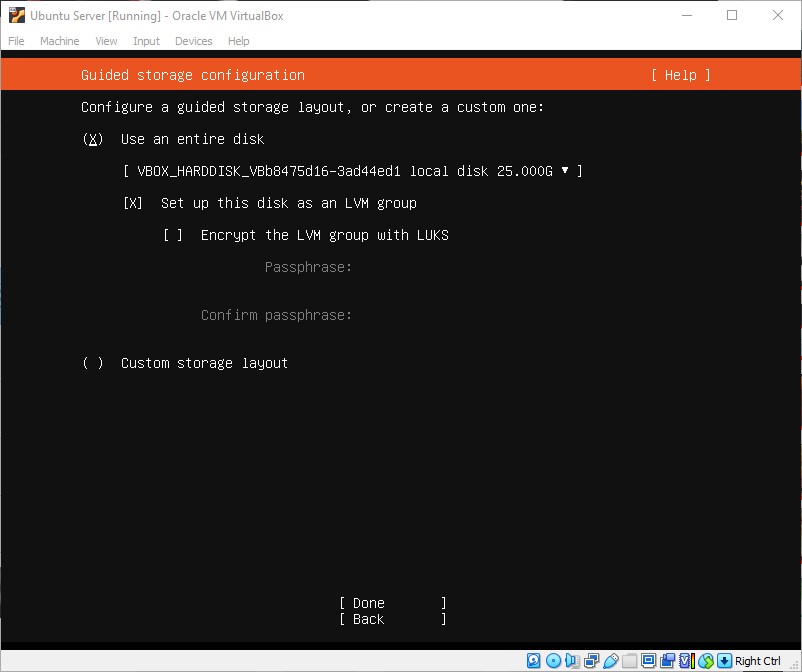
Figure 10 – Use the default storage configurations - Confirm the action and select Continue
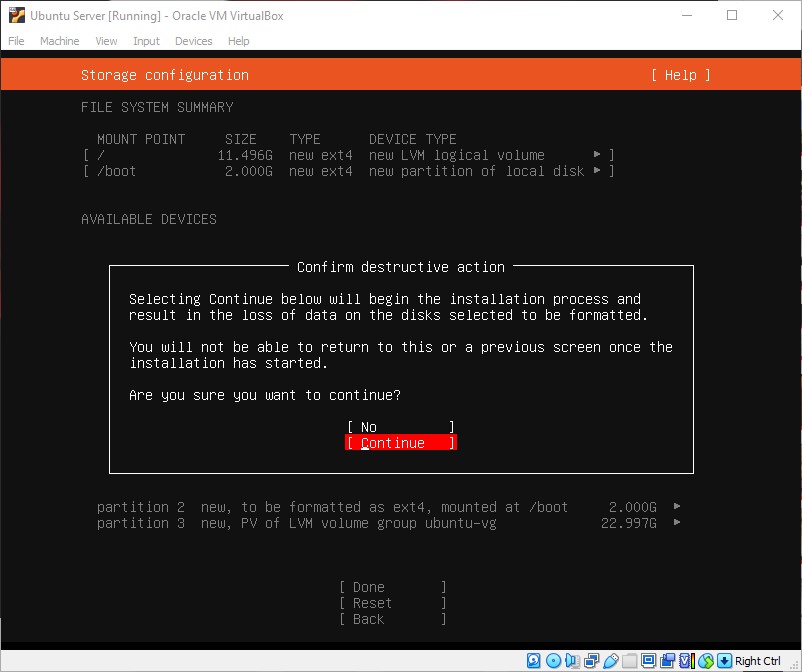
Figure 11 – Confirm and continue - For the profile information, the following is recommended
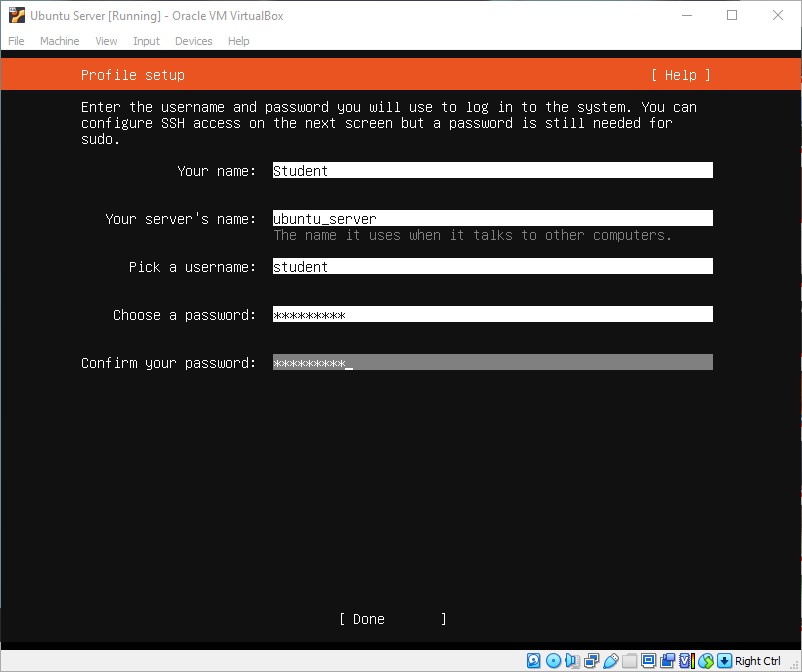
Figure 12 – Enter profile information Your Name: student
Your Servers Name: ubuntu_server
Pick a username: student
Chose a password: Security1
- For the profile information, the following is recommended
- There is no need to update to Ubuntu Pro, so skip it for now and continue
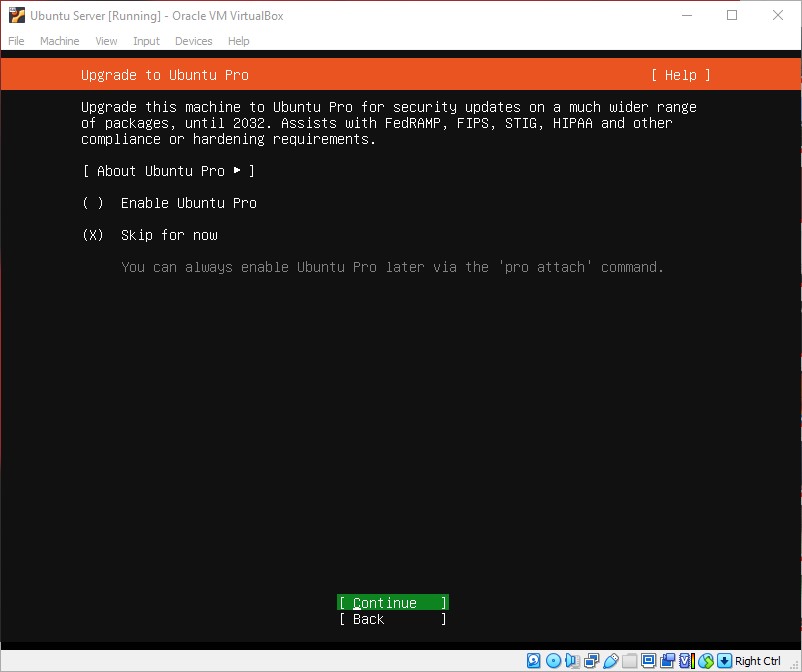
Figure 13 – Skip updating to pro - Select Install OpenSSH Server and continue
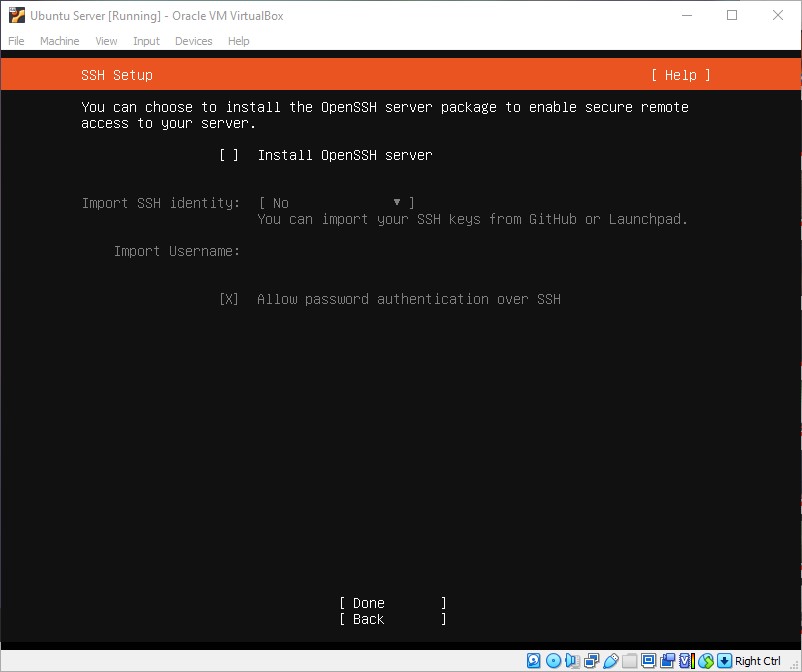
Figure 14 – Install OpenSSH server - No snaps are needed – select done
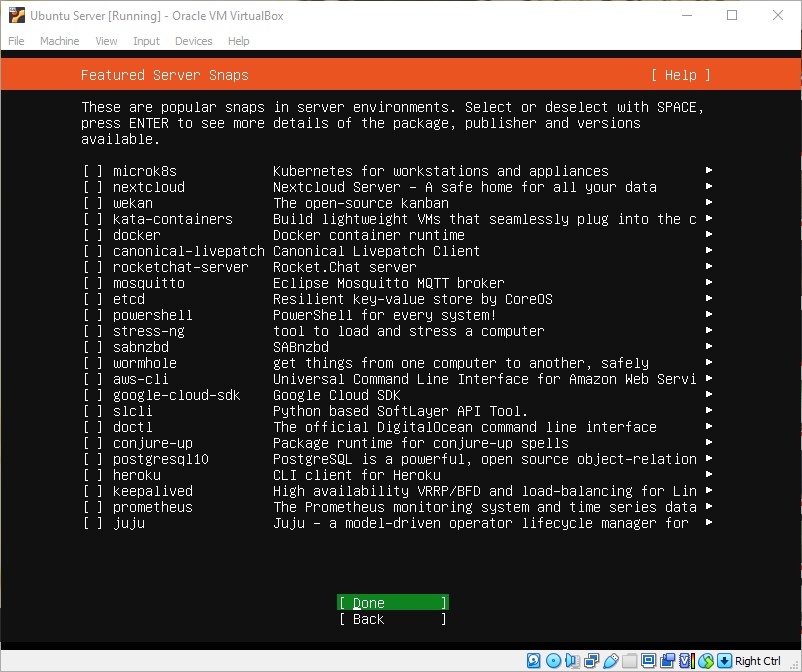
Figure 15 – No snaps needed - Allow the installation and update to complete, then select Reboot Now
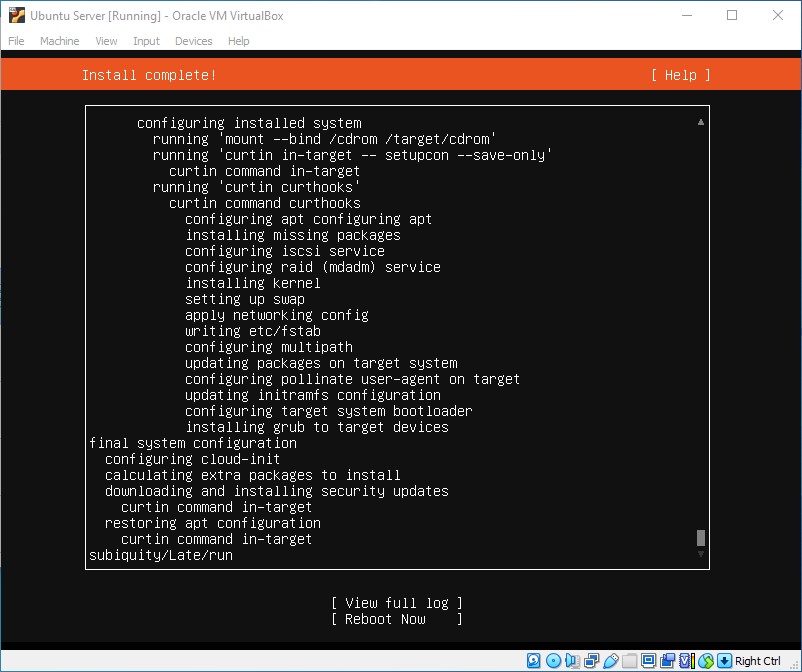
Figure 16 – Reboot now - You might have to hit <enter> a couple of times, depending on the way your VirtualBox is configured
- Log in using the credentials you created earlier
NOTE: If you are new to Linux, please note that the password cursor does not move. This is a security feature that masks the number of characters in the password. Anyone who shoulder surfs can accelerate their password brute force efforts by knowing the length of the password.
Phase II – Install DHCP Server – Kea (Optional)
These are the instructions for installing Kea as the DHCP server, as it replaces isc-dhcp, which is no longer supported.
- At the terminal prompt, type
sudo apt install kea
- On the Kea password screen, select ‘configured_password’
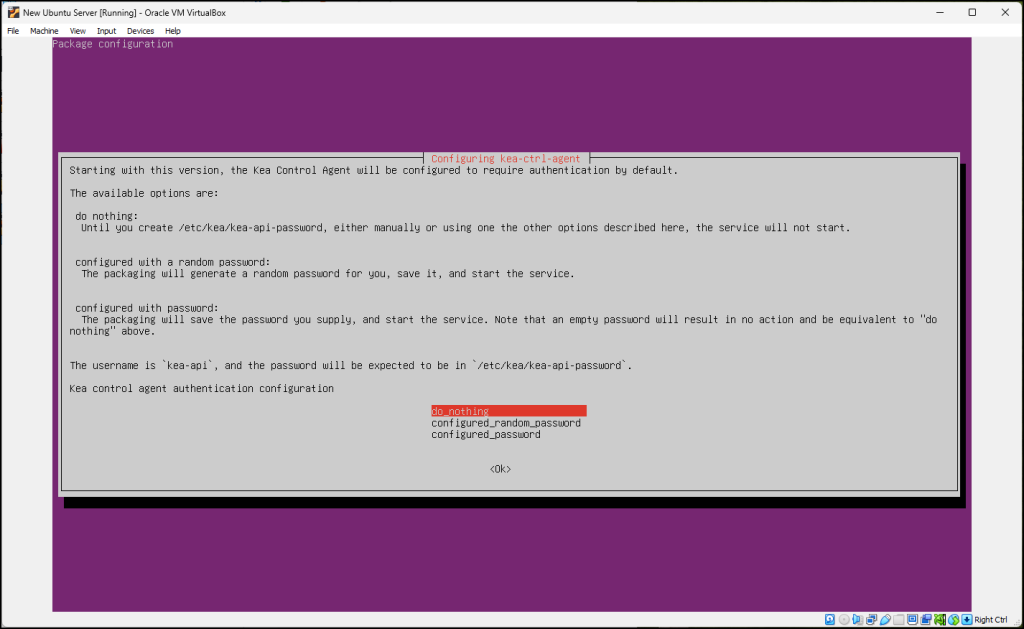
Phase II – Figure 1 – Select the kea password - For the password, use one of your own or use the book’s default Security1
- Kea can be configured by typing
sudo vi /etc/kea/kea-dhcp4.conf
- The instructions to configure Kea are included in the file
- You can also use this guide to configure Kea (https://www.techtutorials.tv/sections/linux/how-to-install-and-configure-kea-dhcp-server/)
- Use Chapter 6 to add the Ubuntu Server to the GNS3 Working Environment
Phase III – Install DNS Server – BIND9
- Install software and additional utilities
sudo apt install -y bind9 dnsutils bind9-utils
- The following commands will be used in later chapters:
- Modify the configuration file
sudo nano /etc/bind/named.conf.options
- Configure master zone declarations
sudo nano /etc/bind/named.conf.local
- Start DNS daemon
sudo systemctl start named
- To restart
sudo systemctl restart named
- To check status
sudo systemctl status named
- Modify the configuration file
Phase IV – Install a Text-Based Web Browser (Optional)
Occasionally, you may want to visit the web from an Ubuntu Server that does not have a graphical user interface (GUI). This is how you install w3m.
- Install by typing
sudo apt install w3m
- Run by typing
w3m -v http://www.google.com
- Exit the browser by pressing Ctrl-z
Phase V – Install a GUI (Optional)
There could be times when you want a graphical user interface (GUI). Ensure your Linux VM has at least 50 GB of available space on the hard drive. Use the default settings whenever prompted.
- DO NOT install a GUI if you need a lightweight Linux server.
- Installing this GUI will enable your Ubuntu server to have a Web Browser, which is not needed for server applications. However, you may occasionally choose to use your server for dual purposes.
- Update and upgrade the Linux server
- Update the Ubuntu Server
sudo apt update
- Upgrade the Ubuntu Server
sudo apt upgrade
- Update the Ubuntu Server
- Install the GUI
sudo apt -y install lubuntu-desktop task-lxde-desktop task-lxqt-desktop
- Select ‘lightdm’ as the default display manager
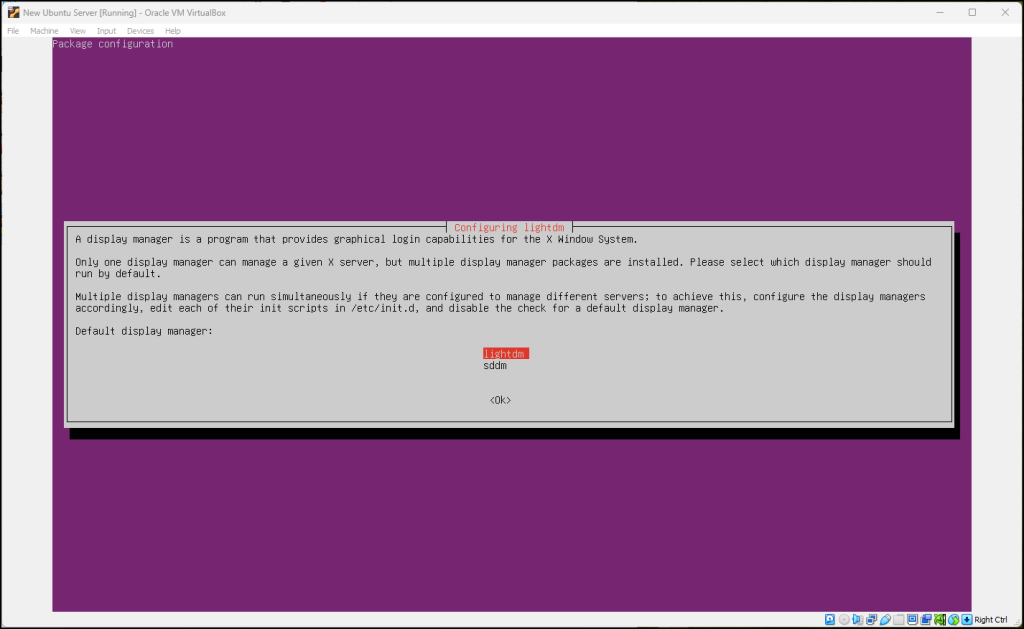
Phase V – Figure 1 – select lightdm as the default display manager - This can take a while

Figure Zzzzzz - Reboot the server
sudo reboot
- Upon restart, select the lightweight GUI, Lubuntu
- Click on the little ball on the sign-in screen
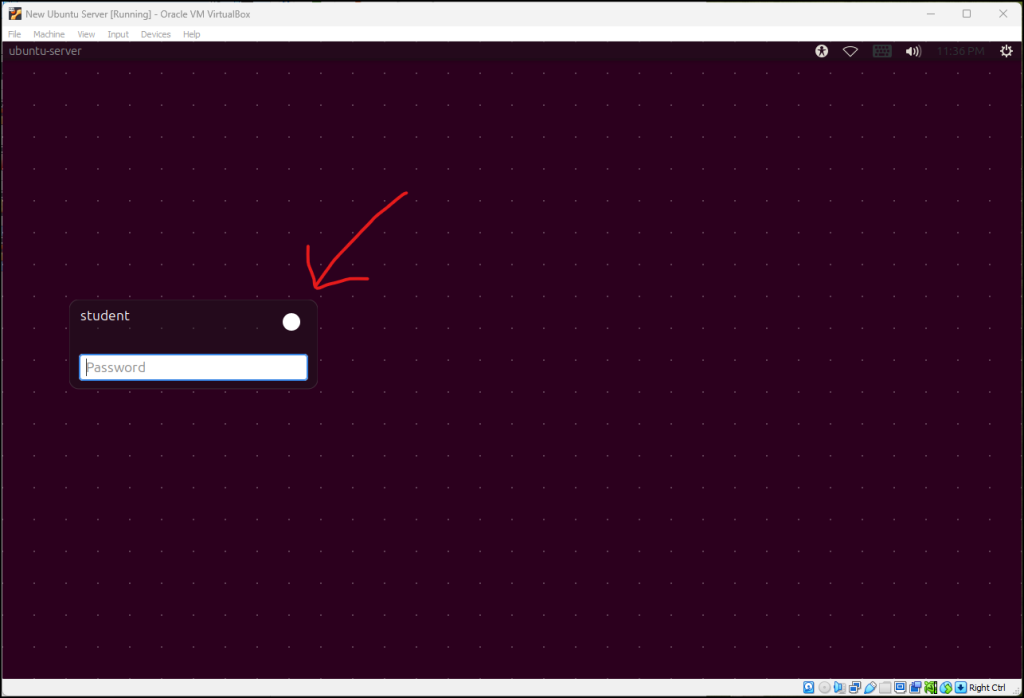
Phase V – Figure 2 – click on display options - Select ‘Lubuntu’
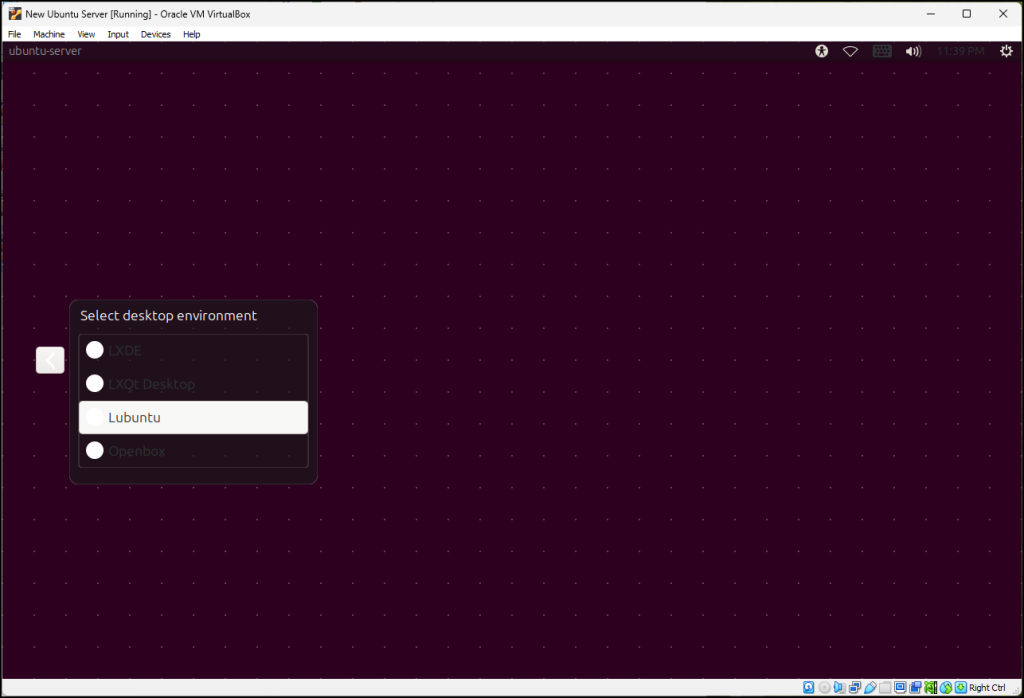
Phase V – Figure 3 – Select Lubuntu - Press the back arrow to return to the login and enter the password you created
- The Lubuntu GUI is now working
Phase V – Figure 4 – Lubuntu GUI is now available
- Click on the little ball on the sign-in screen
Phase VI – Install a web hosting service
Creating a web hosting service isn’t complicated, but it involves several steps. A web server requires a platform, a database, and an interface. Follow these steps to create a local web hosting service and create a test website that can be accessed.
- Install a GUI on the Ubuntu Server by following the steps in Phase 6
- Install Apache HTTP Server
- Install Apache by typing
sudo apt install apache2
- Restart the Apache Server by typing
sudo service apache2 restart
- Test that it is running by opening Firefox and typing 127.0.0.1 in the address bar
- Check that it says it works

Figure 18 – Apache2 default page
- Install Apache by typing
- Install MySQL database management system
- From a terminal, install MySQL by typing
sudo apt install mysql-server
- Verify it was installed by viewing the version number by typing
sudo mysql -v
- Quit the MySQL interface prompt by typing
\q
- Set the password validation by typing
sudo mysql_secure_installation
- Press y and set the password strength according to your needs
- Press y to remove anonymous users
- Press y to disallow remote root login
- Keep the test database by pressing n
- Reload the privilege tables by pressing y
- Test the operability of mysql
- Start mysql by typing
sudo mysql -u root
- Create a database by typing
create database <name>;
- List all the databases by typing
show databases;
- Start mysql by typing
- You should have a screen that looks like
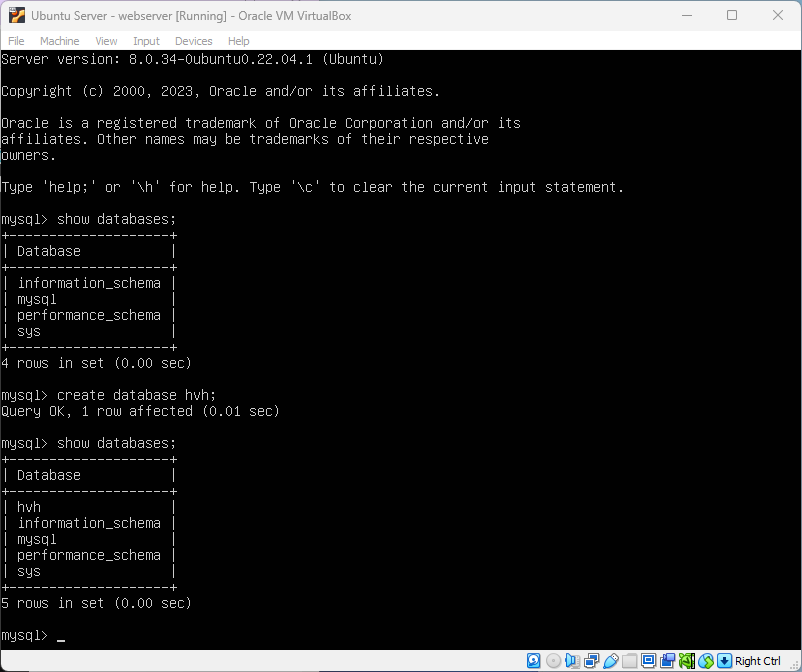
Figure 19 – mySQL is installed - To leave mysql and return back to the Ubuntu Server console, type
exit
- From a terminal, install MySQL by typing
- Install PHP web-server scripting language module
- From the terminal, install PHP by typing
sudo apt install php
- View the version by typing
php -v
- Make a check file by typing
sudo vi /var/www/html/info.php
- Type i and add the following information
<?php
phpinfo();
?> - Save the file by pressing the escape key followed by
:wq
- Type i and add the following information
- Restart the Apache service by typing
sudo service apache2 restart
- Test PHP by opening Firefox and typing the following into the web browser address bar 127.0.0.1/info.php
- You should get the following screen
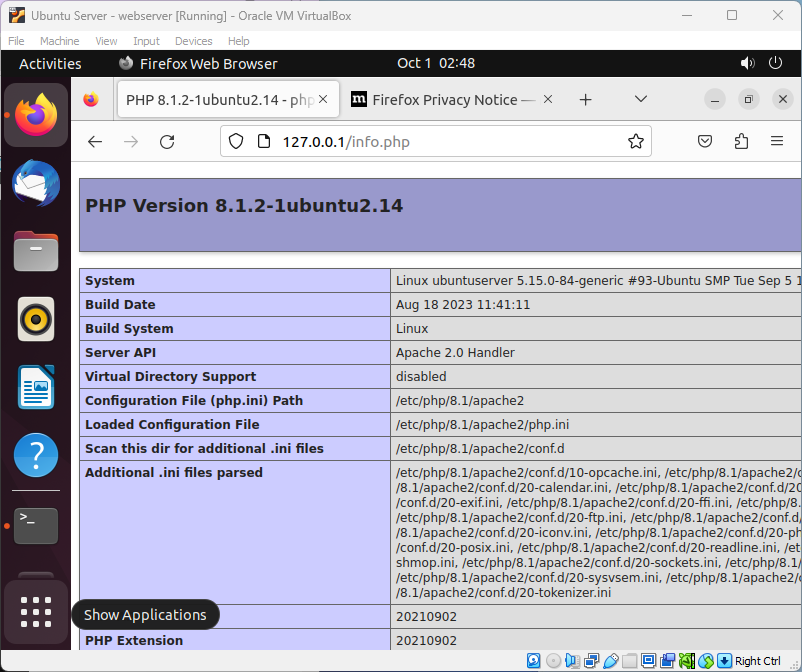
Figure 20 – PHP Test Successful
- From the terminal, install PHP by typing
NOTE: if a service fails to start and you do not know why, try the following commands:
systemctl status <service>
Record the service’s process ID (PID) number.
journalctl _PID=<pid_number>
Look at the error logs closely, they often help locate the root of most issues!
End of Lab

