6 Adding a Virtual Machine to GNS3
Mathew J. Heath Van Horn, PhD
GNS3 is unique in that it is an emulator, rather than a simulator, such as Cisco’s Packet Tracer. With GNS3, you can add any VM you create in VirtualBox and use it within the GNS3 environment. The purpose of this lab is to give you experience in creating GNS3 appliances using VMs
Learning Objectives
- Create GNS3 appliances using VirtualBox VMs
Prerequisites
- Oracle VirtualBox installed with at least one functional VM
- Chapter 2 – Setting up a GNS3 environment
Deliverables
- None – this is a preparatory lab for other labs
Resources
- GNS3 Documentation – https://docs.gns3.com/docs/
Contributors and testers
- Enzo Gonzalez
Phase I – All the steps required
This is pretty straightforward. In this lab, we use a Windows Server VM as an example; however, any VM you create in VirtualBox can be used.

- Open VirtualBox and choose a VM you want to import into GNS3. You can use TinyCore Linux from Chapter 5 if you like. In this example, we are using a Windows Server VM
- Start GNS3
- Create a new lab
- On the GNS3 menu, navigate to Edit and then Preferences
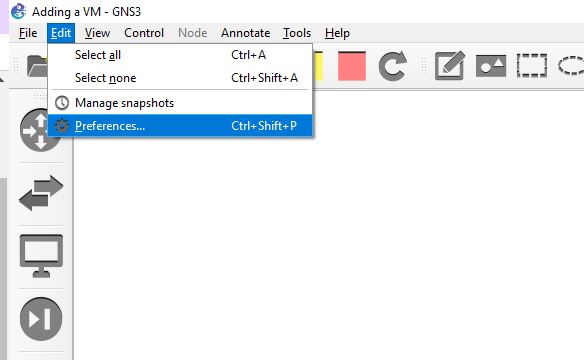
Figure 1 – Adding VirtualBox VMs to GNS3 - Select VirtualBox VMs, and you will see a list of VirtualBox VMs (if any) already added to GNS3
- Select new at the bottom of the window
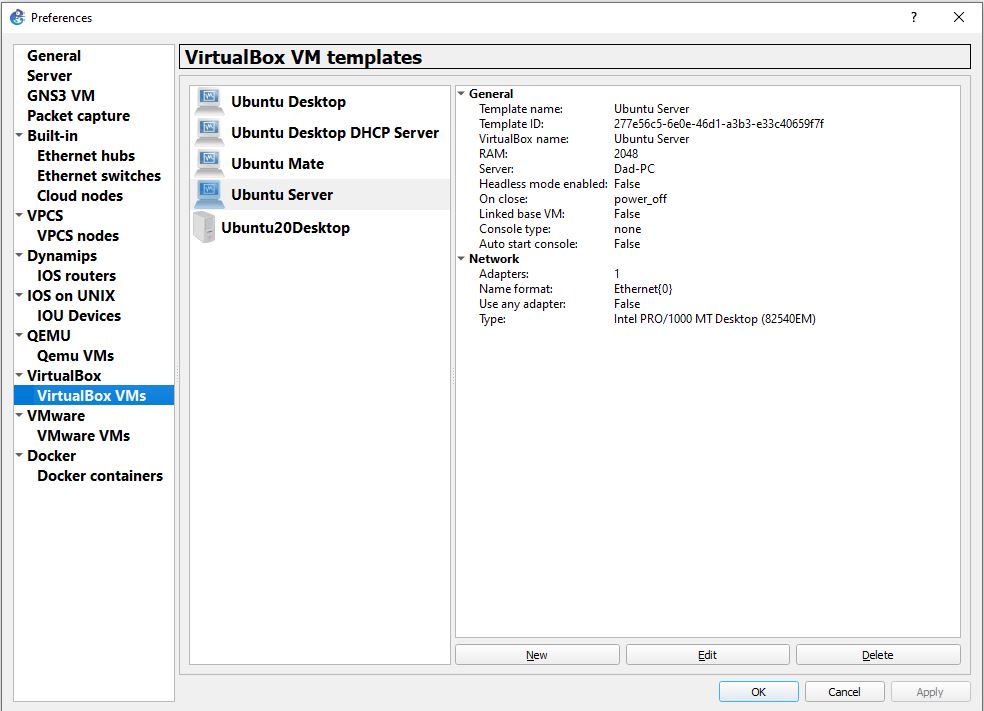
Figure 2 – Adding new VirtualBox VMs to GNS3 - Make sure the radio button for running the VM on my local computer is selected, and click on Next
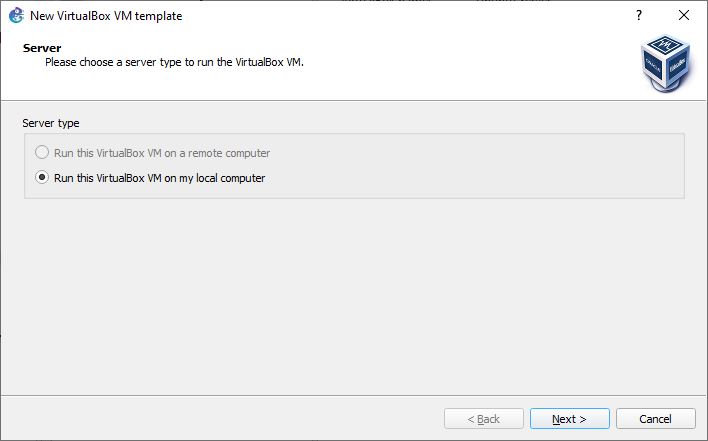
Figure 3 – Radio button selected - You will now see a window with a drop-down box to select any of the VMs that are loaded in VirtualBox; in this example, we will select Windows Server 2022 for GNS3
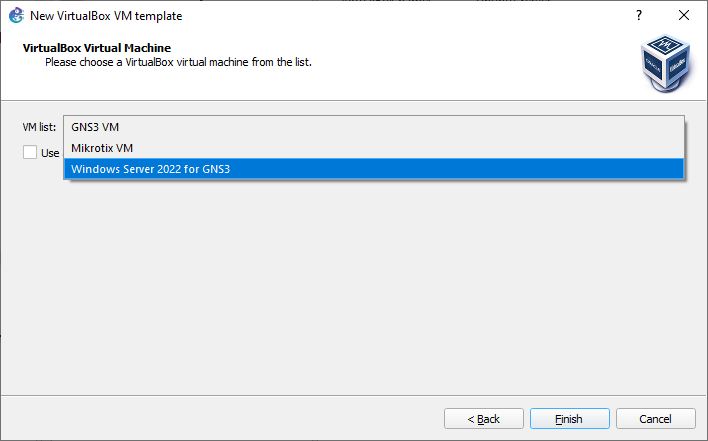
Figure 4 – Adding Windows Server 2022 - Click Finish
- To edit the properties of the VM, click edit on the bottom left of the window
- Here you can change things such as the default symbol, device name, RAM, etc
- In the Network tab, make sure to check the Allow GNS3 to use any configured VirtualBox adapter option box
- When you are finished, make sure you click Apply or risk the VM not being added
- Click OK
- Click on the all devices button, and you can now see our VM added to the appliance list
Figure 5 – Screenshot of the VM showing in GNS3 Workspace 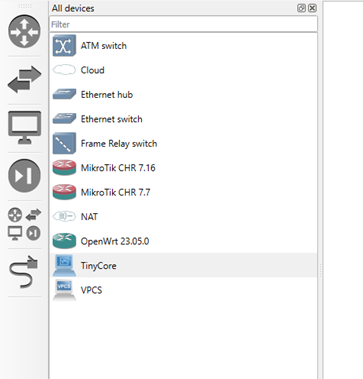
Figure 5a – zoom - You can drag the recently added VM to the GNS3 Workspace and start it
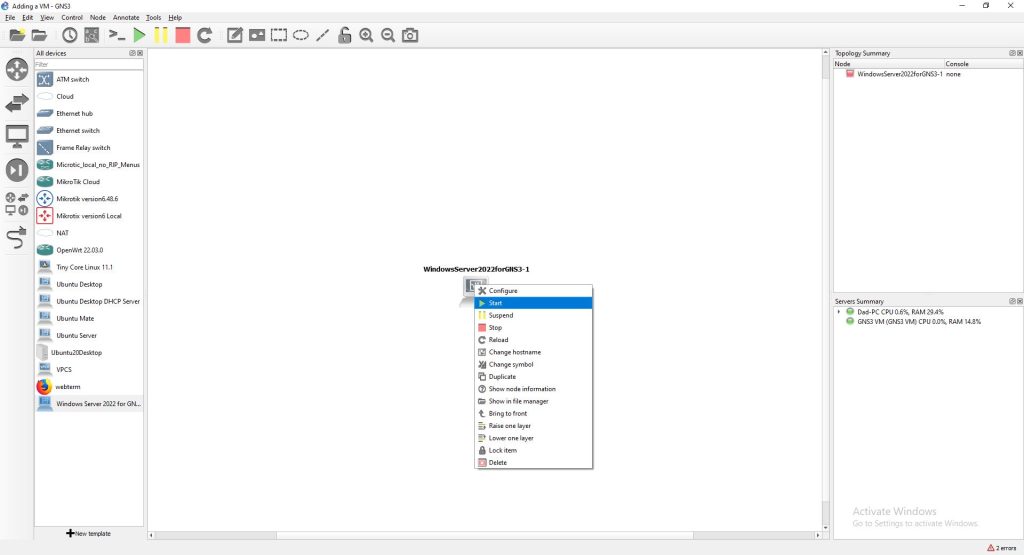
Figure 6 – Drag the new VirtualBox object to the GNS3 Workspace 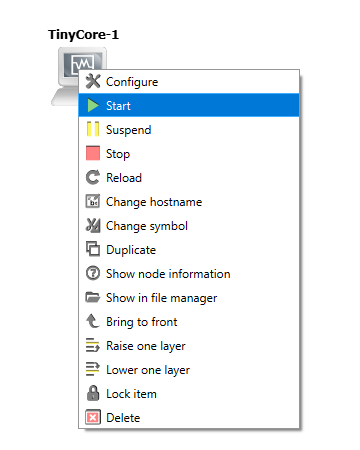
Figure 6a – zoom - When the VM starts it will run outside of GNS3, so look for it on your toolbar as a VM
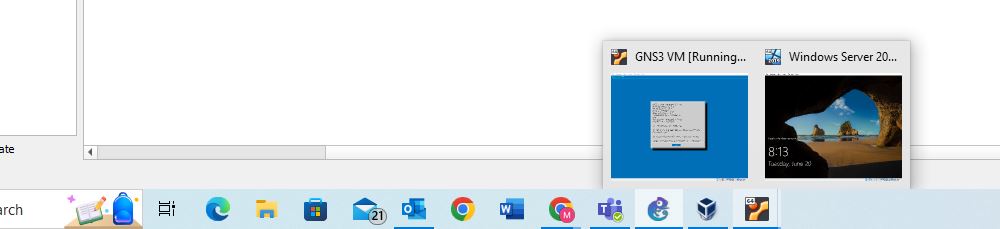
Figure 7 – Looking at the toolbar for the VM - That’s it. Remember, you can do this for any functional virtual machine (VM) in VirtualBox. However, VMs use much more resources than the emulated devices within GNS3. So, if you add ten, Windows 11 VMs, you will overload your host machine’s processor pretty fast
End of Lab

